
Install Electric Guitar Mechanics: Practical Guide
I still remember the first time I found myself in front of a bare handle, without even a hole for the mechanics. It seemed like something only an aerospace engineer could do, something where if you messed up by a millimeter, goodbye guitar. In reality, it's one of those steps where precision is important, yes, but patience and a little method beat any super-professional equipment. If I could do it in the garage, with the tools I had, you can do it too. Guaranteed.
Let's be clear: the fear of drilling a crooked neck, or ruining a freshly painted headstock, is real. I've experienced it. But it's a fear that can be overcome with the right knowledge and, let's face it, some duct tape and a hand drill. You don't need a CNC router, I assure you. You need to understand what you're doing, why you're doing it, and where you absolutely can't afford to be distracted.
This article is for those who have already assembled something, have seen a soldering iron, and know what a pickup is. We don't start with the absolute basics, but delve into the details that make the difference between an "acceptable" job and a "solid" one, without necessarily spending a fortune on tools.
Understanding Your Mechanics: Types and How They Work
.biafax-photo-grid { display: grid !important; gap: 12px; margin: 24px 0; }
.biafax-photo-grid-3v { grid-template-columns: repeat(3, 1fr) !important; }
.biafax-photo-grid-2h { grid-template-columns: repeat(2, 1fr) !important; }
.biafax-photo-grid a { display: block; overflow: hidden; border-radius: 6px; line-height: 0; }
.biafax-photo-grid img { width: 100%; height: 100%; object-fit: cover; aspect ratio: 4 / 3; transition: transform 0.3s ease; }
.biafax-photo-grid a:hover img { transform: scale(1.03); }
.biafax-photo-grid br { display: none; }
.biafax-photo-grid-caption { text-align: center; font-style: italic; color: #555; margin: -12px 0 24px; }
.biafax-lightbox-overlay { position: fixed; inset: 0; background: rgba(0,0,0,0.92); display: flex; align-items: center; justify-content: center; z-index: 99999; cursor: zoom-out; }
.biafax-lightbox-overlay img { max-width: 92vw; max-height: 92vh; object-fit: contain; border-radius: 4px; }
@media (max-width: 768px) {
.biafax-photo-grid-3v { grid-template-columns: 1fr !important; }
.biafax-photo-grid-2h { grid-template-columns: 1fr !important; }
}
(function() {
if (window.biafaxGridLightbox) return;
window.biafaxGridLightbox = true;
document.addEventListener(‘click’, function(e) {
var a = e.target.closest(‘a[data-lightbox]’);
if (!a) return;
e.preventDefault();
var overlay = document.createElement(‘div’);
overlay.className = 'biafax-lightbox-overlay';
overlay.innerHTML = '‘‘';
document.body.appendChild(overlay);
overlay.addEventListener(‘click’, function() { overlay.remove(); });
document.addEventListener(‘keydown’, function handler(ev) {
if (ev.key === 'Escape') { overlay.remove(); document.removeEventListener('keydown', handler); }
});
});
})();
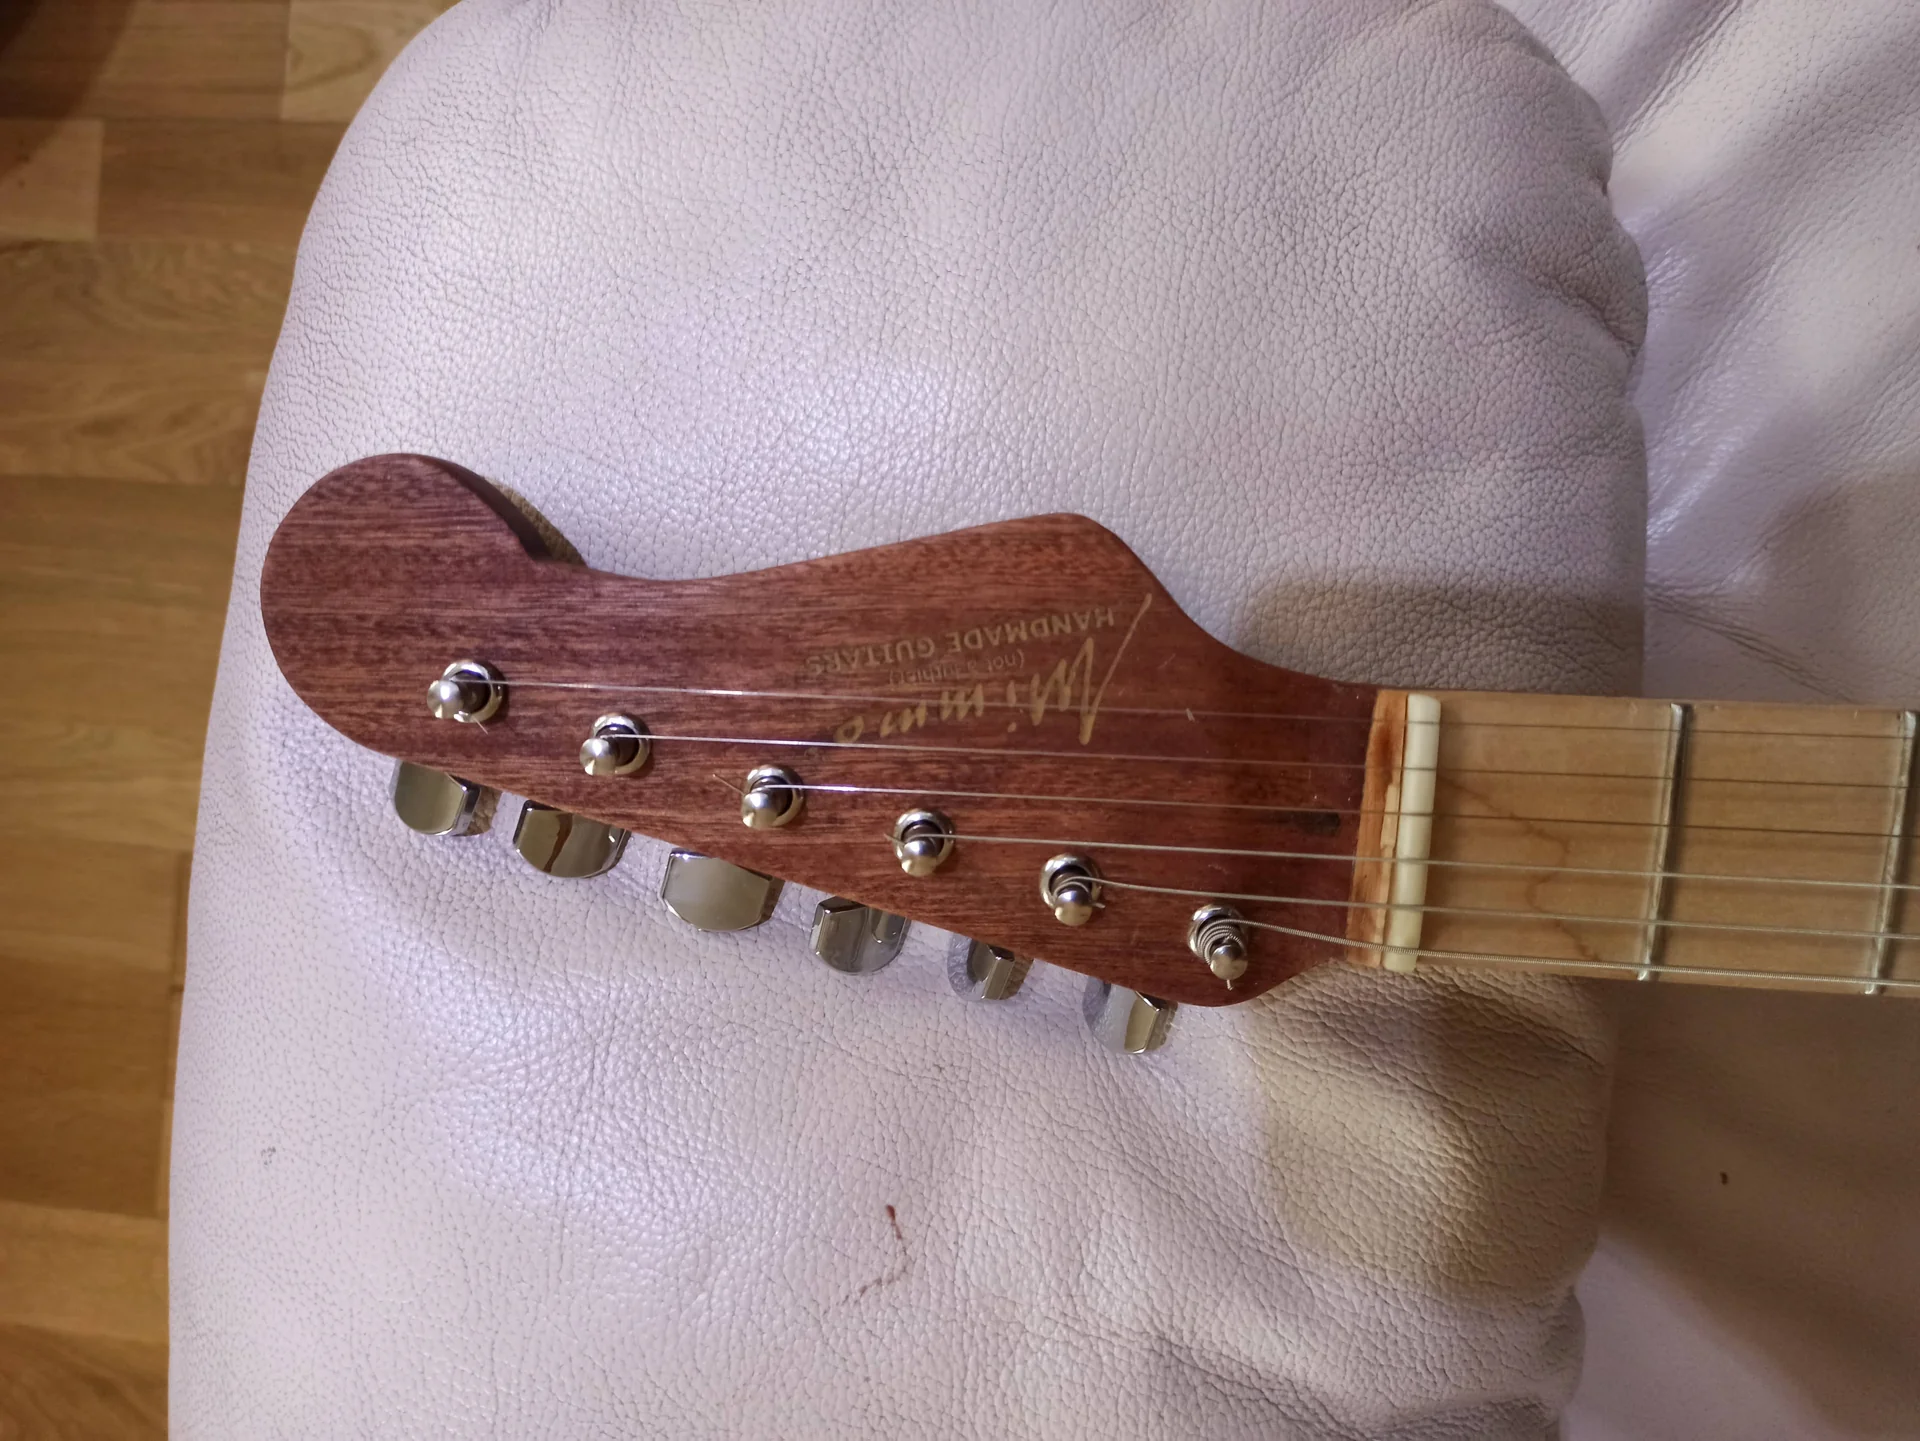
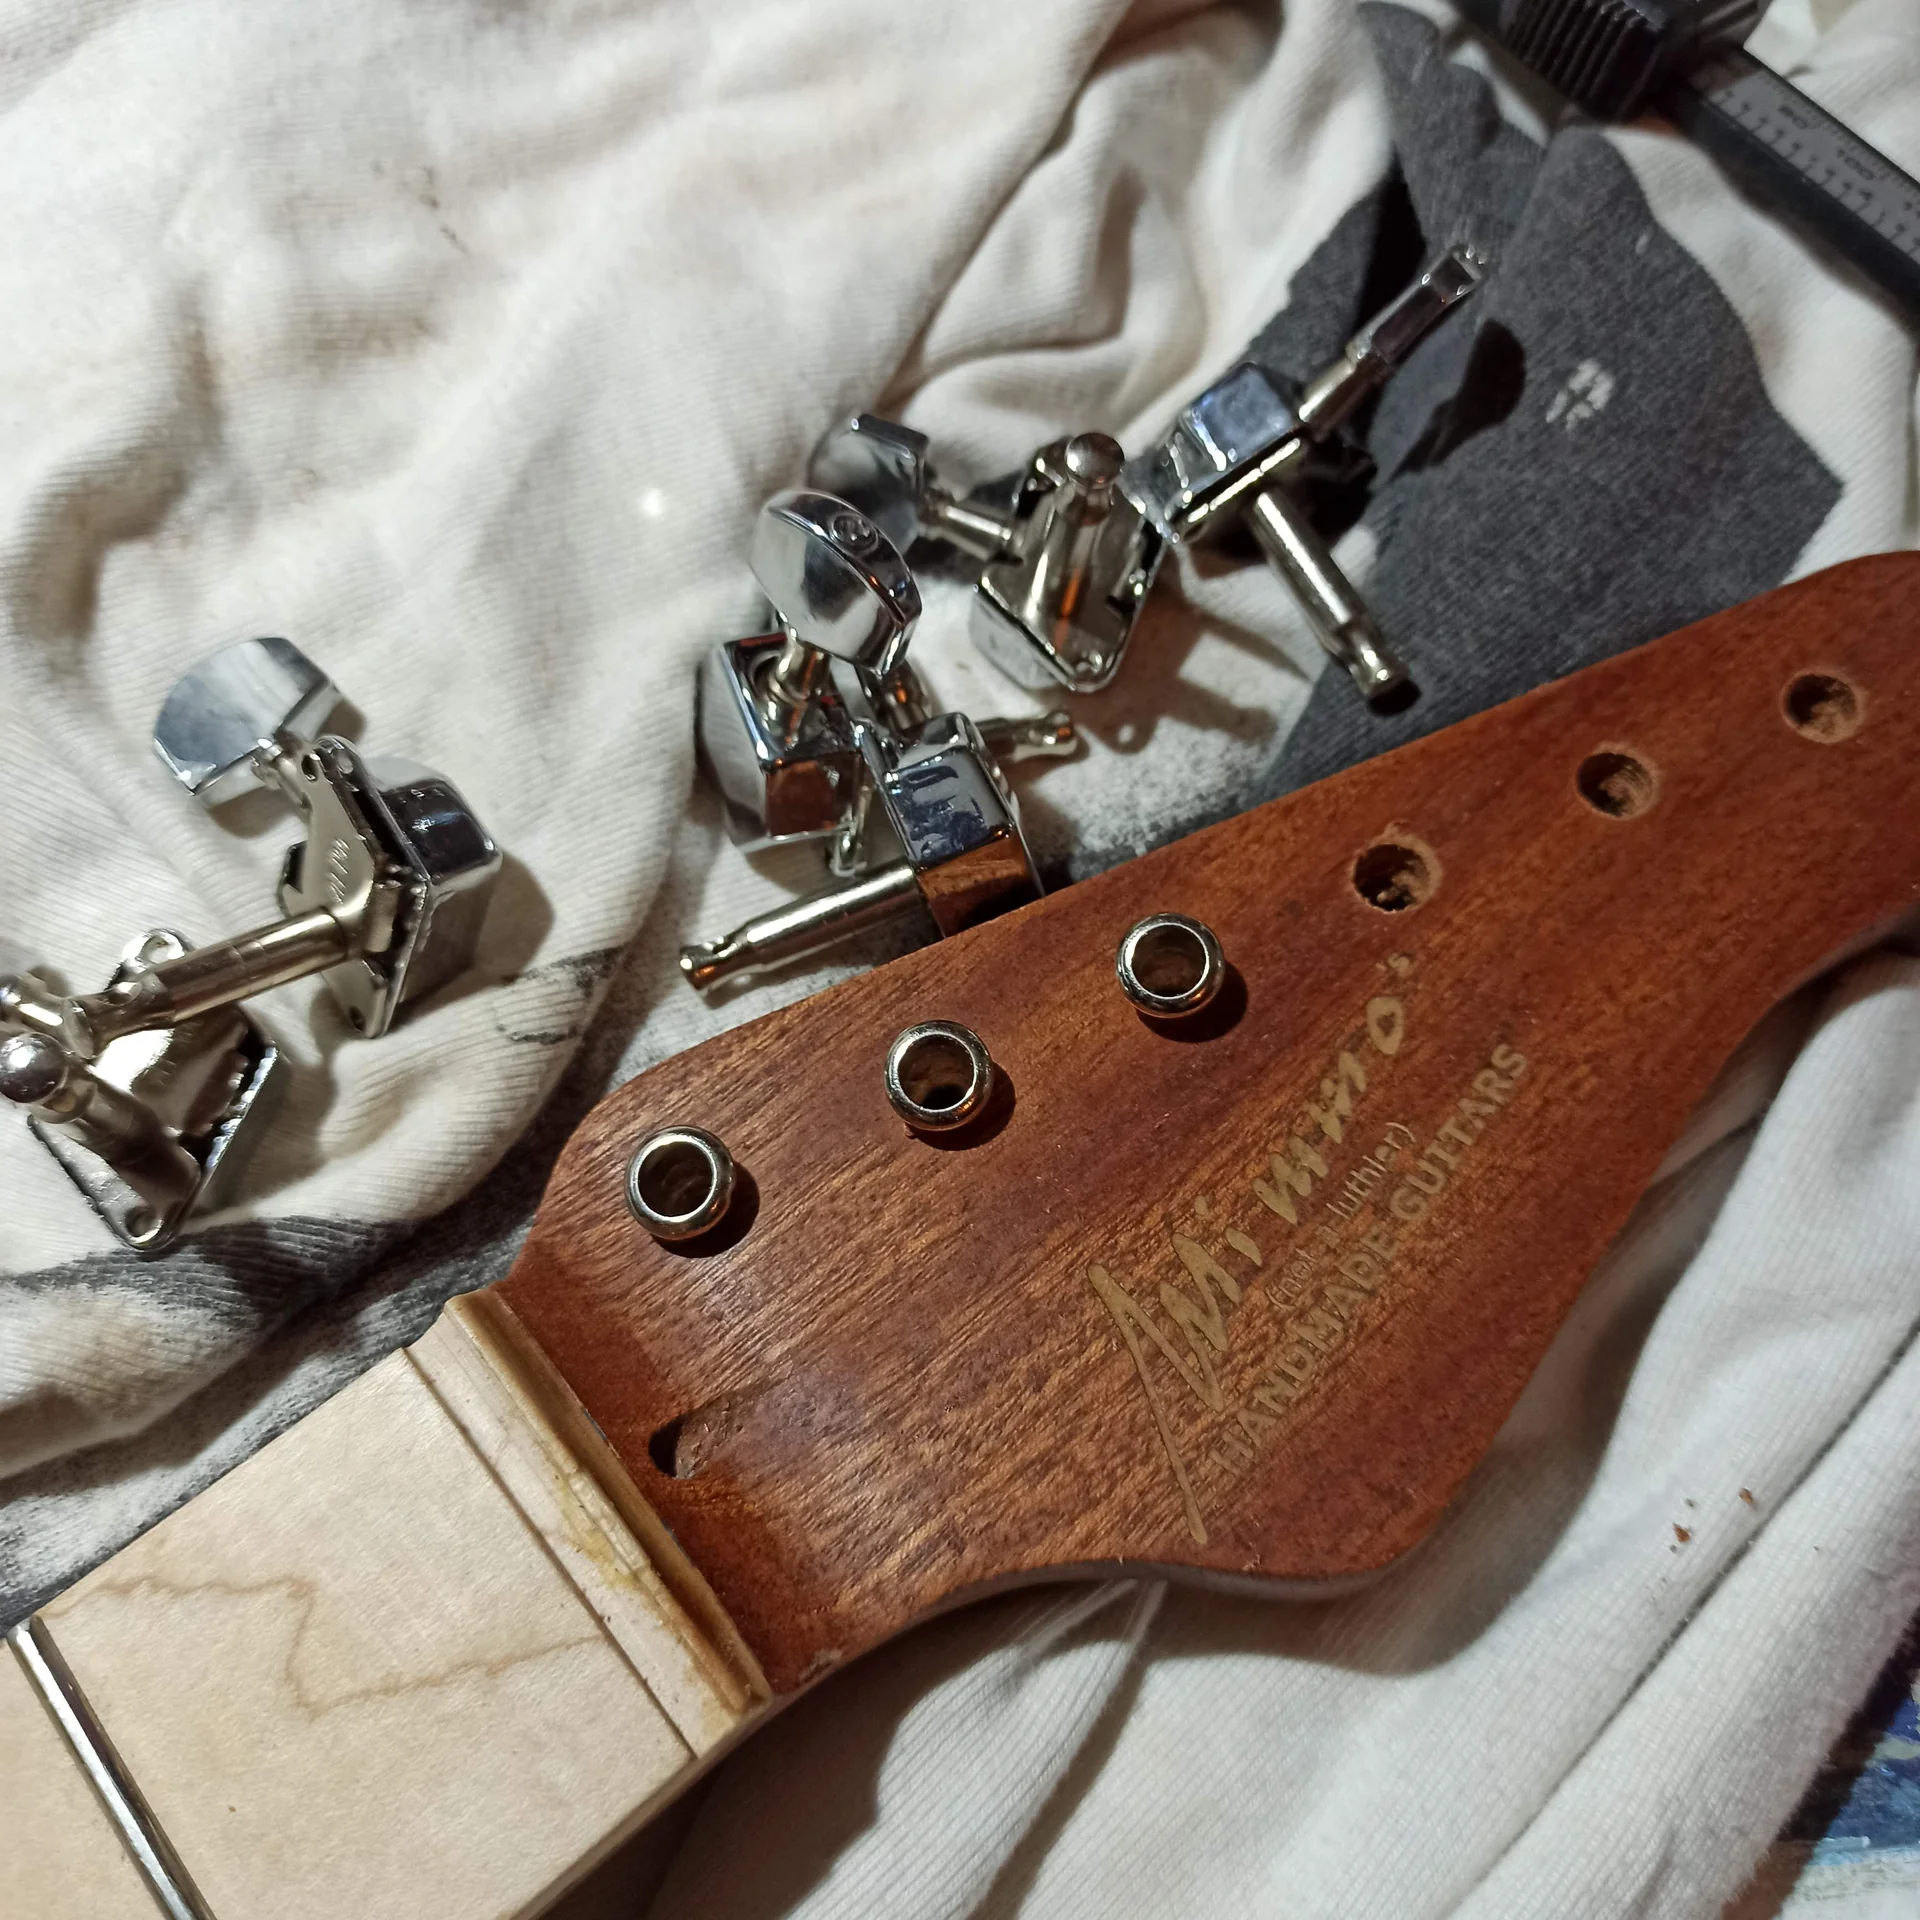
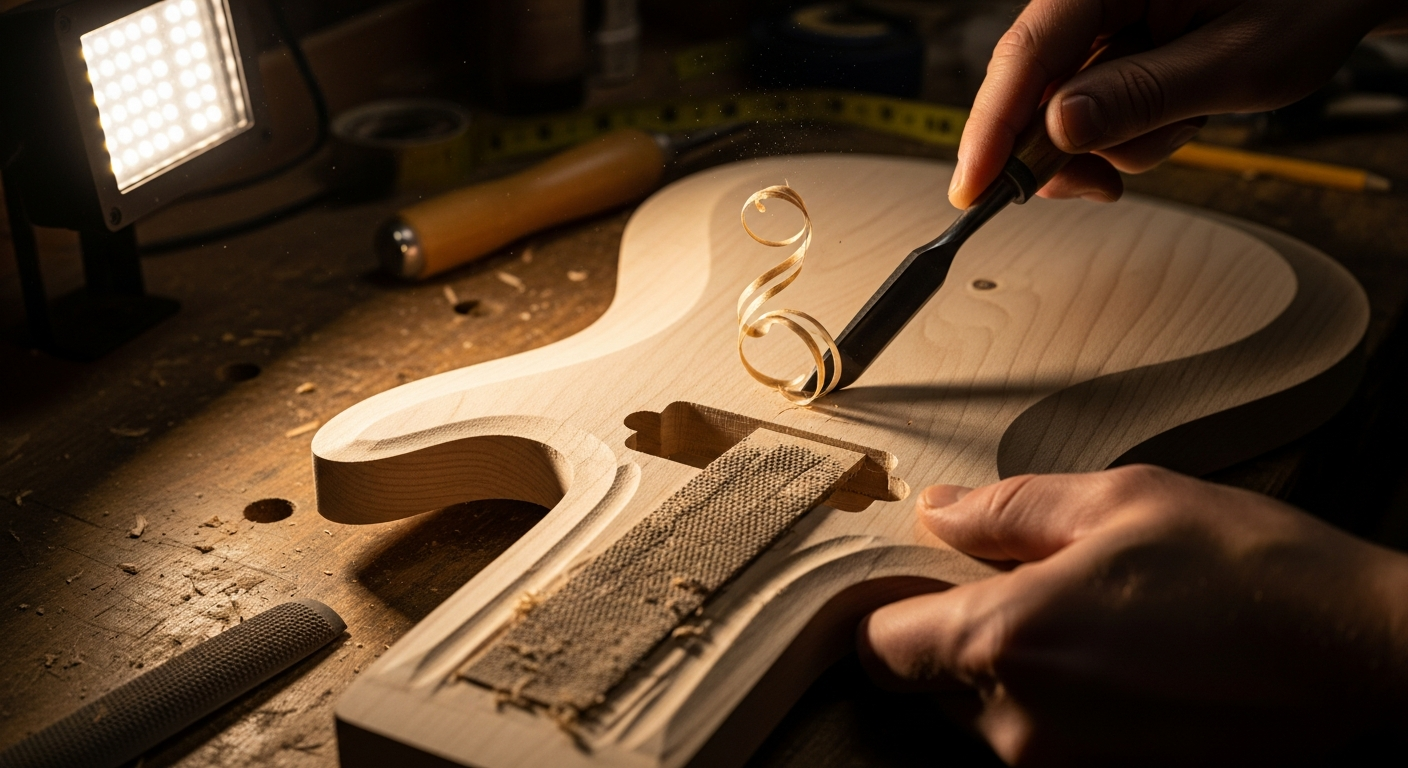
In this gallery: installation, headstock and mechanics.
.biafax-photo-grid { display: grid !important; gap: 12px; margin: 24px 0; }
.biafax-photo-grid-3v { grid-template-columns: repeat(3, 1fr) !important; }
.biafax-photo-grid-2h { grid-template-columns: repeat(2, 1fr) !important; }
.biafax-photo-grid a { display: block; overflow: hidden; border-radius: 6px; line-height: 0; }
.biafax-photo-grid img { width: 100%; height: 100%; object-fit: cover; aspect ratio: 4 / 3; transition: transform 0.3s ease; }
.biafax-photo-grid a:hover img { transform: scale(1.03); }
.biafax-photo-grid br { display: none; }
.biafax-photo-grid-caption { text-align: center; font-style: italic; color: #555; margin: -12px 0 24px; }
.biafax-lightbox-overlay { position: fixed; inset: 0; background: rgba(0,0,0,0.92); display: flex; align-items: center; justify-content: center; z-index: 99999; cursor: zoom-out; }
.biafax-lightbox-overlay img { max-width: 92vw; max-height: 92vh; object-fit: contain; border-radius: 4px; }
@media (max-width: 768px) {
.biafax-photo-grid-3v { grid-template-columns: 1fr !important; }
.biafax-photo-grid-2h { grid-template-columns: 1fr !important; }
}
(function() {
if (window.biafaxGridLightbox) return;
window.biafaxGridLightbox = true;
document.addEventListener(‘click’, function(e) {
var a = e.target.closest(‘a[data-lightbox]’);
if (!a) return;
e.preventDefault();
var overlay = document.createElement(‘div’);
overlay.className = 'biafax-lightbox-overlay';
overlay.innerHTML = '‘‘';
document.body.appendChild(overlay);
overlay.addEventListener(‘click’, function() { overlay.remove(); });
document.addEventListener(‘keydown’, function handler(ev) {
if (ev.key === 'Escape') { overlay.remove(); document.removeEventListener('keydown', handler); }
});
});
})();
Well, you've chosen yours electric guitar mechanics, You've got them in hand and checked that they're compatible with the neck. Now you need your arsenal. And no, we're not talking about stuff you'd find in a professional luthier's workshop costing thousands of euros. We're talking about what you can find at a good hardware store or what you already have lying around the house.
I'll tell you one thing right away: haste is your number one enemy. Prepare everything ahead of time, tidy up your workbench, and make sure you have good lighting. Trust me, I learned this the hard way.
The Essentials on the Bench
Here is a list of what you will need to assemble your tunings:
1. The Mechanics: Of course! Check that all the parts are there: the actual tuners, the bushings (the front rings), the washers (if applicable), and the rear fixing screws.n2. Ruler or Tape Measure: For measurements. Steel is better, as it's more precise. No. 3. Pencil or Fine Marker: To mark the drill points. A carpenter's pencil is fine, but a fine-tipped marker is even better for precision.n4. Center Punch: This is ESSENTIAL. It creates a small depression in the wood where the drill bit can rest without slipping. It will save you from off-center and imprecise holes. 5. Drill: A hand drill, whether electric or cordless, is fine. If you have a drill press, it's even better for vertical precision, but it's not essential. The important thing is that it's stable and that you feel comfortable using it. 6. Drill Bits: This is where many people go wrong. You'll need several tips:
Drill bit for main holes: This must match the diameter of your tuning machine's shell exactly (e.g., 8.5mm, 9mm, 10mm, 10.2mm). Measure the shell with a digital caliper to be sure.
Pilot screw hole drill bit: The rear screws on the tuning machines are small. The pilot hole should be slightly smaller than the diameter of the threaded part of the screw, to allow the screw to "bite" into the wood without splitting it. Typically, we're talking about 1.5mm or 2mm. Test on a small piece of scrap wood to find the right size.
Tip for the fixing pins (if vintage tuners): Usually 2mm or 2.5mm, depending on the diameter of the pin.n7. Masking Tape: Your best friend, I told you. It protects the drill bit from chipping while drilling and marks the maximum hole depth on the drill bit. No. 8. Socket Wrench or Fixed Wrench / Screwdriver: To tighten the tuning machine bushings (if threaded) and to tighten the rear screws. Make sure the screwdriver is the right size for the screws, so as not to strip them.n9. Soft dishcloth: To clean and protect the handle.
Advice from Those Who Have Been There
Sharp Tips: Don't use dull or damaged bits. The wood will tear, and the job will be a mess. New, sharp bits make all the difference.
Hole Depth: If you're drilling the main holes (the 10mm ones, so to speak) on a handle not pre-drilled, You must be careful not to drill too deep. The drill bit should only penetrate far enough to allow the shaft to protrude. Mark the required depth on the tape you wrap around the drill bit.
Test on Waste: Especially for pilot holes, always test on a piece of wood similar to the handle. This is the only way to determine if the drill bit is the right size and if the screw fits in without too much force or, conversely, without "juggling.".
Remember, we're talking about precision. This isn't a job to be rushed. Every measurement, every hole, every screw tightening must be done calmly and with concentration. Grab a coffee, put on some music, and start only when you feel ready.
Preparing the Neck: Measurements and Marking (The Critical Moment)
Here we come to the point where many hobbyists feel the heat. The measuring and marking phase is crucial. A mistake here means... mechanics Crooked strings, strings that don't fit straight on the nut, and a lot of frustration. But don't worry, with the right method and a lot of patience, it's absolutely doable.
I've seen people try to guess. Don't do it. I've seen people use a plastic ruler. Don't do it. This requires pinpoint precision.
Check the Thickness of the Paddle
First, measure the thickness of your headstock. electric guitar mechanics They have a shaft of a certain length. If the headstock is too thick, the bushing may not fit properly. If it is too thin, the shaft will protrude too far from the back. Most modern headstocks are between 14mm and 16mm thick. Vintage-style headstocks often have thinner headstocks, around 12mm. Check the specifications of yours. keys and compare them with your handle.
Arranging the Tuning Machines and Marking the Main Holes
If your neck doesn't have holes drilled for the tuning machines yet (which is common if you're building from scratch or using a raw neck), this is the most important step.
1. Protect the Palette: Apply masking tape to the front and back of the paddle, where the holes will go. This prevents chipping when the drill bit goes through the wood. 2. Arrange the Mechanics: Put the keys on the headstock, distributing them evenly. Typically, for a 6-string guitar, the holes are equidistant. Measure the distance between the centers of the first and sixth holes, then divide by 5 to find the exact distance between one hole and the next.n3. Find the Central Axis: Using a ruler, draw a thin, precise line down the center of the headstock, from the tip toward the nut. This will be the line along which the centers of your guitar holes will align. tunings.n4. Mark the Drilling Points: Take the first tuning machine and position it. Use a pencil to mark the center of the hole in the body on the central axis you drew.
Measure the distance between this point and the nut.
Now, using the distance calculated in step 2, mark the other 5 points on the central axis. Check and double-check the distances. They must be perfect.
Suggestion: Some people use a template for this step. If you have one, use it! If not, a ruler and pencil will work just fine, with patience. I initially made a plywood template myself, copying the measurements from a guitar I already had.
Drill the Main Holes (If Necessary)
If your handle is already drilled, skip this step. If not, here's the moment of truth.
1. Punch the Points: Use the center punch to create a small dimple at each point you marked on the center axis. This will guide the drill bit and prevent it from slipping. 2. Prepare the Drill: Fit the tip of the right diameter for the barrel of your mechanics. Wrap some tape around the tip, marking the required depth (the thickness of the blade plus a couple of millimeters for safety, to allow the shaft to pass through properly).n3. Fora: Place the handle on a flat, stable surface, with a piece of scrap wood under the headstock (to avoid puncturing the bench or splintering the wood when the bit comes out).
Start drilling slowly, keeping the drill perfectly perpendicular to the surface of the blade.
Don't force it! Let the bit do its job. Every now and then, pull the bit out to clean the hole of sawdust.
When you feel the tip about to go through, slow down even more to avoid chipping the back.
Insert the Bushings and Mark the Screw Holes
After drilling the main holes, it's time to position the tuners and mark the holes for the fixing screws.
1. Enter the Bushings: If yours mechanics If they have bushings (the front rings), insert them into the holes from the front of the headstock. If they are press-fit, you can use a rubber mallet to gently tap them in. If they are threaded, screw them in by hand, but don't tighten them yet. 2. Place the Mechanics: Enter the keys in the bushings. Don't secure them with the screws yet.n3. Align the Mechanics: This is crucial, especially for modern tuners with a rear mounting screw. All the tuners must be perfectly aligned with each other. The back of the tuners, where the screw hole is, must be parallel to the edge of the headstock.
Ruler Method: Place a ruler along the edge of the tuning machines, making sure they're all aligned. Gently press the tuning machines against the ruler to hold them in place.
Template Method (if you have one): If you have an alignment template, use it to lock the mechanics in the correct position.n4. Mark the Screw Holes: With the tunings well aligned and firm, use the pencil or fine marker to mark the center of each hole for the fixing screw.n5. Punch the Points: Remove the tuners and use the center punch to create a small dimple on each mark you made. This, again, prevents the drill bit from slipping.
This is the most delicate job. Take your time, checking and rechecking the measurements. Once you've drilled the main and pilot holes, the hard work is done.
The actual installation: screwing and locking
We've taken the measurements, marked the marks, drilled the main holes and the pilots. The hardest part is done, I told you! Now it's time to assemble everything, and here too, there are a couple of precautions that will prevent you from ruining the work you've done so far. Now's not the time to let your guard down.
Drilling Pilot Holes for the Screws
After punching out the screw holes, it's time to drill.
1. Right Diameter Tip: Remember the test on a piece of scrap wood? Now you know which bit to use. Usually 1.5mm or 2mm for screws. electric guitar mechanics.n2. Depth: The screws aren't very long. Wrap a piece of tape around the drill bit to mark the maximum depth you need to drill. Don't drill too deep, as this could weaken the wood.,
it's too little, so as not to break the screw or the wood when you screw in.n3. Drill with Care: With the handle firmly in place, drill the small pilot holes. Again, be slow and precise, keeping the drill straight.
Final Assembly of the Mechanics
Now that all the holes are ready, we can install the keys definitively.
1. Enter the Mechanics: Place each machine head into its main hole, from the back of the headstock.n2. Front Bushings: Insert the bushings (the front ferrules) from the front of the headstock.
Under Pressure: If they're push-fit, use a rubber mallet or a piece of wood with a clamp to gently press them into place. Don't use a metal hammer directly, as you could damage the finish or the bushing itself.
Threaded: If they are threaded, screw them in by hand until you feel them engage.n3. Align and Screw: This is a critical step for aesthetics and functionality. Take the ruler or template you used earlier to align the tunings and make sure they are all perfectly parallel to each other.
While holding the tuners still (you can use a delicate clamp with rubber pads, or have someone help you), tighten the rear fixing screws.
Important: Tighten by hand with an appropriately sized screwdriver. Don't use a power screwdriver, as you could strip the screw, ruin the hole, or split the wood.
Screw gently until you feel a slight resistance. Don't overtighten! The screws are there to hold the tuners in place, not to split the wood. A quarter turn after you feel resistance is more than enough. 4. Tighten the Bushings (if threaded): Now you can tighten the threaded bushings with the socket wrench or open-end wrench. Tighten firmly, but again, don't overtighten. They don't need to be snug, just tight.
If you followed all the steps, you should have your mechanics Installed, nice and straight, and ready to receive the strings. I've always found great satisfaction in this moment, when you see that your calculations and patience have paid off.
Sometimes, on a ready-made guitar, you may just want to change the mechanics. Maybe you want to upgrade to locking tuners or simply replace the old, worn ones. The process is similar, but you'll first need to remove the old ones and make sure the new tuners fit the existing holes. If you want to know how, you can check out our guide on how to modify an electric guitar. There I also talk about how to handle existing holes, whether they are too big or too small.
Troubleshooting and Advice from Those Who've Been There (and Failed)
Even with all the precision in the world, something can go wrong. That's the beauty of DIY, right? You make mistakes, you learn, and you find a solution. And I've made mistakes, believe me. I'll tell you the most common ones and how to fix them, or avoid them altogether.
Problem 1: The fixing screw strips or the hole enlarges
This is a classic. You either tightened it too much or the pilot hole was slightly too large.
Solution: Don't despair. You can fix this. The "toothpick" trick is my favorite.
1. Remove the screw.
2. Take a wooden toothpick (or a small, thin piece of wood) and dip it in a drop of white glue.
3. Insert the toothpick into the stripped hole, pushing it all the way in.
4. Let the glue dry for a few hours (or overnight).
5. Once dry, cut the toothpick flush with the surface of the wood.
6. Now you have a "new" piece of solid wood. You can drill a new pilot hole (even slightly off-center, if necessary) or screw in the screw directly, which will now grip the reinforced wood.
Prevention: Always use the right diameter drill bit for the pilot hole. Test it on a scrap piece. And screw it in by hand, without brute force.
Problem 2: The Mechanics Aren't Perfectly Aligned
Maybe one is slightly crooked compared to the others. It's not the best looking, and if the string's angle at the nut is too steep, it could cause tuning problems.
Solution: If the error is minor and purely cosmetic, living with it is often the best solution. It's not the end of the world. However, if the alignment compromises functionality (a string rubbing too much on the nut or an abnormal tension), you may need to loosen the screws, try realigning, and retighten. Sometimes, if the pilot hole is slightly large, you have a little bit of play to correct. If the error is due to the main hole, the situation is more complex and may require the use of wooden dowels and redrilling, a more advanced job.
Prevention: The marking and punching phase is the most important. Use a ruler or template. Check and double-check before drilling.
Problem 3: Chips Around Holes
This often happens if you didn't use tape or if your drill bit wasn't sharp.
Solution: If the chips are small and covered by the bushing or the base of the action, it's not a functional problem. If they're more visible, you can try filling them with a little wood filler or glue and fine sawdust, then sand and touch up the finish (if the neck is painted). This is a delicate job and requires patience.
Prevention: Always use strong tape on both sides of the hole. Use sharp drill bits. Slow down when the bit is about to penetrate the wood.
Extra advice from those with sawdust on their hands
Clean the Holes: After drilling, use a small pipe cleaner or some compressed air to remove all the sawdust from the holes. You don't want any debris blocking the mechanics to sit well.
Lubrication (Optional): Some luthiers put a drop of light machine oil in the gears of the tuning machines (if they are not sealed) before assembly, to ensure smooth operation.
* Tuning Stability: Once installed the mechanics, It's crucial that the strings are wound correctly. Fewer wraps on the headstock (especially with locking tuners) mean greater stability. When installing the strings, make sure they are at a good angle to the nut to avoid buzz and intonation problems.
To learn more about maintenance and installation of tuning machines, A great resource is the website of a trusted manufacturer like Gotoh. There, you'll often find detailed technical data sheets with precise measurements and installation tips, such as the guides on the Allparts UK website for Gotoh products: Gotoh Technical Data. They are valuable resources for understanding the “why” behind each measure.
Remember, every guitar I've built or modified has taught me something. Every mistake has been a lesson, not a failure. The important thing is not to be afraid to try and get your hands dirty. In the end, the sound that comes out of that guitar, tuned to the mechanics that you assembled, it will be even sweeter.
And Now, Let's Play!
Here we are, the work is done. Your electric guitar mechanics They're in place, nice and straight, and ready to be strung. Remember that initial panic, that fear of ruining everything? Well, now you have proof that with a little method, the right tools (and a lot of calm), it can be done.
I've spent years learning from my mistakes, understanding that absolute perfection isn't what matters, but precision at key points. I've drilled a crooked neck, stripped screws, and enlarged holes using unorthodox methods. But every time, I've learned something. And the end result—a guitar that sounds great and that you've built with your own hands—repays all the effort.
it's not just installing some keys. It's another step in your