
Electric guitar maintenance: 3 flaws and solutions
I still remember my first "serious" guitar, a Squier Stratocaster that an older cousin had left me as an inheritance. It played, but it didn't sound good. Well. It had a strange buzz, the strings were as high as mountaineering ropes, and when I tried a chord at the seventh fret it sounded like I was playing an out-of-tune piano. At the time I thought it was my fault, that I wasn't good enough. Then I discovered that the problem was the guitar, or rather, its almost total lack of maintenance.
At first, the idea of getting my hands on an instrument that cost more than a month's allowance terrified me. I was afraid of damaging it, of "unscrewing the wrong screw" and ruining everything. I think it's a common fear, that block that keeps you hanging your guitar on the wall even though you know it could sound much better. But I'll tell you something: if I could do it, even though I couldn't tell a potentiometer from a capacitor at first, you can do it too. All it takes is a little patience, the right tools (often already at home, or they cost next to nothing), and the desire to understand. Why something is done in a certain way.
In this article, I take you into my garage, among wood dust and flying wires, to tackle three of the most common defects that make life difficult for us guitarists and those who try their hand at it. do it yourself on your six-string. We'll talk about how to solve them, step by step, with a focus on the mistakes I've made myself and that you can easily avoid. guitar maintenance electric It's not rocket science, it's craftsmanship, and like any craftsmanship, it's learned.
1. The Fret Buzz and the Action Ballerina: When Your Guitar Clatters
.biafax-photo-grid { display: grid !important; gap: 12px; margin: 24px 0; }
.biafax-photo-grid-3v { grid-template-columns: repeat(3, 1fr) !important; }
.biafax-photo-grid-2h { grid-template-columns: repeat(2, 1fr) !important; }
.biafax-photo-grid a { display: block; overflow: hidden; border-radius: 6px; line-height: 0; }
.biafax-photo-grid img { width: 100%; height: 100%; object-fit: cover; aspect-ratio: 4 / 3; transition: transform 0.3s ease; }
.biafax-photo-grid a:hover img { transform: scale(1.03); }
.biafax-photo-grid br { display: none; }
.biafax-photo-grid-caption { text-align: center; font-style: italic; color: #555; margin: -12px 0 24px; }
.biafax-lightbox-overlay { position: fixed; inset: 0; background: rgba(0,0,0,0.92); display: flex; align-items: center; justify-content: center; z-index: 99999; cursor: zoom-out; }
.biafax-lightbox-overlay img { max-width: 92vw; max-height: 92vh; object-fit: contain; border-radius: 4px; }
@media (max-width: 768px) {
.biafax-photo-grid-3v { grid-template-columns: 1fr !important; }
.biafax-photo-grid-2h { grid-template-columns: 1fr !important; }
}
(function() {
if (window.biafaxGridLightbox) return;
window.biafaxGridLightbox = true;
document.addEventListener(‘click’, function(e) {
var a = e.target.closest(‘a[data-lightbox]’);
if (!a) return;
e.preventDefault();
var overlay = document.createElement(‘div’);
overlay.className = ‘biafax-lightbox-overlay’;
overlay.innerHTML = ‘‘;
document.body.appendChild(overlay);
overlay.addEventListener(‘click’, function() { overlay.remove(); });
document.addEventListener(‘keydown’, function handler(ev) {
if (ev.key === ‘Escape’) { overlay.remove(); document.removeEventListener(‘keydown’, handler); }
});
});
})();
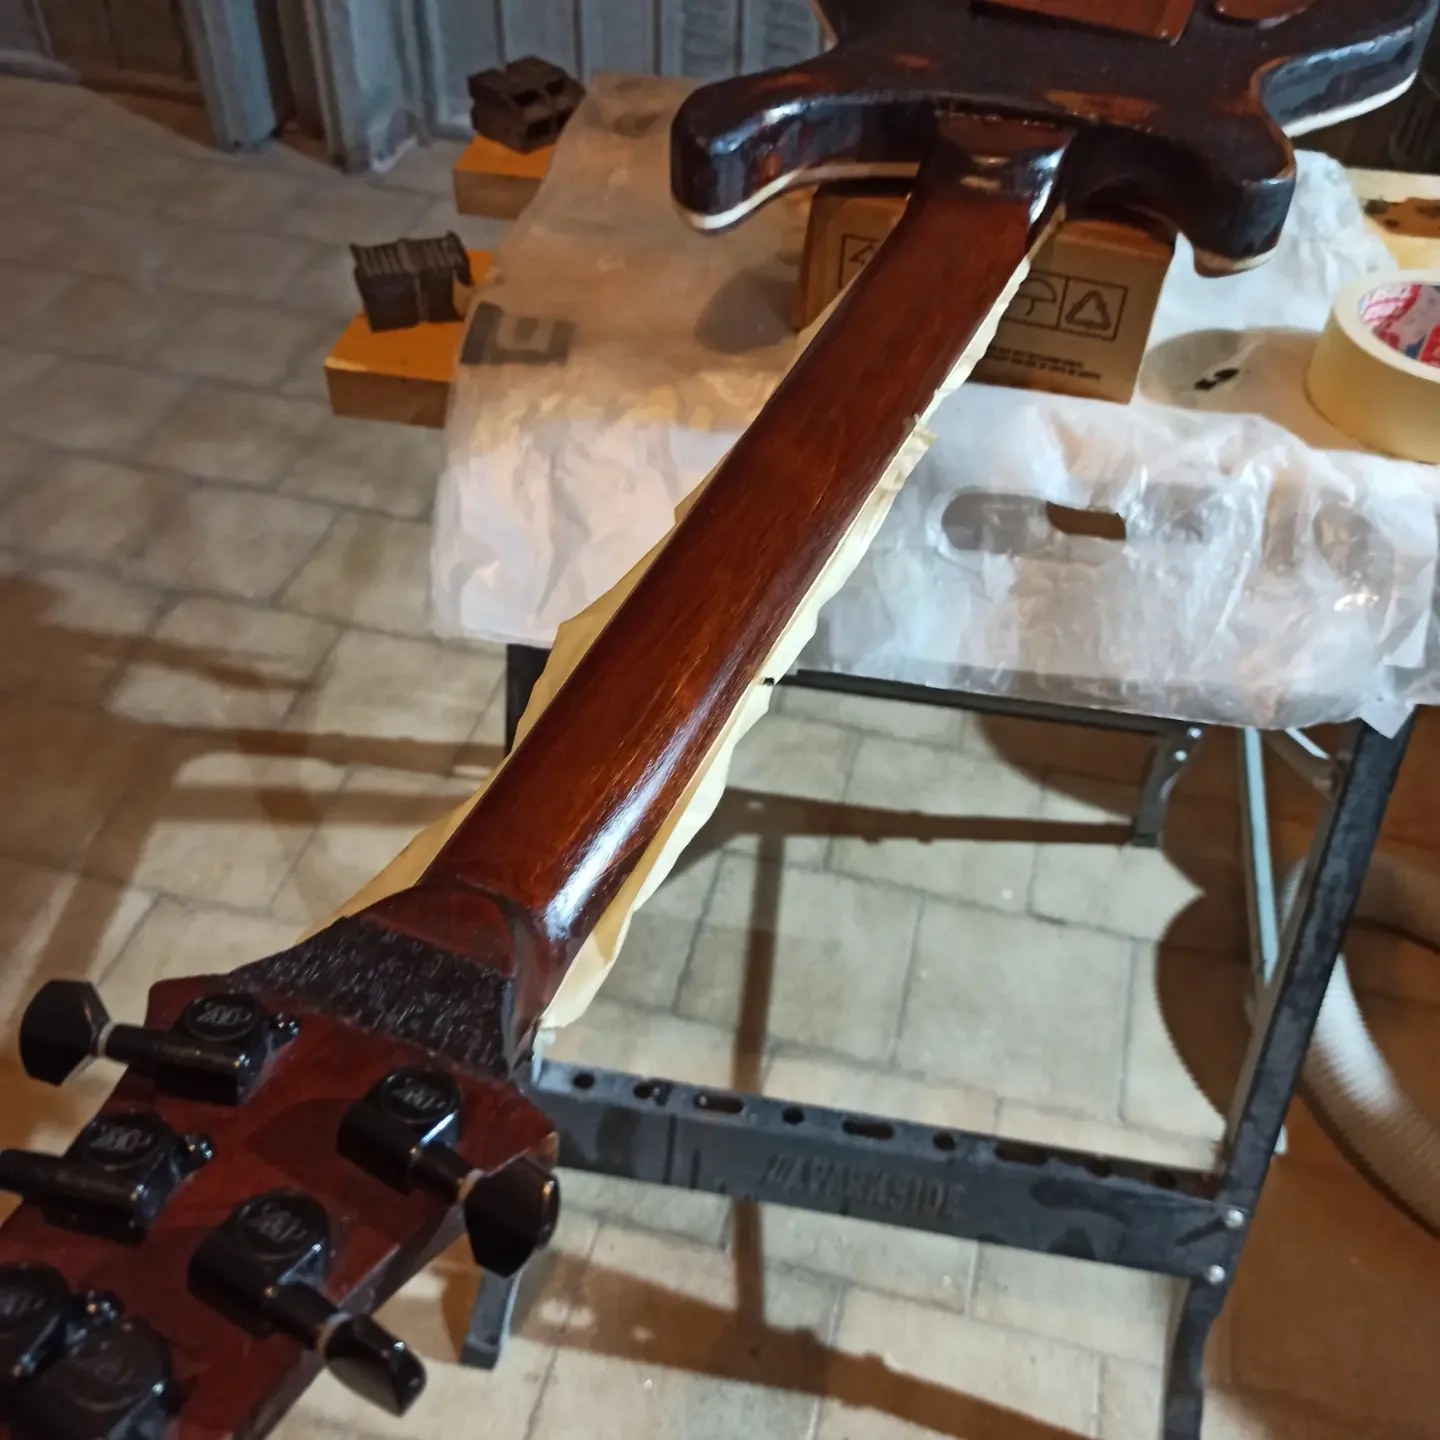
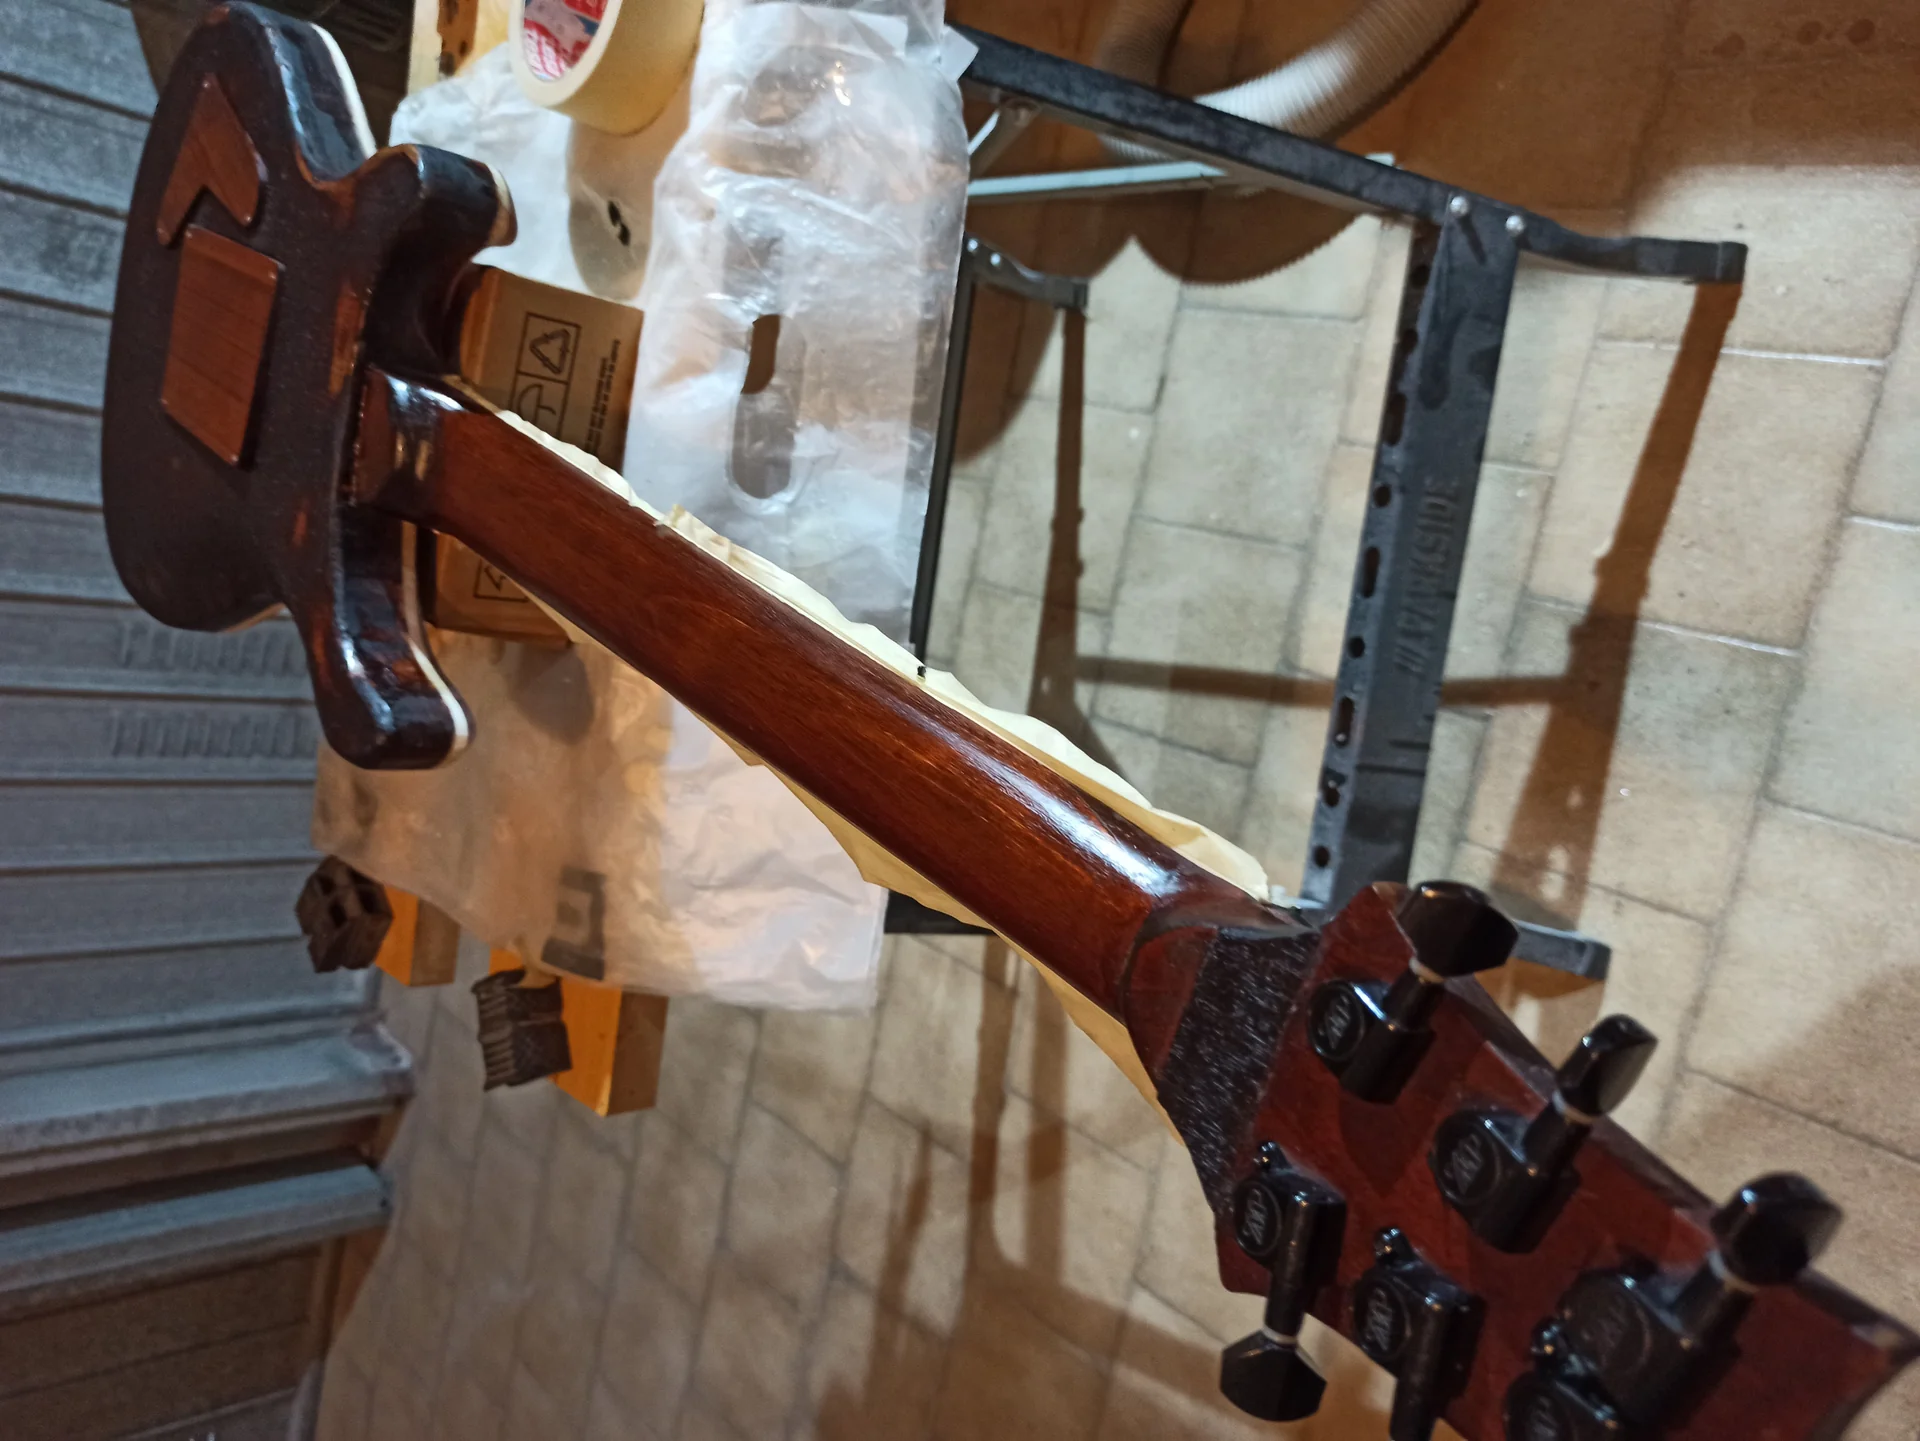
In this gallery: paint and handle.
.biafax-photo-grid { display: grid !important; gap: 12px; margin: 24px 0; }
.biafax-photo-grid-3v { grid-template-columns: repeat(3, 1fr) !important; }
.biafax-photo-grid-2h { grid-template-columns: repeat(2, 1fr) !important; }
.biafax-photo-grid a { display: block; overflow: hidden; border-radius: 6px; line-height: 0; }
.biafax-photo-grid img { width: 100%; height: 100%; object-fit: cover; aspect-ratio: 4 / 3; transition: transform 0.3s ease; }
.biafax-photo-grid a:hover img { transform: scale(1.03); }
.biafax-photo-grid br { display: none; }
.biafax-photo-grid-caption { text-align: center; font-style: italic; color: #555; margin: -12px 0 24px; }
.biafax-lightbox-overlay { position: fixed; inset: 0; background: rgba(0,0,0,0.92); display: flex; align-items: center; justify-content: center; z-index: 99999; cursor: zoom-out; }
.biafax-lightbox-overlay img { max-width: 92vw; max-height: 92vh; object-fit: contain; border-radius: 4px; }
@media (max-width: 768px) {
.biafax-photo-grid-3v { grid-template-columns: 1fr !important; }
.biafax-photo-grid-2h { grid-template-columns: 1fr !important; }
}
(function() {
if (window.biafaxGridLightbox) return;
window.biafaxGridLightbox = true;
document.addEventListener(‘click’, function(e) {
var a = e.target.closest(‘a[data-lightbox]’);
if (!a) return;
e.preventDefault();
var overlay = document.createElement(‘div’);
overlay.className = ‘biafax-lightbox-overlay’;
overlay.innerHTML = ‘‘;
document.body.appendChild(overlay);
overlay.addEventListener(‘click’, function() { overlay.remove(); });
document.addEventListener(‘keydown’, function handler(ev) {
if (ev.key === ‘Escape’) { overlay.remove(); document.removeEventListener(‘keydown’, handler); }
});
});
})();
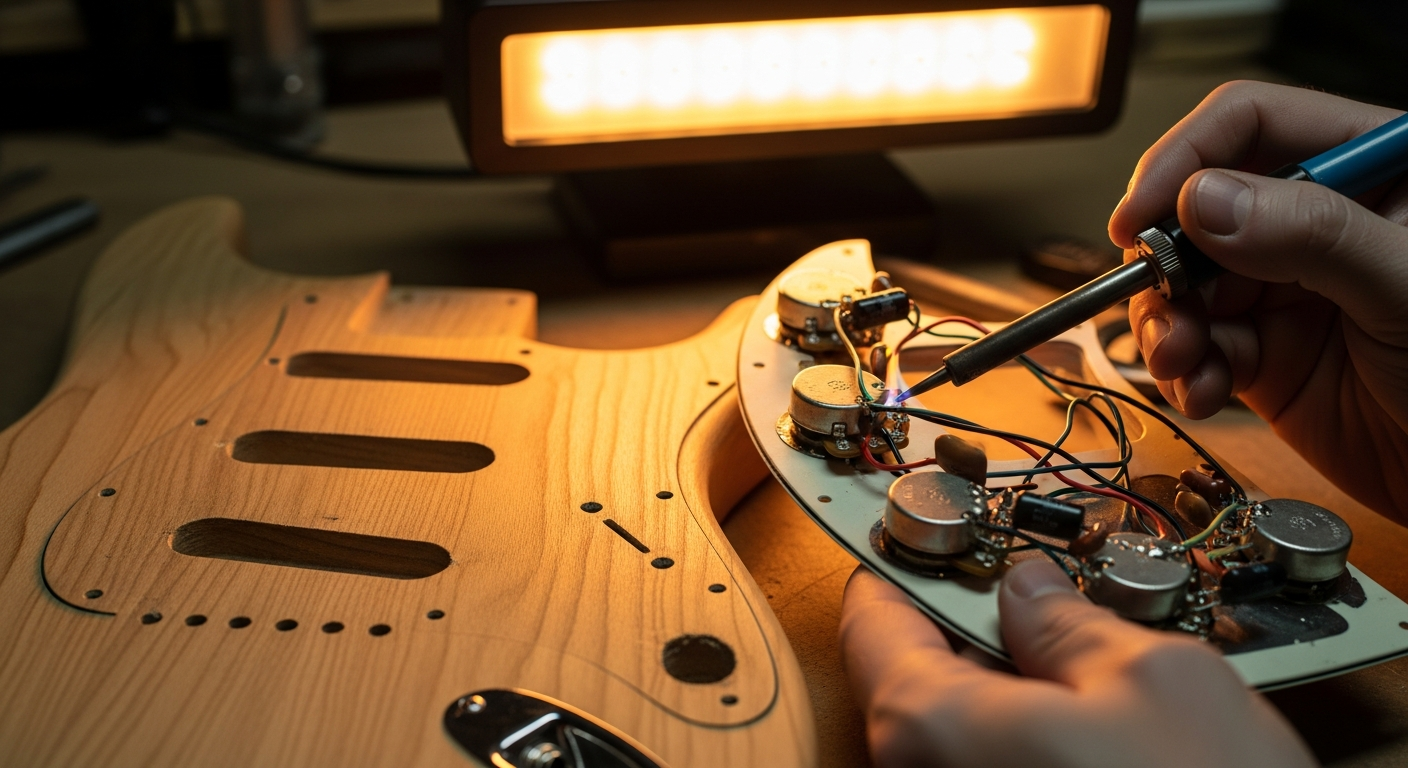
You know that annoying buzz you hear when you're not playing? Or worse, that infernal crackling when you turn a volume or tone knob? This is a classic electronics problem, and for us hobbyists, it's one of the most frustrating because it seems invisible. The fear is of shorting out, burning something out, or ruining the pickups. In reality, these are often simple problems to fix.
Understanding Why: Grounds, Shielding, and Potentiometers
Background noise (hum/buzz): It's often related to grounding or shielding issues. Electric guitars are essentially antennas that pick up electromagnetic interference (EMI) and radio frequency interference (RFI). Good shielding and an efficient ground system reduce them.
Grating/Cracking Potentiometers: It's almost always dirt. Dust, oxidation, and residue build up inside the potentiometer and disrupt the electrical contact when you turn it.
Materials you will need (and that I have in my drawer)
Electronic contact spray (specific!): It must be non-residue and safe for plastic. WD-40 Not It's a spray for electronic contacts! I learned the hard way that using the wrong product can do more harm than good. Look for products like DeoxIT D5 or similar.
Screwdriver: To open the pickguard or electronics compartment cover.
Multimeter (optional but useful): To check the continuity of the grounds. It's not essential for cleaning pots, but it is for grounding.
Adhesive copper or aluminum tape (with conductive adhesive): If you need to shield the electronics compartment.
Soldering iron and tin: If you need to redo some cold welds or reinforce a mass.
The step-by-step process: Silencing the noise
1. Cleaning the Potentiometers
This is the easiest and often solves the crackling problem.
1. Unplug your guitar from the amplifier: It seems obvious, but it's the first step to avoid causing damage.n2. Remove the knobs and open the electronics compartment: Unscrew the pickguard or back cover screws (depending on the guitar).n3. Locate the potentiometers: These are those little metal "boxes" with a pin onto which the knobs attach. Each potentiometer has a small slot or hole on the side.n4. Spray the cleaner: Get your contact spray. Insert the straw into the slot or hole of the potentiometer and spray briefly. Don't overdo it; a little goes a long way. 5. Turn the knob: Without removing the straw, turn the potentiometer knob back and forth about ten times. This helps distribute the detergent and remove dirt.n6. Let it dry: Wait a few minutes. The spray should evaporate without leaving any residue.n7. Close and test: Reassemble everything, plug in your guitar, and try it out. In most cases, the crackling will be gone.
2. Control and Reinforcement of the Masses (Grounding)
Background hum is often a grounding problem. All of your guitar's electronic circuitry should be connected to a common ground point. If a connection becomes loose or corroded, the noise increases.
1. Open the electronics compartment again: And, of course, disconnect it from the amp.n2. Visual inspection: Look carefully at all the solder connections, especially those going to the back of the potentiometers (often used as ground points), the output jack, the pickups, and the bridge (via a wire that enters the body). Look for solder that looks "cold" (dull, lumpy, not shiny or smooth) or loose wires. 3. Check with a multimeter (if you have one): Put the multimeter in “continuity” mode (it usually beeps if there is continuity).
Touch a known ground point (e.g., the back of a potentiometer) with the tip of the probe and another point that should be grounded (e.g., the bridge, the shield of the housing, the long tab of the output jack). If the multimeter beeps, the ground is OK. If it doesn't beep, you've found a problem. Redo the welds: If you find suspicious welds or ground breaks, it's time to get out the soldering iron.
Heat the old solder and remove the solder (with a desoldering pump or braid).
Clean the items to be welded thoroughly.
Make a new, clean, shiny, and solid solder. Don't add too much solder, or too little. The solder must wrap around the wires well. This is a crucial point for the electronics lifespan.
3. Cavity Shielding (Shielding)
If after checking the grounds and cleaning the pots you still have excessive hum (especially with single coil pickups, which are more prone to noise), it might be time to shield the electronics compartment. This is a great example of guitar improvement that you can do yourself.
1. Empty the electronics compartment: Remove all potentiometers, switches, and jacks from the electronics compartment. Leave the pickups connected, but place them outside the compartment. 2. Clean the compartment: Make sure there is no dust or debris.n3. Apply the shielding tape: Use copper or aluminum tape. Cover all the interior walls of the compartment, making sure each piece of tape overlaps the previous one to ensure electrical continuity. 4. Create a mass: Make sure the shield is grounded. You can do this by soldering a wire from the shield (perhaps in a corner) to the back of a potentiometer, which is already grounded.n5. Pickguard Shield (if applicable): If your guitar has a large pickguard that covers the electronics, you can apply tape to the underside of the pickguard as well.n6. Put everything back together: Reinstall the components, making sure that the wires are not pinched or too tight.
I shielded my old Strat this way, and the noise dropped dramatically. Don't expect complete silence, especially with single coils, but the difference is noticeable. For more information on the shielding process and other modifications, you can check out this article on guitar modification that I wrote.
Common mistakes to avoid
Using the wrong spray: Again, WD-40 or generic lubricants can leave an oily residue that attracts more dirt or damages components. Use only sprays specifically designed for electronic contacts.
Don't check all the masses: Sometimes the problem is a loose ground connection to the bridge, or a loose wire in the jack. Be systematic.
Rushed welding: A "cold" solder is worse than no connection at all. Take your time, use the right temperature, and make clean solder joints.
For a more in-depth look at shielding techniques and why they work, you can consult resources like StewMac (a shop specializing in DIY luthiery), which offers detailed guides and videos. For example, here's a good explanation of shielding: StewMac – How to Shield a Guitar. It's a reliable resource that I use often.
3. Intonation that doesn't hold: When the notes aren't where they should be
You've tuned your guitar perfectly. You play a chord at the first fret, it sounds good. Then you move your fingers to the seventh fret and... disaster! Everything's out of tune. This is intonation, and it's essential for an instrument that sounds good across the entire fretboard. Many think it's something that requires "perfect pitch" or a master luthier. Instead, it's a check anyone can do, and it's an integral part of the routine maintenance.
The pain point Here, there's often the feeling that it's too technical, or that "you won't hear the difference anyway." I assure you, you can hear it, indeed! A well-tuned guitar is a pleasure to play and to listen to.
Understanding Why: String Length and Harmonics
Intonation refers to the vibrating length of each string. When you press a fret, you shorten the string, and that new length must correspond exactly to the note it should produce according to the equal-tempered scale. The guitar bridge, with its adjustable saddles, allows you to compensate for small differences due to string thickness, height, and tension.
In practice, we need to make sure that the note played at the 12th fret (by pressing the string) is exactly the same as its natural harmonic (by touching the string lightly at the 12th fret). If it isn't, we need to shorten or lengthen the string by adjusting the bridge saddle.
Materials you will need (few, but good!)
Precision Electronic Tuner: Not a five-euro clip-on tuner, but one that's reasonably accurate. A pedal tuner or a professional app on your phone (with a good microphone) will do just fine. Accuracy is everything.
Screwdriver or Allen key: Depending on the type of bridge, to move the saddles back and forth.
The step-by-step process: Tuning harmonics
ATTENTION: The intonation must be done After Adjust the neck relief and action. If you change the action after tuning, you'll have to redo the intonation!
1. Tune your guitar perfectly
It seems trivial, but it's the most important step. Each string must be perfectly tuned before you begin.
2. Check the octave of each string
This is the heart of the process. We'll work on one string at a time.
1. Play the harmonica at the 12th fret: Lightly touch the string just above the 12th fret (without pressing it all the way down) and pluck it. The tuner should display the tuned note (e.g., E for the 6th string).n2. Play the note at the 12th fret: Now, press the string Well at the 12th fret and pluck it.n3. Compare the two readings on the tuner: If the fretted note is flat (lower) than the harmonic: It means the string is too long. You need to shorten it.
If the fretted note is sharp (higher) than the harmonic: It means the string is too short. You need to lengthen it.
3. Adjust the bridge saddles
Now that you know whether the string is too long or short, you need to move the corresponding saddle.
1. Loosen the string slightly: You don't have to loosen it completely, but just enough to be able to move the saddle without effort.n2. Act on the adjustment screw: To shorten the string (if the fretted note is flat): Turn the saddle screw clockwise hours. The saddle will move towards the headstock.
To lengthen the string (if the fretted note is sharp): Turn the saddle screw clockwise counterclockwise. The saddle will move towards the bridge.n3. Make small adjustments: Move the saddle a little, a full turn of the screw is often too much.n4. Retune the string: Tune the string you just adjusted perfectly.n5. Repeat the check: Go back to step 2 and check the harmonic and the note fretted at the 12th fret again.n6. Iterate: Repeat this process (loosen, adjust, retune, check) until the note fretted at the 12th fret and the harmonic at the 12th fret are identical on the tuner. The tuner should indicate that the note is perfectly centered.
4. Repeat for each string
Once you've tuned one string, move on to the next. Don't neglect any strings. Sometimes, adjusting one string can slightly affect the overall tension and therefore the tuning of the others, but if you've done the initial steps correctly, the effect is usually minimal.
Common mistakes to avoid
Do not tune before any check: Every time you move the saddle, the tension of the string changes. You must always retune. perfectly before doing a new check.
**Make rules