

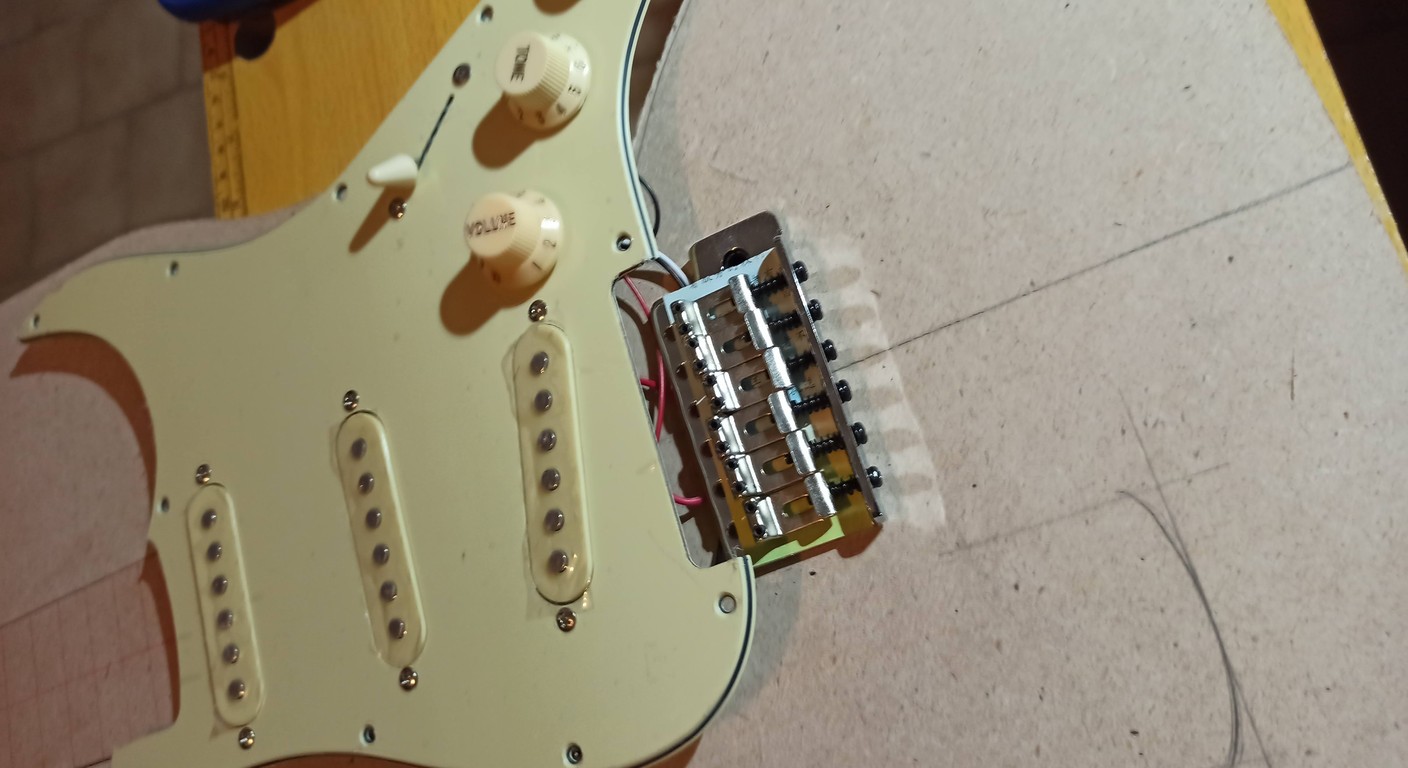
Fixed Guitar Bridge: A Guide to Building a Guitar
Building a guitar electric from scratch is a journey of discoveries, wood dust and, let's face it, even some whispered curses. But the final satisfaction repays everything. Among the various pieces you can decide to make with your own hands, the fixed bridge of the guitar electric is one of those that gave me the most headaches, but also the most joy.
I'm not a professional luthier, I've always said that. I'm someone who, like you, learned through trial and error in the garage. I bought ready-made bodies, assembled kits, and then started wanting to do more. The bridge, that piece of metal that holds the strings and transmits them to the body, seemed like an insurmountable obstacle to me. Instead, with a little patience and the right tools (or almost), it can be done.
Many hobbyists get stuck right here. They think: “But the bridge must be super precise, the intonation, the action… it's engineer stuff!” And indeed, precision is fundamental. But you don't need a CNC milling machine costing tens of thousands of euros. You need a caliper, a good dose of calm, and the desire to learn from your mistakes. Because yes, you will make them. I've made them, and I assure you it's the best part of the process.
This guide is designed for those who, like me, want to get their hands dirty and fully understand how their six-string works. We'll talk about materials, measurements, tools, and I'll give you some tips to avoid the most common mistakes, the ones I made first.
Why a homemade fixed bridge? Advantages and (some) headaches
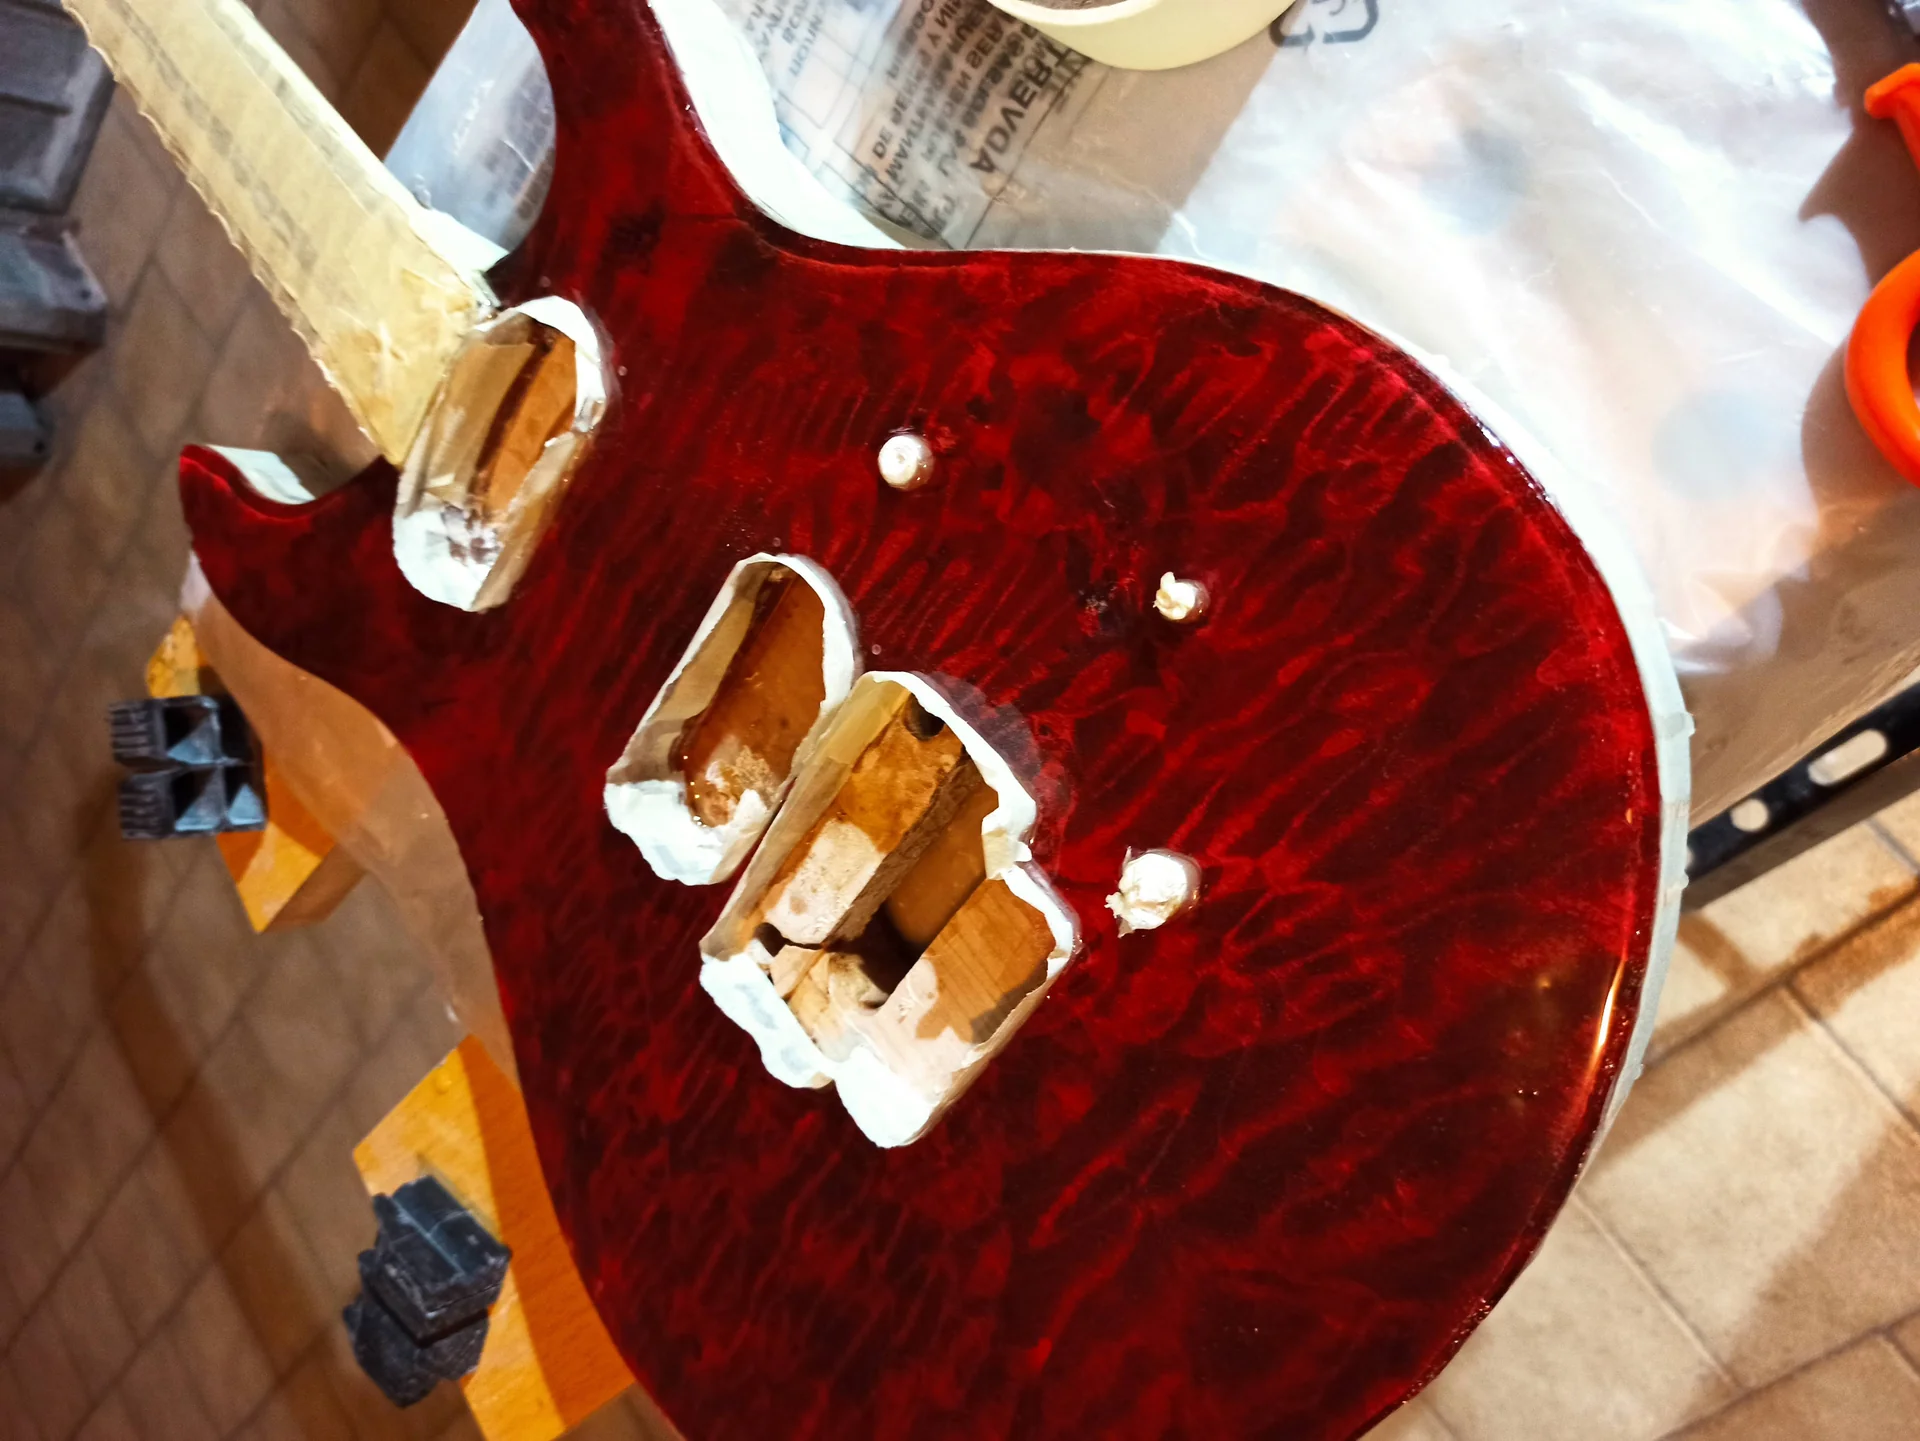
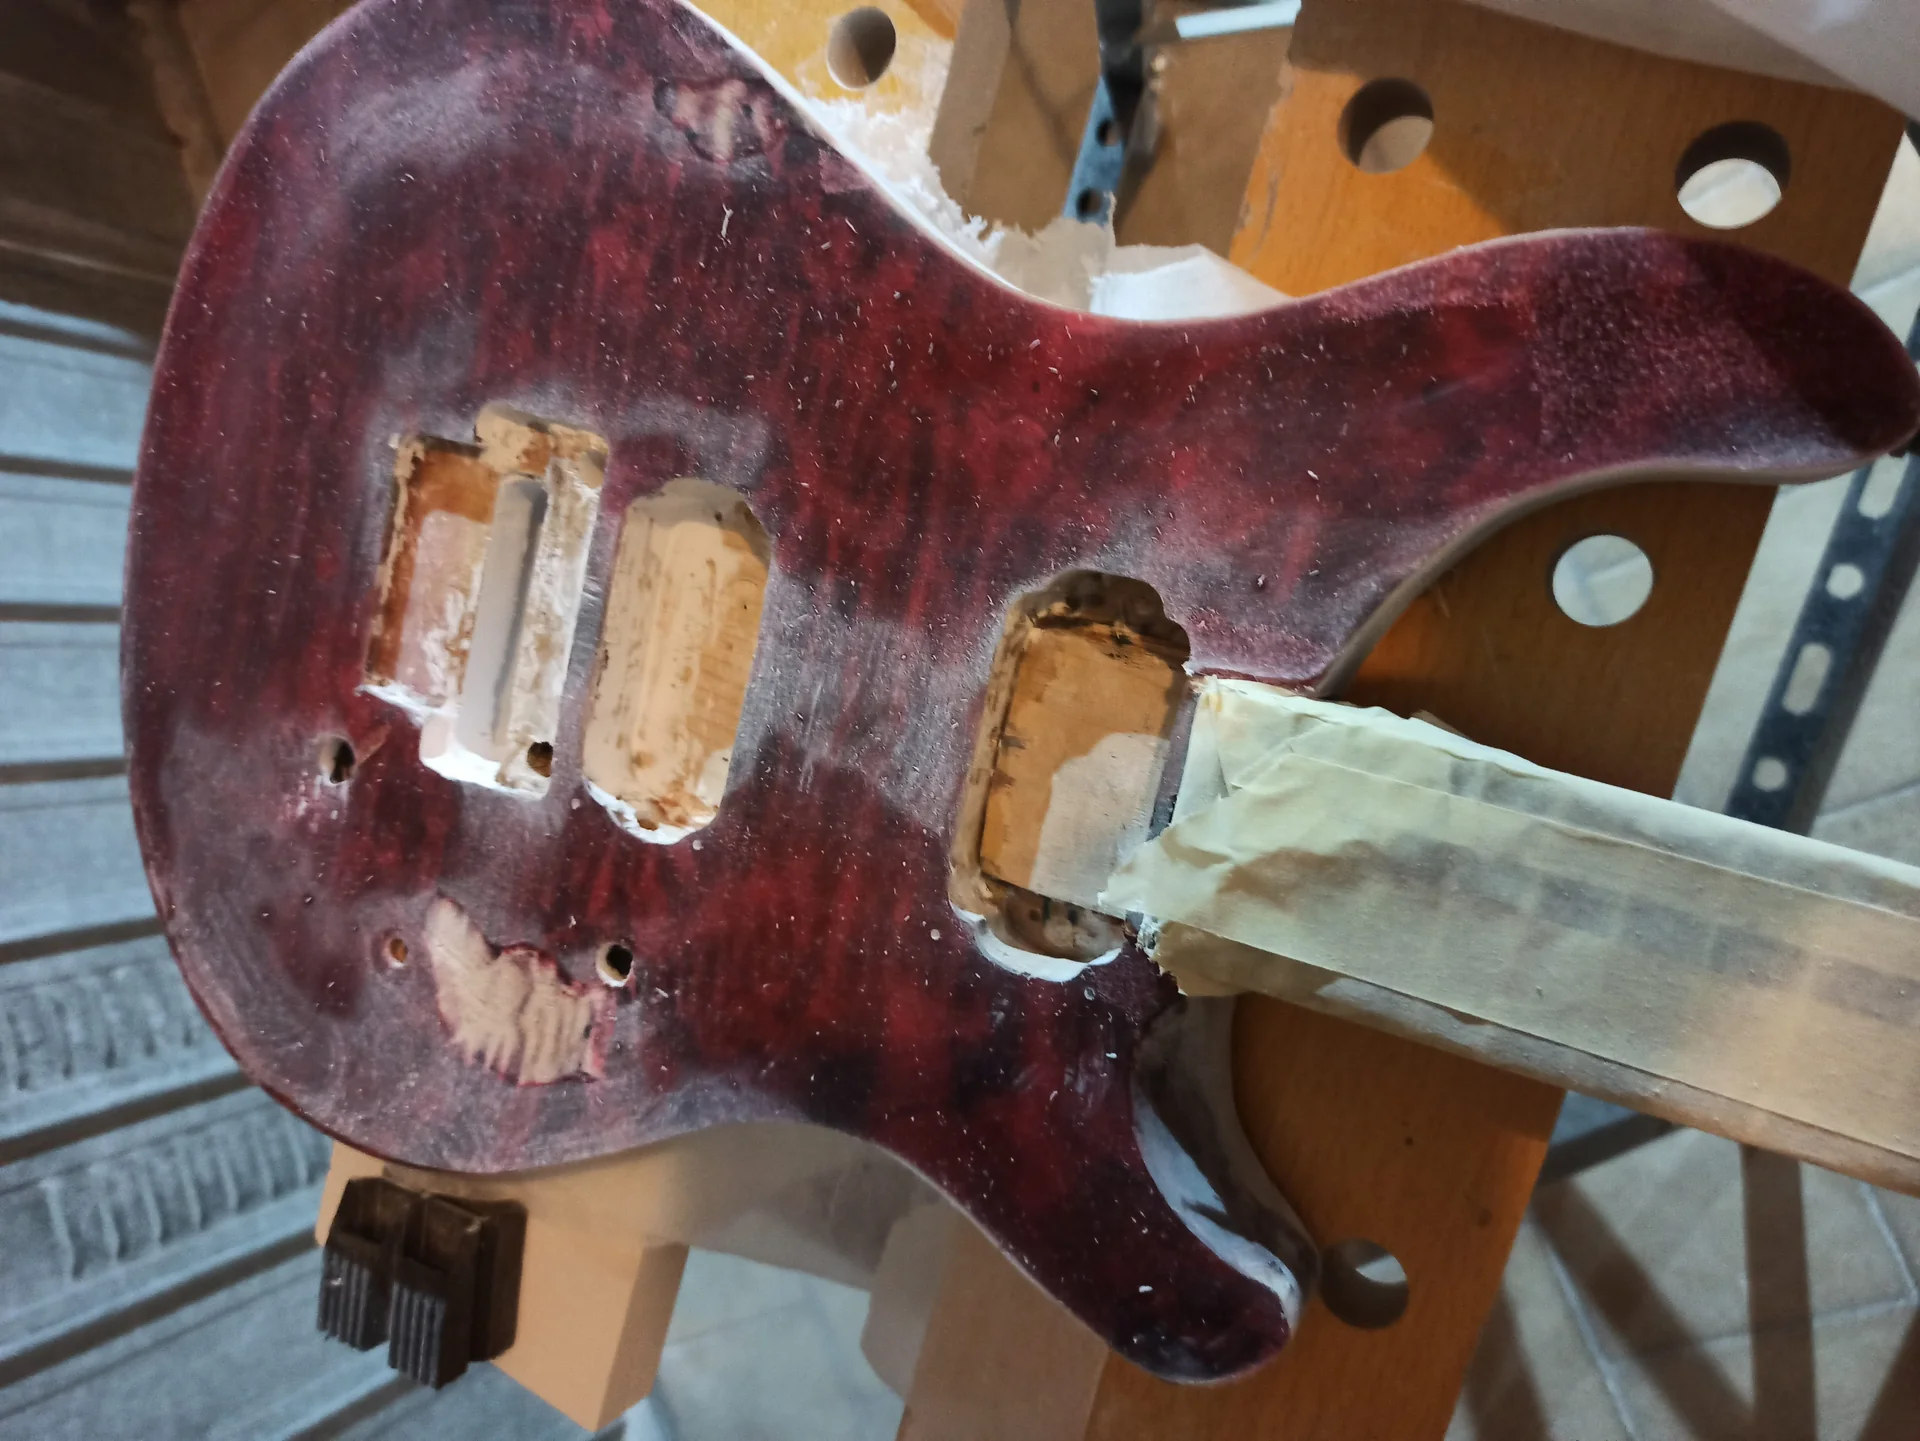
The first question they'll ask you is: “But why don't you buy one already made?” And it's a legitimate question. There are excellent quality fixed bridges on the market, from a few euros to hundreds. But the answer, for those of us who love DIY, is simple: because we can.
When I decided to build my first fixed bridge for electric guitar, I had a very specific idea in mind. I wanted a slightly different interstring (the space between one string and the next), for a unique feel I couldn't find on commercial bridges. Or, I was looking for a specific aesthetic, something minimalist that would integrate perfectly with the body design I was developing. Extreme customization: This is the main advantage. You can choose the base material, the shape of the saddles, the type of fastening. Do you want a solid brass bridge for incredible sustain? Or aluminum for a brighter, lighter sound? No problem, you are the master of the project. Deep understanding: Every piece you build forces you to understand how it works. Creating your own string fastening system teaches you the importance of scale, intonation, and break angle. It's not just an object; it's a practical lesson in physics applied to lutherie. Personal satisfaction: There's nothing like picking up a guitar and knowing that that piece of metal, which holds the strings and allows you to play, you made yourself. Maybe it won't be as perfect as a high-end Gotoh, but it has a soul, yours. The dark side: the headaches. Let's not hide behind our fingers. Building a fixed bridge requires maniacal precision. A hole shifted by half a millimeter, a saddle not perfectly aligned, and the intonation will become a nightmare. The risk of wasting material, time, and effort is real. I threw away a couple of brass bases before making a decent one. But it's precisely from these mistakes that you learn.
So, if you're looking for absolute perfection on the first try, maybe it's better to buy. But if you want to learn, experiment, and accept that the process also involves trials and failures, then you're in the right place.
Materials and Tools: Your Garage Luthier's Arsenal
Before you start cutting and drilling, we need to take stock of what we need. You won't need a machine shop, but a minimum of equipment is essential. And trust me, you'll use many of these tools for a thousand other lutherie projects.

Materials for the bridge
Choosing the material for the base and saddles of your fixed bridge is not just aesthetics, but also influences the sound.
Brass: My favorite. It's relatively soft to work with, but dense enough to offer excellent sustain and a warm sound. It polishes well and ages with a beautiful patina. You can find it in sheets of various thicknesses. 4-5 mm for the base is a good starting point.
Stainless Steel: Very resistant, it offers a bright sound and remarkable sustain. It's harder to work with than brass, requiring specific drill bits and cutters, and more patience.
Aluminum: Lightweight, it offers a more “open” sound and less sustain than brass or steel. It's easy to work with. Perfect for those looking for a modern look or a lighter guitar.
For the saddles, you can use the same material as the base or mix. Many prefer brass or steel saddles for their hardness and ability to transmit vibrations well.
You will also need:
Screws: For the saddles (intonation and height) and for attaching the bridge to the body. Make sure they are of good quality and the right size.
Springs: Small springs for the intonation screws, help keep the saddle in place and prevent unwanted vibrations.
Essential tools
Here's a list of the tools I've used and highly recommend. You don't have to buy everything new; look for used ones or borrow them. Digital caliper: No kidding, this is YOUR best friend. Every measurement, every check, goes through here. A good 20-30 euro caliper will save you from a lot of mistakes.n2. Carpenter's square and steel ruler: To draw straight and precise lines.n3. Centering tip (or graver): To mark the exact spot where to drill. This is essential to prevent the drill bit from slipping.n4. Pillar drill: If you have it, use it. Vertical precision is invaluable. If you don't have one, a good hand drill with a vertical stand can do the job, but you'll have to be much more careful and steady. I used a hand drill for years, with acceptable results.n5. Metal drill bits: Of various sizes. Always start with a small tip and then gradually widen it.n6. Males and supply chains: To create the threads for the saddle screws and intonation screws. The measurements will depend on the screws you use.n7. Metal jigsaw (or Dremel with cutting discs): To cut the shape of the base. The Dremel is faster, but the saw gives you more control over the details.n8. Metal files (flat, round, half-round): To finish the edges, square, create the slots for the strings on the saddles.n9. Sandpaper for metal: Of various grits, from coarse to very fine (up to 1000-2000) for polishing.n10. Cutting oil: Essential when drilling or threading metal. It helps cool the tool, extends the life of the bits, and makes the work cleaner.n11. Clamps and bench vice: To hold the workpiece securely while you work. Never work on a moving workpiece!
Garage Tip: If you don't have a drill press, invest in a good drill stand. It will give you much more stability and precision than holding the drill freehand. It won't be like a real drill press, but for hobby use, it's an excellent compromise.
Design: Size is not optional
This is the step where many get scared, and it's also where you can't afford gross errors. The design of your fixed bridge for electric guitar is crucial. One wrong millimeter here can mean impossible intonation or unmanageable action. I've learned the hard way that drawing first, measuring three times, and then drawing again, is the only way.
The basic measures
Every bridge, whether fixed or tremolo, is a critical element for tuning and sound. Here's what you need to consider:
1. Guitar Scale (Scale Length): This is the mother of all measurements. The distance between the nut and the string contact point on the bridge (or rather, on the twelfth fret multiplied by two) determines the vibrating length of the string. If you already have the neck or body, this measurement is fixed. For a Stratocaster it is typically 25.5 inches (648mm), for a Les Paul it is 24.75 inches (628mm). The center of the bridge saddle must be at this distance from the nut.
2. String Spacing: How much space is there between one string and another? This affects the playability and feel of the guitar. Standard values range from 52mm to 56mm at the bridge. Do you want a narrow string spacing for fast shredding or wider for fingerstyle? Decide now. It's a very personal choice.
3. Intonation Compensation: The saddles are not all on the same line. The low E string needs to be longer than the high E string to intonate correctly. This means that the saddles must be able to move back and forth. Your design must provide a sufficient range of movement, usually 5-10mm. This is the real “pain point” for many, but it is manageable.
4. Saddle Height Adjustment: The saddles must allow for string action adjustment. This means they must have sufficient height to be worked on, or you must provide a screw system to raise and lower them. If you make them fixed, the risk is that the action will be too high or too low and there will be no remedy.
5. Break Angle of the Strings: The angle at which the string descends from the saddle towards the string-through hole is important for pressure on the bridge and thus for sustain. An angle that is too flat can cause buzzing problems or lack of sustain. Usually, an angle of about 15-20 degrees is ideal.
6. Keyboard radius: If your saddles are individual, you can try to replicate the radius of the fingerboard for a uniform action. If you use a flat base and fixed saddles, you'll need to machine them so that the top follows the radius.
Designing your bridge
You don't need to be a graphic designer. When I first started, I used graph paper, a pencil, and an eraser. Then I switched to free CAD software like Fusion 360 (for hobby use), which allows you to create precise 2D and 3D drawings.
Start from the layout: Draw the outline of your base. Then position the saddles, taking into account the string spacing and intonation range.
Mark all the holes: For the strings, for the body screws, for the intonation screws and saddle height adjustments. Every hole must be in its precise place.
Check, double-check, and then double-check again: Print the drawing to 1:1 scale and place it on the guitar body (or on the neck if you already have it). Visualize. Do you like it? Do the measurements match? Does everything seem in the right place? Ask a friend for a second opinion.
A good starting point to better understand the relationships between scale, bridge, and intonation is the technical documentation of major manufacturers. For example, StewMac has a very detailed guide on guitar scales and bridge placement, which I recommend consulting. It is an authoritative source that will give you the necessary theoretical foundations.
And if you're wondering how to manage the placement of a bridge on an existing body, perhaps for an upgrade or repair, I recommend taking a look at our guide on how to modify a guitar, you will also find useful ideas for repositioning.
Pain point: The fear of getting the measurements wrong blocks many. My advice is to proceed in steps. Start with a simple drawing. Then add the details. Don't be afraid to throw away a drawing and redo it if you're not convinced. Better to waste a sheet of paper than a piece of brass.
There construction step by step: let's get our hands dirty
Once you have your final design, with all the precise measurements, it's time to take action. This is the moment when theory clashes with practice, and where patience is your best ally.
1. Preparing the bridge base
Cutting the rough: Take the metal sheet (brass, steel, aluminum) and trace the outline of your bridge's base. Be precise, but not obsessive, at this stage: you'll have time to refine. Use the jigsaw or Dremel with a cutting disc to separate the piece.Roughing and squaring:
Now, with metal files, bring the piece to its final shape. Work on the edges, making them smooth and perpendicular. Check often with the square. This step is important for aesthetics and for a good fit with the body.
Garage Tip: When working with a Dremel or jigsaw, always hold the workpiece securely in a vise. You don't risk hurting yourself or ruining your work.
2. Drilling the string holes
Here, precision is crucial. The strings must pass cleanly and straight.
Signature: Using the gauge and centering pin, mark the exact spots where the string holes will go. Check and double-check the string spacing.
Drilling: Start with a small bit (e.g., 1.5-2mm), then gradually widen it to the desired diameter (usually 3-4mm for strings, but it depends on how you designed the grommet). Use cutting oil. Be careful to drill perfectly perpendicularly, especially if using a hand drill.
If your strings will be running through the body, you will also need to slightly countersink the entry holes on the top side of the bridge to prevent string snagging.
3. Drilling for the body fixing screws
These holes must also be precise for a stable assembly.
Positioning: Mark the points where the bridge will be fixed to the body. Usually there are 3 or 4 screws.
Drilling: Use a drill bit suitable for the diameter of the screws you will use, but make sure the hole on the bridge is slightly larger than the diameter of the screw. This allows for a minimum of play for alignment.
4. Making the saddles (if you make them yourself)
This is the most delicate step and where customization is maximal. If you have decided to buy the saddles, you can skip this section.
From the rough: Starting from a piece of metal (e.g., brass or steel) of the appropriate size, cut the six saddles. Again, finish with the file.
String slot: With a thin file (or a nut file if you have one), create a small groove to house the string. This groove should be just slightly wider than the string itself and not too deep. The goal is for the string to rest stably without moving sideways, but without getting “stuck”.
Holes for intonation and height screws: Intonation: Drill a through-hole for the screw that will slide into the bridge.
Height: Drill two threaded holes in the lower part of the saddle, where you will screw in the height adjustment screws. This is the time to use taps to create the thread.
Garage Tip: For the saddles, if you don't feel confident, you can start by buying some pre-made ones and then, once you get the hang of it, try to make them yourself. I did it that way. The first saddles I made looked like abstract sculptures!
5. Assembly and finishing
We're almost there!
Preliminary assembly: Screw the saddles to the base of the bridge. Insert the intonation screws with the springs. Check that everything slides freely and that the saddles move within their range.
Cleaning and polishing: This is the time to make your work shine. Start with medium-grit sandpaper (220-400), then gradually increase (600, 800, 1000, 1500, 2000). You can finish with a polishing paste and a soft cloth or a polisher. Good polishing is not only aesthetic but also makes the metal more resistant to oxidation.
Attention: Don't rush these steps. Every small imperfection will be visible. Attention to detail makes the difference between a “homemade” job and a “craftsmanship” job.
Intonation and adjustments: the final (and critical) touch
You mounted yours fixed bridge on the body, you've strung the strings, maybe you've already done a first neck setup. Now comes the moment of truth: intonation and fine adjustments. This is the point where all the precision work done so far is put to the test.
Adjusting the action (string height)
The first thing to do is to set the string height. This is done by adjusting the height screws of each saddle.
1. Set a base: Start with the strings a little higher than they should be.n2. Check the radius: If your fretboard has a radius (curvature), try to replicate it with the saddles. Use a radius ruler or a set of gauges to check that the strings follow the curvature of the fretboard.3. Gradually lower: Lower the saddles on each string until you achieve the desired action, being careful not to let the strings buzz on the frets.
Remember that the action is a very personal thing. Some prefer it very low and some a little higher for greater dynamics. Experiment!
Tuning the strings
This is the most critical step. Intonation ensures that every note played on the fretboard is correct.
1. Tuning: Tune your guitar accurately using a good tuner.n2. Check the eighth: Play the open string and check the tuning. Then, play the same string at the 12th fret (harmonic and fretted).n3. Adjustment: If the note at the 12th fret is waning (lower), it means the string is too long. You need to shorten it by moving the saddle forward (towards the handle).
If the note at the 12th fret is growing (higher), it means the string is too short. You need to lengthen it by moving the saddle backwards (towards the bridge).n4. Repeat: Tuning, checking, adjustment. Repeat this process for each string, over and over again. It's a fine-tuning job that requires patience. Every time you touch a saddle, the general tuning can slightly vary.
Pain point: Sometimes intonation seems impossible. It's not necessarily your fault. It could be an incorrect scale problem (if you positioned the bridge by eye), or a neck that's not perfectly straight. In these cases, my advice is to go back and recheck the bridge placement relative to the scale. Sometimes a millimeter is enough to make a difference. And yes, sometimes it means having to plug holes and redo them. It happened to me too.
Common Troubleshooting
Even with the utmost care, something can always go wrong.
Frying strings: Action too low: raise the saddles.
Poorly made saddle: The string groove may be too deep or uneven. Sometimes a light filing is all it takes.
Neck too straight (truss rod): check the neck relief.
Poor sustain or “dead” sound: The bridge is not properly fixed to the body: make sure the screws are tight and there is good contact.
Bridge material: sometimes a lighter material can give less sustain.
Insufficient string breaking angle.
Difficulty in tuning: Friction saddles: The string groove may be too narrow or rough.
Saddle screws loose.
* Problems with the nut or the tuners (but this does not depend on the bridge).
Remember, every guitar is a universe unto itself. What works for one might not be ideal for another. The beauty of DIY is precisely this: you learn to know the instrument in all its facets, and to find the most suitable solutions.
In the end, your homemade fixed bridge it will be a unique piece, with all its small flaws and imperfections, but it will be an extension of your creativity and passion. And trust me, when you hear it play, it will be music to your ears.
I hope this guide helps you with your next project. If I succeeded, with my means and my mistakes, you can do it too. Don't be afraid to try, to make mistakes, and to redo. It's the best way to learn. And when you're done, let me know how it went! Post photos of your masterpiece, I'm curious to see it!
See also
Download the Luthier Survival Kit
Free PDF with checklist, problem-cause table and project card template.
 English
  Italiano
Stuck on your build?
If you ran into the same problem or have a question, drop it in the comments. I read and reply to every one.
Write a comment