

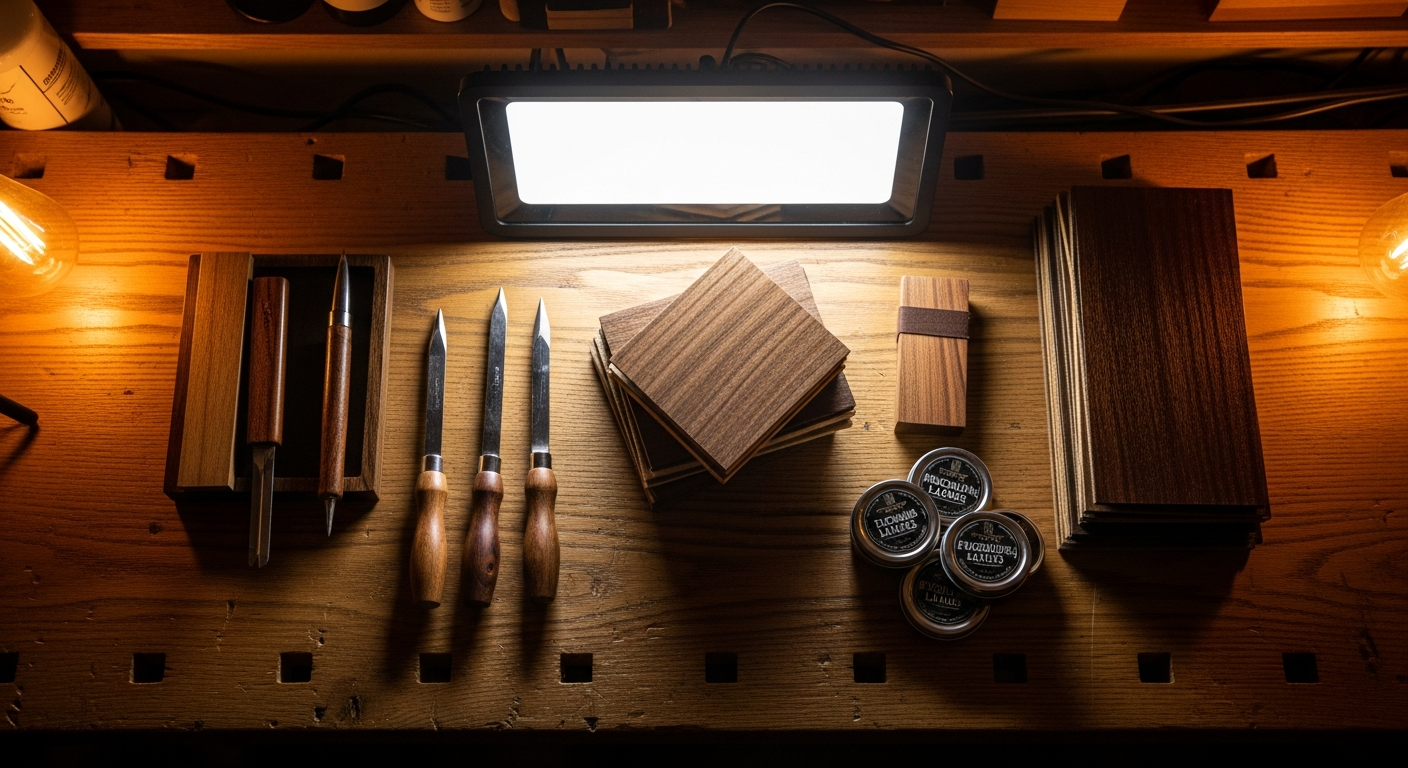
Solderless Pickup Replacement: 3 Steps
How many times have you found yourself with a shiny new set of pickups, perhaps a nice pair of splittable humbuckers or some vintage-sounding single coils that made you dream, but then you saw that damned soldering iron and your stomach knotted? It happened to me too, don't worry. The shaking hands, the fear of burning a potentiometer, of making a cold solder that will drive you crazy trying to figure out where the problem is. It sounds like an initiation rite, but I assure you it's not.In the garage, I burned more than one wire and made more than one "ball" solder before realizing that, sometimes, the simplest solution is the one that saves the day. What if I told you that you could replace your pickups without touching the soldering iron? Yes, you read that right. Zero solder, zero smoke, zero stress. I want to tell you how I learned to do it. replacement of the pickups guitar without welding, and how you can do it too, calmly and with a method that works.nn
Why you should avoid the soldering iron (and when you can't)
nn nnnnnn
Ok, you've decided to take the plunge and change the pickups. Great! But before you start, stop for a moment. Don't do like me the first few times, when I rushed in without a shred of planning, ending up having to run to the hardware store at midnight. Preparation is half the battle.nn
Essential Tools (The Garage Luthier's Kit)
nnnn
nnnYou don't need a super-equipped workshop, but some tools will make your life much easier.nn Screwdriver set: Phillips and slotted screws, of various sizes. You'll need them for the pickguard, the pickup screws, and sometimes for the potentiometers. Make sure they're good quality; you don't want to strip a screw on your guitar's body.Wire cutters and strippers: For clean cutting and stripping of wires, if the no-solder system requires inserting the wires into terminals.
Fine-tipped tweezers: Useful for handling thin wires, small connectors, or retrieving screws that have fallen into the cavity. Once, I dropped a tiny washer into a blind hole, and without tweezers, I would have had to disassemble half the guitar.
Multimeter (tester): It's not strictly "essential" for physical assembly, but it's ESSENTIAL for diagnosing problems and checking connections. It allows you to check continuity, pickup resistance (important for sound!), and determine if there's a short. If you don't have one, buy one. Even a cheap model will do just fine for our purposes.
Heat shrink tubing and/or cable ties: To organize cables inside the cavity and prevent short circuits or unwanted noise. Organization is a friend of sound.
Electrical Insulation Tape: Always useful for insulating connections or repairing small abrasions on cables.
Soft and protective cloth: To rest the guitar without scratching it. An old towel works great.nn
Specific materials for solderless replacement
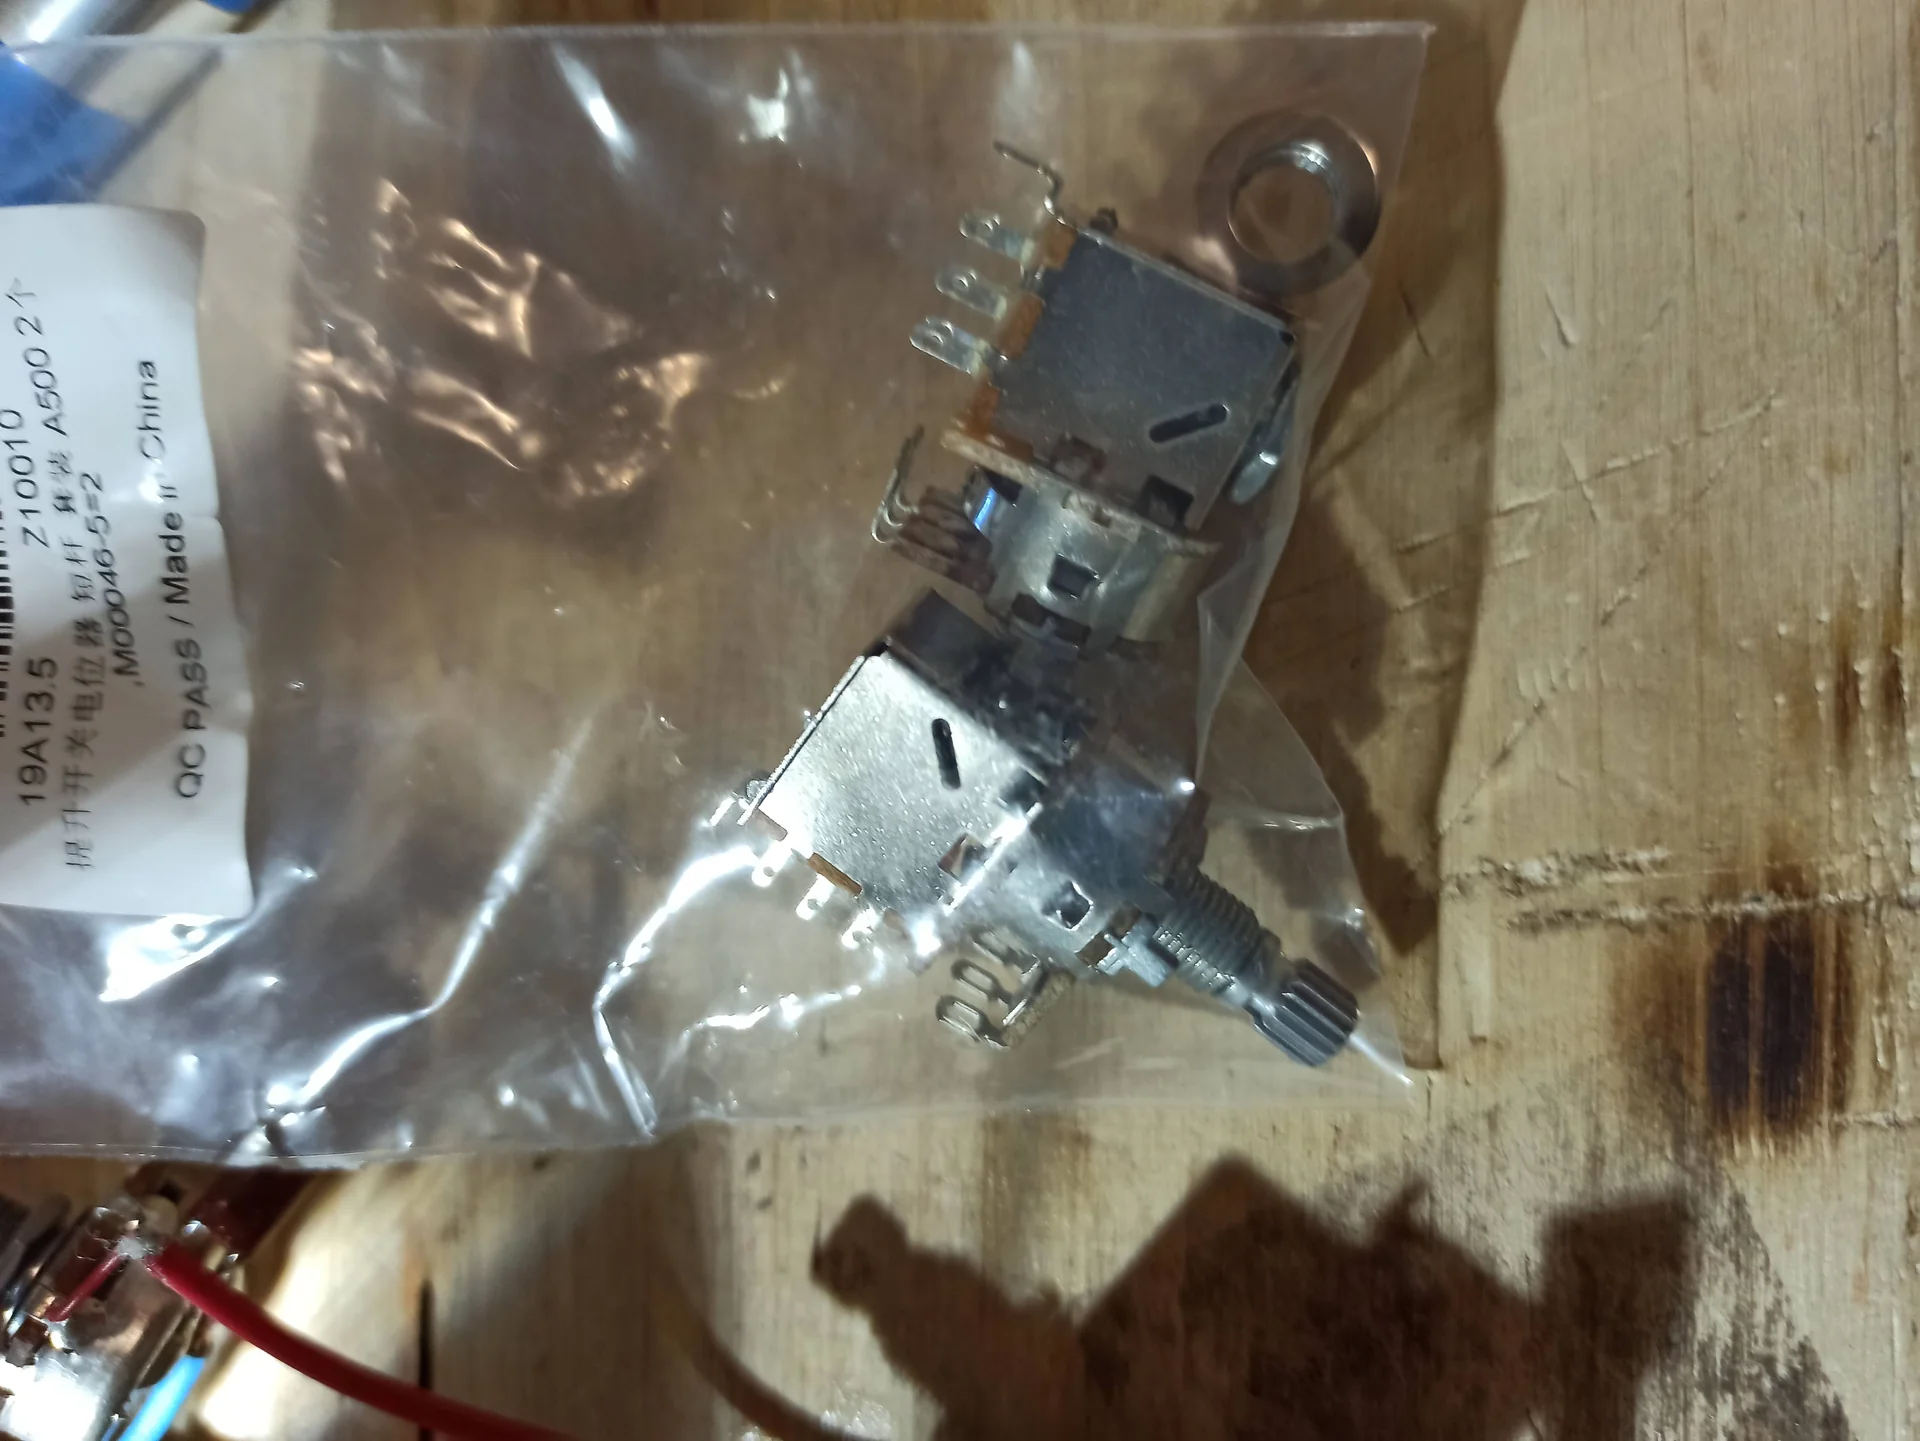
Obviously, the new pickups are the highlight. But you need to pay attention to how they are designed for connection.nn Quick-Connect Pickup: If your new pickups (e.g., EMG, Fishman Fluence, some Seymour Duncans, or DiMarzio) have quick-connect connectors, check that your current wiring is compatible or that the kit includes everything you need (potentiometers, jacks, specific selector switches). These systems are often sold in complete kits.Pickup with terminal block: Some systems use screw terminals, similar to those you find in a home electrical system. In this case, you will only need to strip the pickup wires and insert them into the terminal, tightening the screw.nn
Common Shopping Mistakes (and How to Avoid Them)
This is where my field experience comes in, made of some wrong purchases and some sleepless nights.nn1. Size Compatibility: It seems obvious, but it's not. A standard humbucker won't fit in a P90 housing, and vice versa. Check the dimensions of your cavity and the dimensions of the pickup you want to buy. I bought a set of single-coil Stratocaster pickups, only to discover that they were slightly larger and wouldn't fit in the pickguard without some "filing" (a euphemism for "ruined a pickguard"). 2. Active vs. Passive Pickups: If you're switching from passive to active (or vice versa), it's not enough to just swap out the pickups. Active pickups require a battery (usually 9V) and often potentiometers with different resistance values (usually 25kΩ instead of the 250kΩ or 500kΩ of passives). No-solder kits for active pickups usually include everything, but if you buy the pickups separately, you'll have to do it yourself. Number of conductors: Many modern pickups have four conductors (+ ground) to allow for coil splitting, phase reversal, or parallel wiring. If your no-solder system only has two conductors (hot and ground), you may not be able to take advantage of all the options your new pickup offers. Always check the wiring diagram provided by the pickup manufacturer and compare it to your system. Proprietary connectors: Some brands use specific connectors. If you only buy the pickups of a certain brand, but not the entire wiring kit, you might find yourself with the pickups in hand and no way to connect them to your existing wiring without soldering. Do thorough research before buying: “pickup X wiring harness compatibility”.nnMy personal anecdote: Once, excited by an offer on a beautiful boutique pickup, I bought it on the fly. Arrived home, I discovered it was a 2-conductor pickup, while my guitar had a system with push-pull for coil split that required 4 conductors. No split, no sound I wanted. I had to resell it and buy the right one. A lesson learned the hard way: always read the specifications!nnThe 3 Steps to Solderless Replacement (Field-Proven)
nnnnnnOk, the tools are on the bench, the new pickups are here. It's time to get your hands dirty, but without getting your fingers dirty with solder! I've refined these steps after doing and redoing them many times, and I assure you that if you follow them calmly, everything will go smoothly.nn

Step 1: Preparation and Disassembly (The “before” that counts)
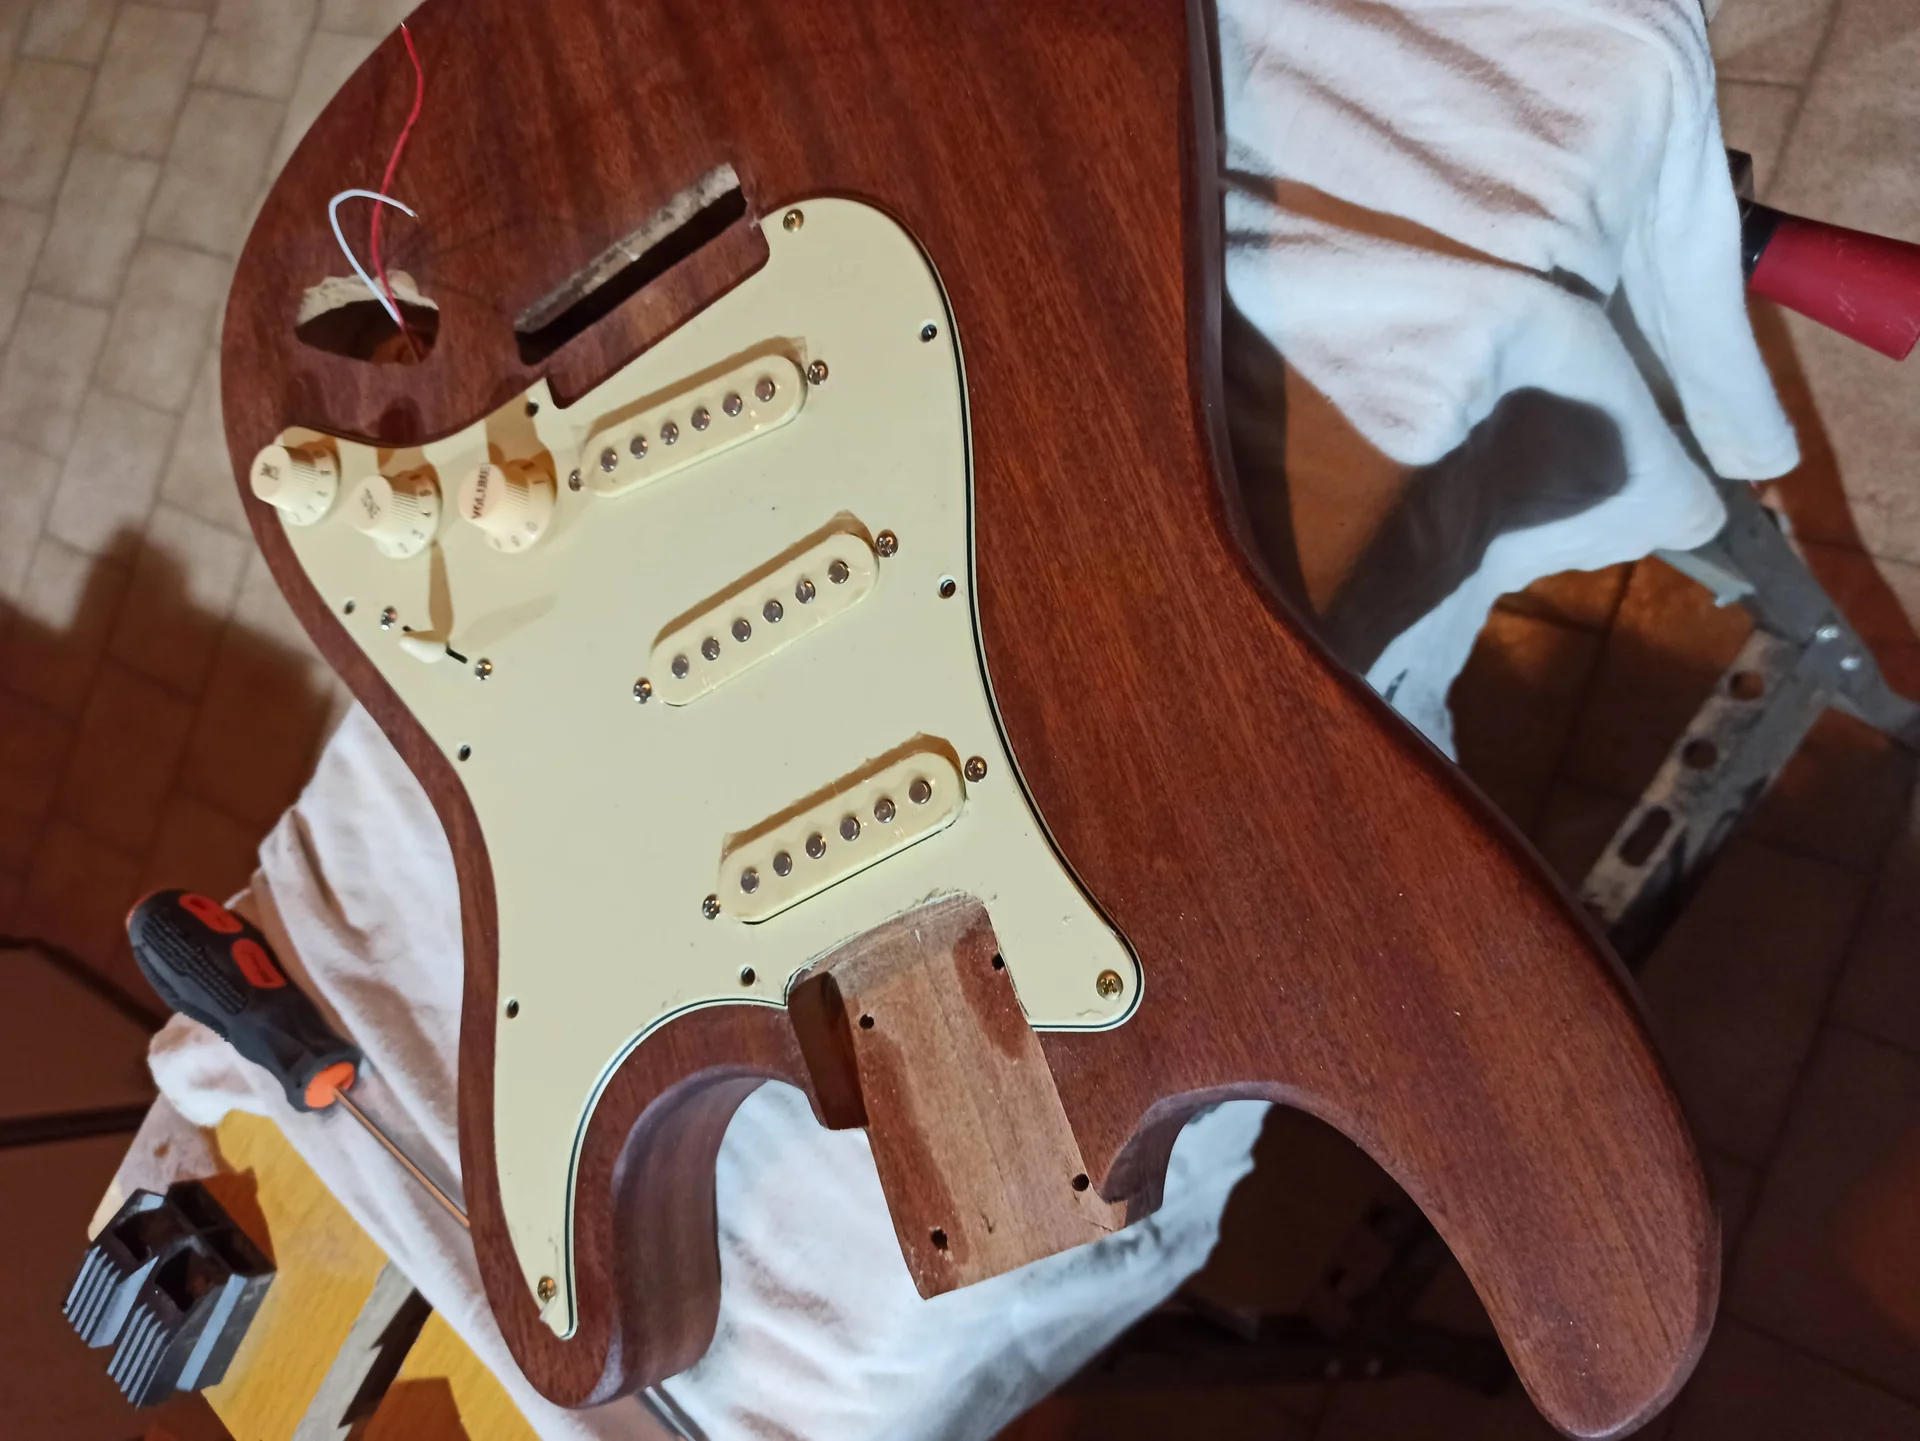
This is the moment to lay the groundwork for a clean and smooth job. Don't skip this step!nn1. Document everything: It sounds boring, but it's ESSENTIAL. Before touching anything, take clear photos of the current wiring, from different angles. Make a small diagram on paper if it helps. Mark the wire colors and where they're connected. This will save your life if you get lost during reassembly. I've learned the hard way that memory is faulty, especially when dealing with identical black wires. 2. Prepare your work area and protect your guitar: Find a clean, well-lit surface. Place the guitar on a soft cloth to avoid scratches. If you have a luthier mat (the soft rubber ones), even better. 3. Loosen the strings and remove the pickguard/cover: You don't need to remove the strings completely; just loosen them enough to move them. Then, using the right screwdriver, unscrew all the screws holding the pickguard or back cover (if your guitar is a Les Paul or similar). Be careful not to lose the screws! Place them in a small bowl or magnetic container. 4. Access the cavity and identify the wires: Once the pickguard is removed, you'll have access to the electronics. Take a close look at how the actual pickups are wired.Color identification: Each manufacturer has its own color code for pickup wires (hot, ground, coil split, phase). If your new pickups are from a different brand, you'll need to consult the wiring diagram. new manufacturer. It's crucial not to get confused. For example, "hot" for Seymour Duncan might be one color, while for DiMarzio it might be another. A good starting point is to consult online reference charts, such as those found on the website Seymour Duncan.
Mass: The ground wire is almost always bare or black, and is connected to the back of the potentiometers or to a common ground point. This is the most important connection to avoid noise.n5. Unplug the old pickups: If your system is already solderless, it'll be a breeze. Just unplug the connectors or unscrew the terminals. If you're switching from a soldered to a solderless system, you'll need to cut the wires from the old pickups. Cut them as close to the solder points as possible to leave as much wire as possible on the old pickup in case you want to reuse or resell it.n6. Clean the cavity: While you're at it, clean the inside. Sometimes dust, dirt, or even small metal fragments can accumulate and cause problems.nnMimmo's tip: Before disconnecting anything, grab your multimeter. Measure the resistance (Ω) of each pickup. Write down the values. Not only will it give you an idea of the sound you expected from the old pickups, but it will serve as a reference if the new pickup doesn't sound as it should. And, most importantly, check the continuity of the cables. If a pickup doesn't sound, the first check is always the continuity of the wire.nn
Step 2: Installing the New Pickup (The “heart” of the operation)
Now comes the fun part: installing your new sonic jewels.nn1. Physical assembly of the pickup: Screws and springs: Screw the pickups to the pickguard or directly to the body, using the supplied screws and springs. If the old pickups had special rubbers or shims, make sure the new pickups are a similar height or that you can adjust them.Initial height: Don't overtighten the screws. Leave the pickups a little low for now. We'll fine-tune them after testing. A good starting point is about 3-4 mm below the strings (open) for humbuckers, and 4-5 mm for single-coils. But this is just a starting point. #2. Electrical connection (without soldering): This is the key step. Follow the manufacturer's instructions for your new pickups to the letter.
Quick connector system (e.g. EMG, Fishman Fluence): If you have a plug-and-play system, there's not much to say. Simply connect the pickup connectors to the corresponding connectors on the guitar's wiring harness. Pay attention to polarity: the connectors are often keyed, meaning they have a specific shape to avoid mistakes, but always check that they are inserted the right way round. If you have a battery, make sure it's connected correctly.
Terminal block system: This solution is common in some aftermarket kits or for those who want to convert standard pickups to “no-solder”.
Stripping the wires: Using the wire strippers, remove about 5-7 mm of insulation from the end of each pickup wire. Be careful not to cut the copper strands.
Insertion into the terminals: Open the lever or loosen the terminal screw. Insert the stripped wire into the corresponding hole. Tighten the screw or close the lever. Check that it is secure by gently tugging on the wire.
Identification: Follow the documentation you prepared in Step 1 and the new pickup's schematics. Connect the "hot" to the "hot" point, the "ground" to the "ground" point, and so on for any coil split or phase wires. The color order is CRUCIAL. If you reverse the hot and ground, it won't sound or it will make a hellish noise. If you reverse the phase between two pickups, the sound will be "thin" and nasal. Cable Management: Once the connections are made, arrange the cables inside the cavity. Use zip ties or heat shrink tubing to keep them tidy and away from points where they might get pinched or cause noise. Untidy cables can generate interference or hum.nnCommon mistake to avoid: The most frequent error here is reversing the phase between two pickups. When two pickups are “out of phase”, their sound waves partially cancel each other out, producing a very weak, thin, and nasal sound, often described as “honky”. If this happens, check the manufacturer's diagram. Usually, simply reversing the hot wire and the ground wire of one of the two pickups is enough to solve the problem.nn
Step 3: Testing and Adjustment (The “after” that makes the difference)
Have you connected everything? Good, don't close the guitar yet! Testing is essential.nn1. First low volume test: Connect your guitar to your amplifier. Start with the amp's volume turned down very low. If you have an active pickup, make sure the battery is inserted and charged.Touch the pickups: Using a screwdriver or other metal object, gently tap the top of each pickup while the selector switch is on. You should hear a loud, clear click in the amplifier. If you don't hear it, or it's faint, there's a problem.
Check the potentiometers and the selector: Test all the potentiometers (volume, tone) and pickup selector positions. Everything should work without any strange noises (excessive crackling, crackling). 2. Pickup height adjustment: This is a critical step in shaping your sound.
Distance from the strings: The height of the pickups directly affects volume, sustain, and tonal character. A pickup too close to the strings can cause a compressed sound, a loss of sustain (because the magnetic field pulls on the strings), or even a strange effect (wolf tones). Too far away, and the sound will be weak and lack body.
Starting points: A good general starting point (but experiment!) is:
Humbucker: approximately 2.5 mm below the 6th string and 2 mm below the 1st string (with the 22nd fret pressed).
Single coil: approximately 3.5 mm below the 6th string and 3 mm below the 1st string (with the 22nd fret pressed).
Rule with your ear: Play the guitar. Raise or lower the pickups a little at a time. Listen to how the sound, sustain, and dynamics change. Find the sweet spot you like best. Remember to also adjust the volume difference between the pickups, so that the transition from one to the other is balanced. 3. Final test with the amplifier and effects: Once you're happy with the pitch, try the guitar at normal volume, with your favorite effects. Play a bit of everything: chords, single notes, bends. Listen carefully for any hum, crackling, or volume issues. Final reassembly: If everything works wonderfully, you can close the pickguard or the back cover. Tighten the screws well, but don't overdo it. Put the strings back on, tune the guitar, and enjoy your new sound!nn
Solving common problems (and learning from other people's mistakes, or my own!)
nnI won't lie to you: even with “no-solder” systems, sometimes something goes wrong. It's normal. The difference is that without soldering, diagnosing and solving is much simpler. Here are some of the most common problems and how I dealt with them.nn No sound or weak sound: This is the classic.Check the links: Have you inserted all the connectors correctly? Are the wires tight in the terminals? I once had a wire that looked tight, but it was actually just loose.
Mass: Ground is the cause of many problems. Make sure all ground wires are connected correctly. If a pickup isn't grounded, it won't sound.
Battery (for active): If your pickups are active, have you inserted a battery? Is it charged? I once spent half an hour freaking out because I couldn't hear anything, only to discover I'd put in a dead battery. I felt like a genius.
Excessive noise (hum, rustling): A little noise is normal with single coils, but if it's excessive, something is wrong.
Shielding: Is your guitar's cavity shielded? If not, you may hear more noise. In that case, the modification with copper tape or conductive paint can work miracles.
Ground not connected well: Ground again! A broken or weak ground connection is a common cause of humming noises.
Pickup “out of phase”: If the noise is a strange, thin, almost hollow sound in some selector positions (especially in the middle positions of two pickups), it's very likely that two pickups are out of phase. This means that the "hot" and "ground" of one of the two are reversed with respect to the other. Swap the two wires of just one pickup and try again.
“Thin” or “strange” sound: As mentioned, this is the main symptom of out-of-phase pickups. The sound wave of one pickup partially cancels that of the other. Simply reverse the “hot” and “ground” wires of one of the two pickups and the problem should be resolved. Consult the manufacturer's diagram to understand which wires to swap.nnMy messes: I still remember the first time I built a set of humbuckers with the option of coil splitting. I hadn't fully understood the schematic and had wired the split wires incorrectly. The result? A very weak sound in humbucker mode and a terrible hiss in single-coil mode. I had to reopen everything, study the schematic carefully, and realize I'd swapped two wires going to the push-pull pickup. Moral of the story: schematics are meant to be read, not just looked at.
Another time, after installing a new bridge pickup, I closed everything up and started playing. Everything was fine, until I tried the neck pickup: total silence. I reopened it, checked the connections, everything seemed fine. I redid all the tests, and in the end, with the multimeter, I discovered that, while handling the cables, I had accidentally disconnected the ground of the neck pickup from the potentiometer. An invisible wire, a second of inattention, and hours of searching. That's why I always say: document and test every step, even the smallest ones.nn
Beyond Replacement: The World of Pickups and Solderless Systems
There solderless pickup replacement It's not just a shortcut for the lazy or the welder-averse. It's a gateway to a world of experimentation and customization that was previously much more complex.Think about how many types of pickups there are: single coils, humbuckers, P90s, mini-humbuckers, single coil stacks, blade pickups, active, passive… Each with its own character, dynamics, and sonic signature. Being able to swap them out with relative ease means you can explore all these nuances without having to call a technician every time or risk damaging them.
Quick-connect systems are particularly useful for those who like to "modify" their guitar frequently. You can test a set of pickups for a month, then swap them for another, and maybe even go back to the first one, all in a matter of minutes. This allows you to really understand what works for your style, your musical genre, and your ear. It's not just a question of "better sound," but of "more sound." your“.
Today, more and more manufacturers offer "no-solder" solutions for both pickups and all guitar electronics. This is a sign that the market is recognizing the value of easy installation and modularity. You no longer have to dream of that particular sound; you can experience it on your guitar with minimal investment of time and stress.
My final advice? Don't be afraid to experiment. The guitar is an instrument, not an untouchable relic. It's made to be played, modified, customized. Every pickup change, every small modification, teaches you something about your instrument and your sound. Even mistakes are part of the learning process. If I succeeded, with my messes and my nights spent figuring out why it wasn't playing, you can succeed too. Grab your tools, choose your pickups, and have fun!nn
nnnn
See also
nnDownload the Luthier Survival Kit
Free PDF with checklist, problem-cause table and project card template.
 English
  Italiano
Stuck on your build?
If you ran into the same problem or have a question, drop it in the comments. I read and reply to every one.
Write a comment