

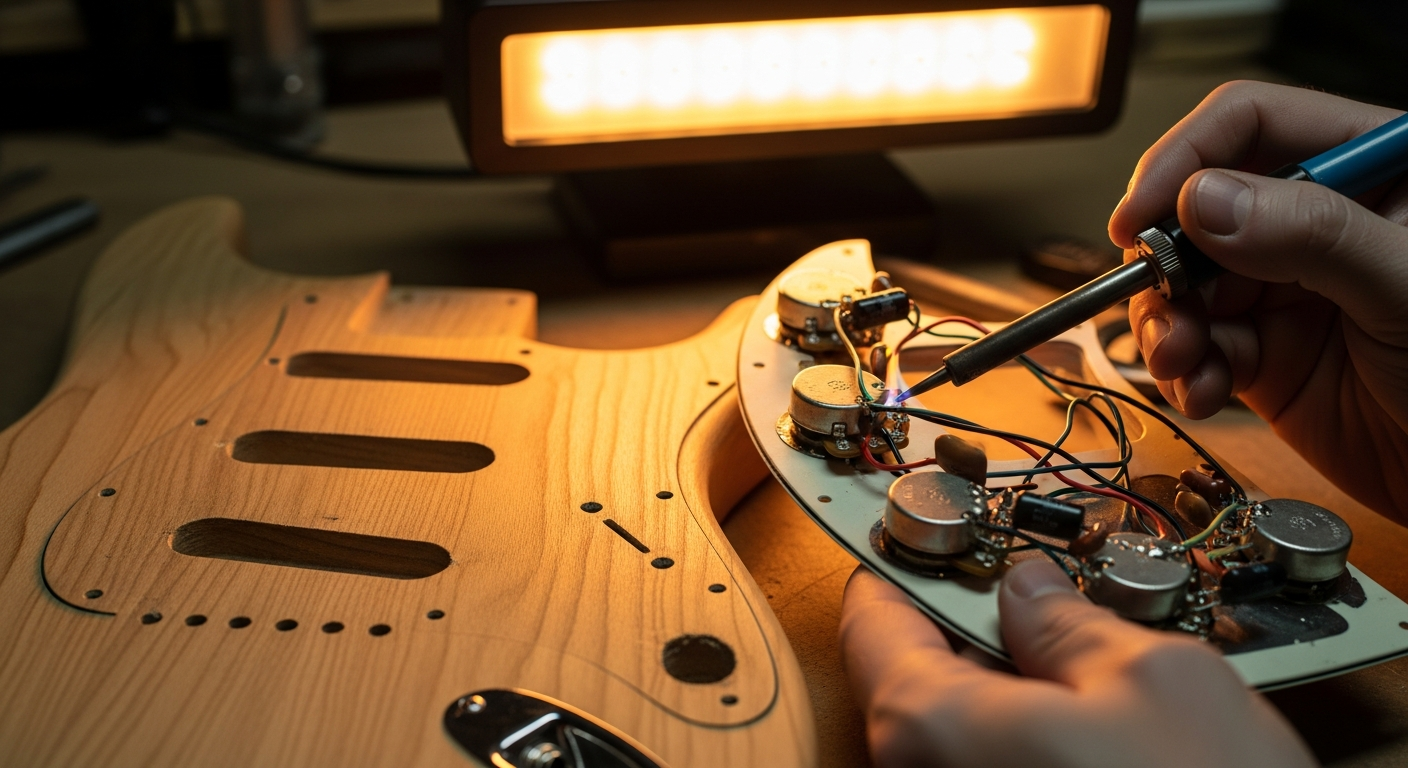
Guitar truss rod: 3 problems solved
When I started tinkering with guitars in my garage, there was one thing that terrified me more than a pickup with a messed-up impedance: the truss rod. That damned metal bar hidden inside the neck, the sole cause of its curvature. It reminded me of stories of broken necks, stripped binding, and guitars turned to firewood. I didn't want that to happen to my first Stratocaster built from scrap parts.
I was convinced it was a job for a "real luthier," one of those with very expensive tools and years of experience. Instead, like many other things in the DIY world, I discovered that with a little patience, the right tools, and the willingness to make mistakes (and learn!), it can be done. And if I succeeded, with my hands dirty with sawdust and the soldering iron occasionally slipping, you can do it too.
Today I'll tell you about three of the most common problems that can be solved by acting on the truss rod and, above all, I'll guide you step by step to tackle them without having a heart attack. Because, believe me, most of the time it's simpler than it seems.
What is the Truss Rod and why it scares us (but shouldn't)
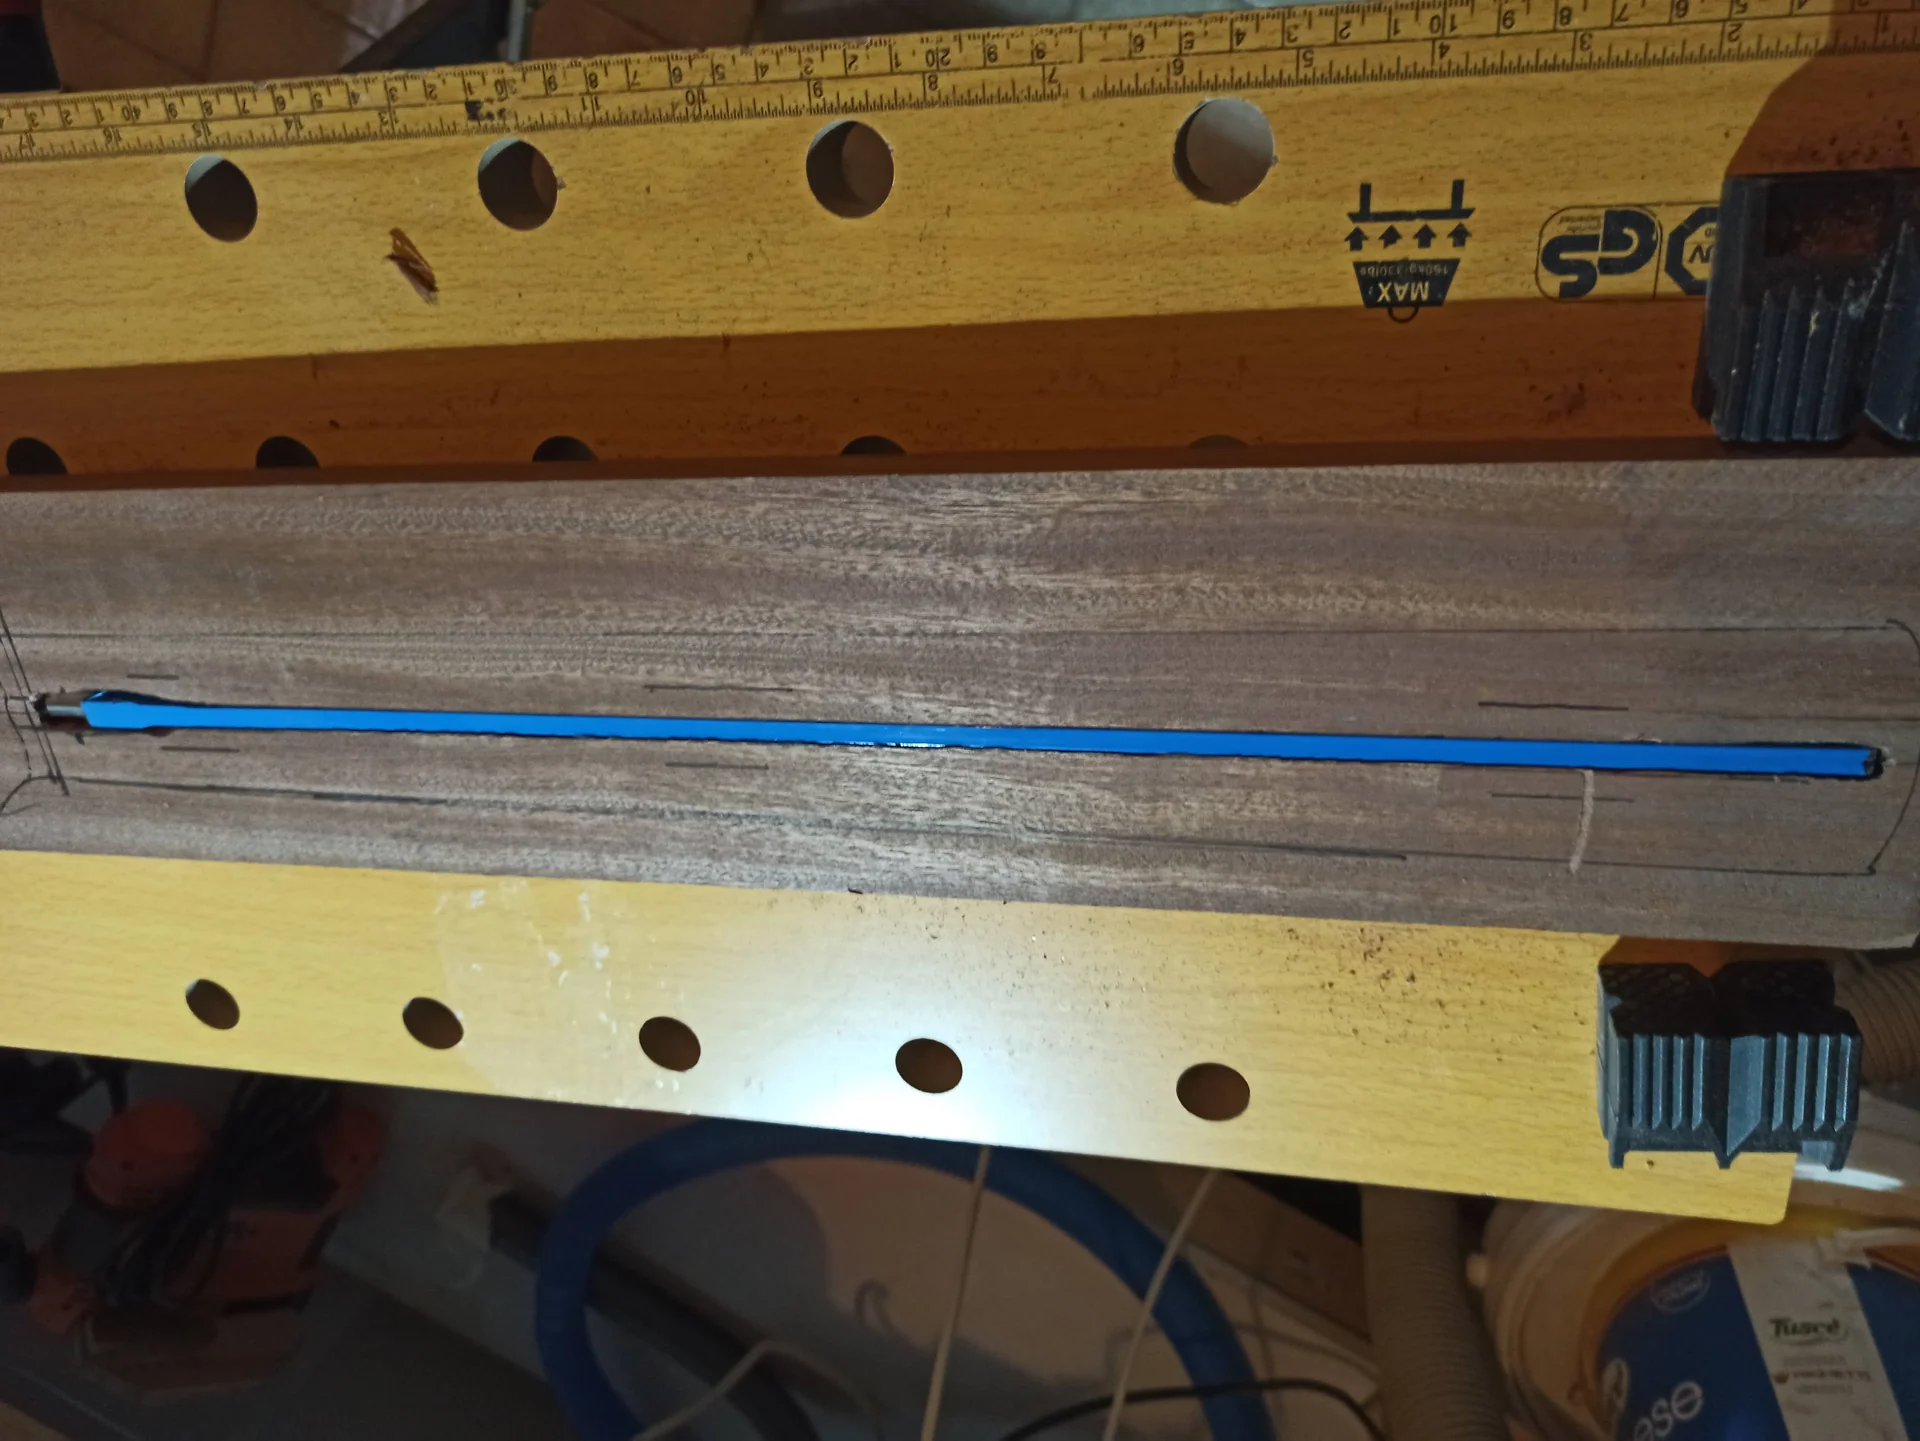
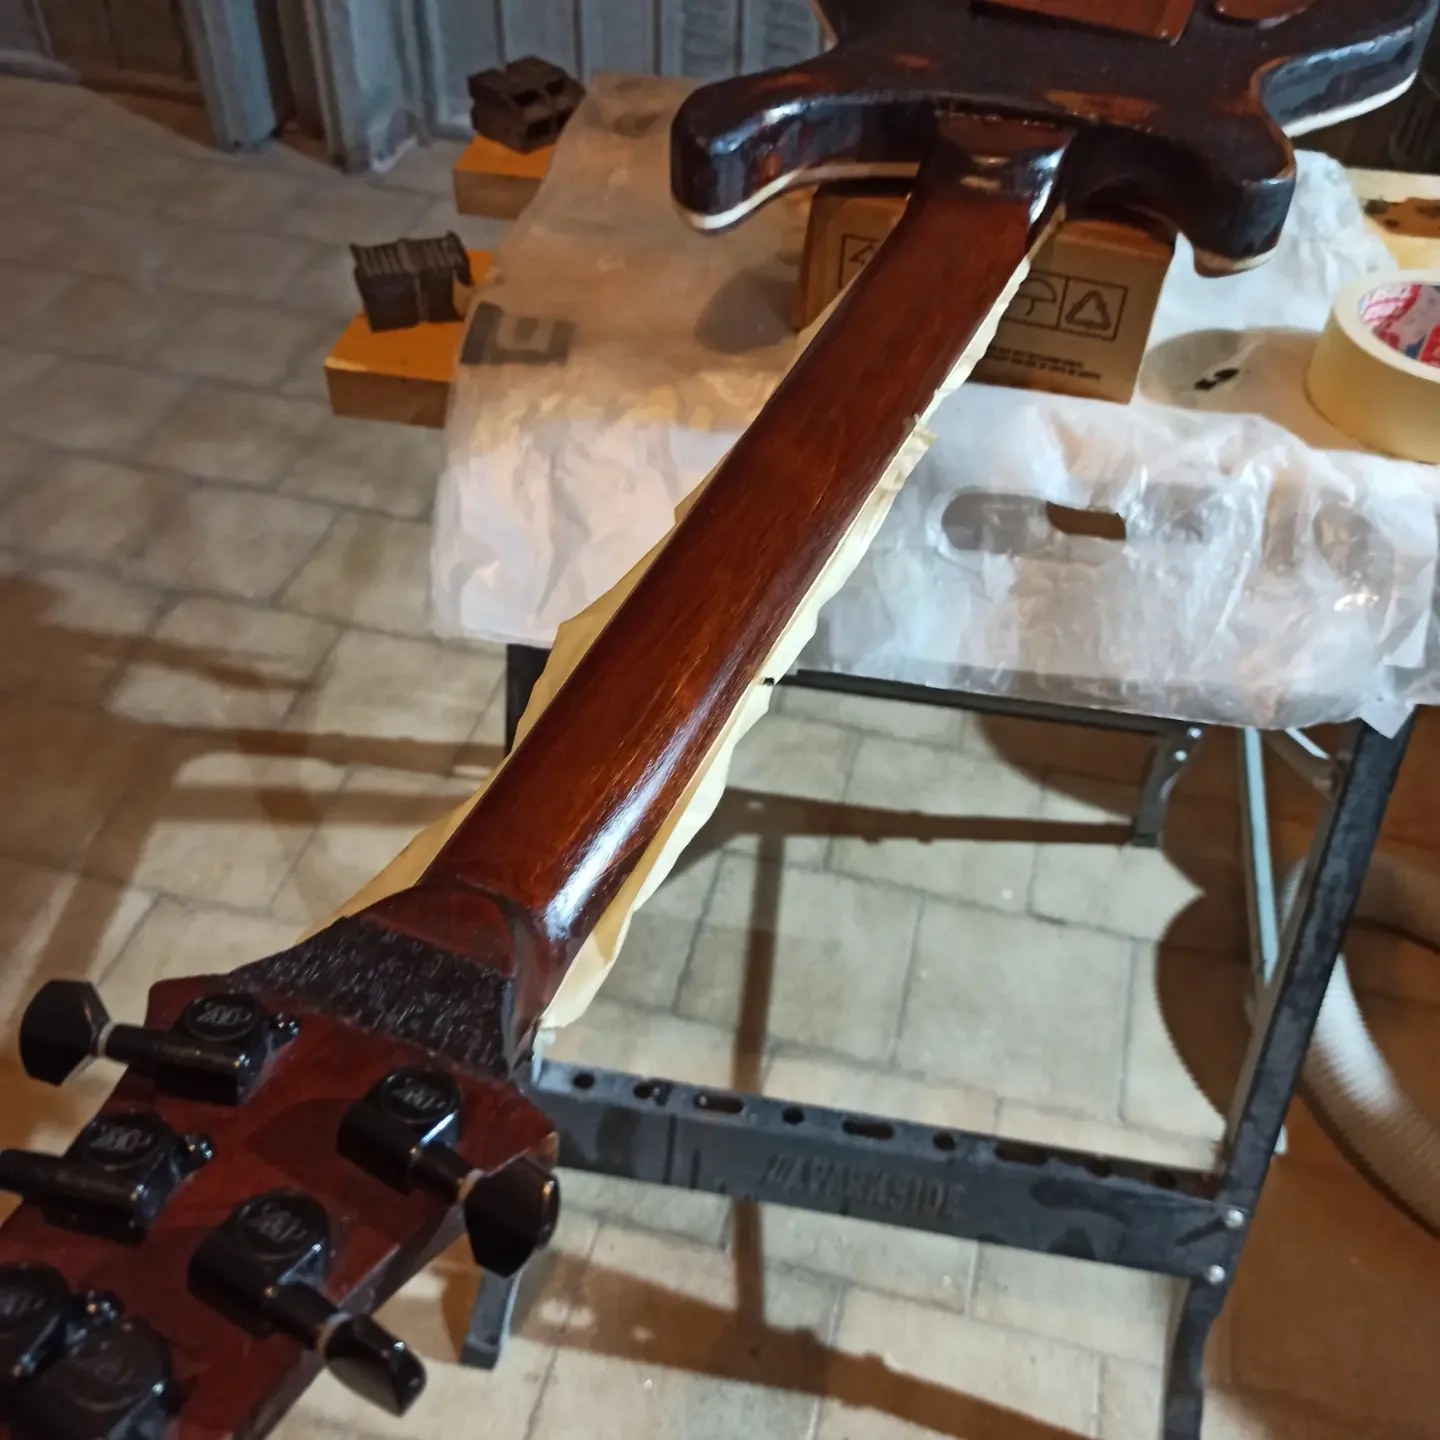
This is probably the most common problem, especially in guitars that have heavy gauge strings or that have been left in a humid environment for a while. The neck curves too far forward, taking on a concave shape, almost like a banana.
Symptoms:


Difficulty in playing: The strings feel stiff, requiring more force to be pressed, especially for chords and bending.
Ballerina intonation: Due to the excessive string height, the intonation can be imprecise, especially when going up the neck.
“Rubbery” sound: Notes may seem less defined, almost muffled.
I still remember my first assembled Telecaster: the action was so high it felt like playing a double bass. Every bending was a Herculean effort. It was the classic banana neck.
Diagnosis: How to measure relief
First, we need to understand how "banana-shaped" your neck is. Measuring the relief is a fundamental step and must be done with precision. 1. Put the guitar in tuning position: You should measure the relief with the strings at normal tension.n2. Position the head: Put a capo on the first fret to hold the strings down there. 3. Press the string at the last fret: With one hand, press the low E string (the thickest) at the last free fret of the neck (not on the body). In this way, you have isolated the portion of the string that you need as a reference to measure the curvature. 4. Measure the space: With the other hand, take the feeler gauge. Insert the blades between the bottom of the string and the top of the 7th or 8th fret (the one that is approximately halfway along the vibrating length of the strings). 5. Read the measure: The blade that just passes without forcing, but with slight friction, gives you the relief measurement. Repeat the operation on the high E string (the thinnest) to get a complete picture.A good starting point for relief is between 0.20 mm and 0.30 mm. Some prefer a little less (0.15 mm for super low action), others a little more (0.35 mm for those who "hammer" the strings). If your measurement is much higher than 0.30 mm, you have excessive relief.
Step-by-step solution: Tighten the Truss Rod
The goal is to reduce the curvature, so we will tighten the guitar truss rod. This means turning the nut clockwise. 1. Loosen the strings slightly: You don't have to untie them, but loosen them by a tone or two. This reduces tension on the neck and nut, making adjustment easier and reducing the risk of damaging something. 2. Identify the die: The truss rod nut can be found in two main positions:On the headstock: It's the most common. It's usually covered by a small plastic or metal plate. Remove it with a screwdriver.
On the heel of the handle (heel): Less common, but present on many vintage-style Fender or replicas. In this case, you might have to remove the neck from the body, or, if the guitar has an opening in the body (like some Telecasters), you can access it from there. If you need to disassemble the neck, be careful to mark the position of the screws and not overtighten when reassembling. 3. Enter the key: Make sure the wrench is seated tightly in the nut and has no play.n4. Proceed with caution: Turn the die of the truss rod clockwise (to the right) to tighten it. Turn a quarter turn at a time. Yes, you understood correctly: a quarter turn. Not half, not a full turn. We are surgeons here, not butchers. 5. Let it settle: After every quarter turn, retune the strings. Then, play the guitar for a few minutes and bend it a few times. The wood needs time to settle and react to the new tension. Sometimes, you need to wait as long as 10-15 minutes. Double check the measurement: Repeat the relief measurement procedure. If you haven't reached the desired measurement, loosen the strings again and make another quarter turn.n7. Repeat until you are satisfied: Continue with small adjustments and measurements until you reach the relief you prefer. Mimmo's tip: “Don't rush. Every quarter turn is a step, not a leap in the dark. And if you feel excessive resistance, stop. Never force it. It means something is wrong, and forcing it is a recipe for disaster.”
Problem 2: “Humped” neck (back bow or too little relief)
This is the opposite of the previous problem. The neck is too straight or, worse, has a slight backward curve (back bow). It's less common than excessive relief, but it can happen, especially if you use very light strings or if the neck has been too tight in the past.Symptoms:
Buzzing on the first keys: The strings vibrate against the frets, producing an annoying buzz, especially on the first few frets. Sometimes the notes may even die or not sound at all.Action too low (paradoxically): If the neck is too straight, even with high saddles, the action may seem low on the first frets, but the problem is buzzing.
Difficulty with intonation: Here too, intonation can be compromised due to irregular string contact with the frets.
It happened to me with a guitar I had set up for .009 strings, then I installed .008 to experiment. The neck straightened too much and the first frets were a buzz festival. A real frustration.
Diagnosis: Measuring relief (again!)
The procedure is the same as the previous problem.
1. Tune your guitar.n2. Place the capo on the first fret.n3. Press the string at the last fret.n4. Measure the gap at the 7th/8th fret with the feeler gauge.
If the measurement you get is much less than 0.20 mm (for example, 0.10 mm or less), or if the feeler gauge doesn't enter at all, and you hear a clear buzzing on the first frets, then you have a back bow problem or too little relief.
Step-by-step solution: Loosen the truss rod
In this case, we need to give the neck a bit more “belly,” so we will loosen the truss rod. This means turning the nut counter-clockwise.
1. Loosen the strings slightly: As before, reduce the tension by a tone or two to make the operation easier.n2. Identify and access the die: As described above, whether on the headstock or the heel.n3. Enter the key: Make sure the key is secure.n4. Proceed with caution: Turn the die of the truss rod counter-clockwise (to the left) to loosen it. Here too, make a quarter turn at a time. Patience is the virtue of garage luthiers.n5. Let it settle: Retune the strings and let the wood settle for a few minutes. Play the guitar a bit.n6. Double check the measurement: Repeat the relief measurement.n7. Repeat until you are satisfied: Continue with small adjustments until you reach the range of 0.20-0.30 mm or what you prefer for your style.
Mimmo's warning: “It's easy to overdo it here. A neck that's too loose can vibrate like a cheap vibrato and the action will become high, but in a different way than problem 1. Find the right balance.”
Remember that the adjustment of the truss rod is the first step for a good setup. Once the correct relief is set, you will then need to adjust the string height on the saddles (action) and finally the intonation. Skipping these steps or doing them in the wrong order will drive you crazy. It's a process, a logical sequence that I learned the hard way, and which I strongly advise you to follow. If you want to delve deeper into the complete setup process, check out our guide on how to modify the guitar, you will also find many ideas for the setup.
Problem 3: The Truss Rod nut is stuck or stripped
This is the true nightmare of every guitarist and amateur luthier. The truss rod nut that doesn't turn, or worse, spins freely without having any effect. Here, the fear of causing serious damage is more than legitimate. But even here, it's not certain that the guitar is a write-off.
Symptoms:
The die doesn't turn: You apply reasonable force but the nut is seized.The die is spinning:
You turn it but you feel no resistance, and most importantly, the curvature of the handle doesn't change.
Key slippage: The wrench does not grip the nut, the edges are damaged.
I once had a recovery handle that looked perfect, but the nut on the truss rod It was stuck. I tried to turn it, heard a slight click, and then… nothing. It was spinning. Panic. Luckily, the tie rod wasn't stripped, just the nut.
Diagnosis: Try carefully
If the nut doesn't turn, don't force it with a longer wrench or a hammer. It's the fastest way to ruin everything. If it spins freely, the nut is stripped (or the truss rod thread is gone).
Solution for stuck nut (not stripped):
If the nut is only stuck, but not stripped, there are a couple of tricks you can try.
1. Lubrication: Apply a drop of penetrating lubricant (like WD-40, but very sparingly and only on the nut, protecting the surrounding wood with tape) on the nut's thread. Let it act for at least half an hour, or even a few hours. This can help dissolve rust or dirt that is blocking it.n2. Pressure and torque (for single-acting truss rod at the heel): If your truss rod is single-action (i.e., it works only in one direction) and the nut is on the heel of the neck, you can try to “help it.” Slightly bend the neck manually in the direction you want the truss rod to act (for example, if you want to reduce relief, bend the neck backward). While maintaining this slight pressure, try turning the nut. This technique reduces the load on the nut and can free it. Attention: this operation is delicate and requires excellent sensitivity. If you don't feel confident, don't do it.n3. Heat (with extreme caution): In extreme cases, slight heating can help. Use a hairdryer (never a flame!) to gently heat the nut area. The heat can slightly expand the metal and wood, allowing the nut to move. Proceed with short heating sessions and try turning, without overdoing it.
Important: always use the exact size wrench. If the nut edges are already a bit damaged, a six-point socket wrench (not 12-point) offers a better grip and reduces the risk of further stripping.
Solution for stripped nut (or damaged thread):
Here the situation gets more serious, but don't despair immediately.
1. Remove the stripped nut: If the nut spins freely, it's likely that its internal threads are damaged. You need to remove it. Sometimes, with fine-nose pliers, you can grip and unscrew it. There are also specific extractors for stripped nuts, but these are somewhat more specialized tools. In some cases, if the nut is recessed, it might be necessary to drill it with a small bit and then try to extract it.n2. Replacement of the die: Once removed, you need to get a replacement nut. This is the most critical step. Not all nuts are the same! You need to know the size and thread pitch of your truss rod. Manufacturers like Fender, Gibson, and Ibanez use different threads. Measure the diameter of the tension rod and, if possible, the thread pitch with a gauge. There are sites specializing in lutherie parts that sell nuts of all sizes. Stewart-MacDonald, for example, is an excellent resource for this type of spare part.n3. Tie rod thread damaged: If, once the nut is removed, you discover that the truss rod thread itself is damaged, then the situation is truly complex. Here, sometimes, it's up to a professional luthier. It's no small job, requiring specific tools (taps and dies for rethreading) and a very steady hand. If you have the tools and patience, you can try to rethread the truss rod itself, but it's an extremely delicate job and there's a real risk of making things worse. Personally, in that case, I preferred to rely on more experienced hands, because the cost of a new neck is decidedly higher.
Mimmo's anecdote: “I once almost threw away a neck because of this. I thought it was beyond repair. Then I discovered that all it took was a little oil, the right wrench, and a lot of patience. The nut unlocked with a 'clink' that sounded like celestial music to me. Don't give up at the first obstacle.”
Extra tips for avoiding harm (and living happily)
Adjust the truss rod is an art learned with practice. Every guitar is a world unto itself, and every neck reacts slightly differently. Here are some tips I've learned in the field, sometimes by making mistakes:
Always measure, don't go by eye: The eye is a good ally, but the feeler gauge is your best friend. Measurements give you objective data and allow you to replicate a setup you like on other guitars.
Patience, patience and more patience: Don't rush. Every adjustment to the truss rod takes time to settle. Proceed with small steps and let the wood rest. It's like baking bread, you can't speed up the rising.
Stabilization: After every significant adjustment, leave the guitar resting or hanging for a few hours, or even a whole day. The tensions in the wood need to redistribute. The neck is not an inert piece of iron.
Climate and humidity: Remember that wood is alive. Humidity and temperature greatly influence the neck. A guitar perfectly set up in summer with 70% humidity might need a small adjustment in winter, when the air is dry. Keep it in a stable environment as much as possible.
The order is crucial: The guitar setup has a precise order. First the truss rod (neck curvature), then the action (height of the strings on the bridge), then the intonation. Don't try to adjust the action before the tuning peg, or the intonation before the action. You'll end up doing it over and over again.
Document your setups: If you find a setup you like, note down the measurements: relief, string height at the 12th fret, string type. This will serve as a reference for the future and for other guitars.
When to call the professional: There's no shame in admitting your limits. If the neck shows strange twists (it's not just curved, but “twisted” on itself), if the nut is irremediably stripped and you can't remove it, or if you simply don't feel confident, don't hesitate to take the guitar to a professional luthier. They have the tools, the experience, and, most importantly, the eye to solve the most complex problems. Sometimes the savings aren't worth the risk.
Remember, the truss rod is a powerful tool, but it must be treated with respect. It is not an enemy, but an ally to get the most out of your guitar. With a little practice, it will become a routine operation, and you will be able to enjoy a perfectly set up guitar, made and cared for by your own hands. And there is incredible satisfaction in this, I assure you.
See also
Download the Luthier Survival Kit
Free PDF with checklist, problem-cause table and project card template.
 English
  Italiano
Stuck on your build?
If you ran into the same problem or have a question, drop it in the comments. I read and reply to every one.
Write a comment