


Bone guitar nut: do-it-yourself guide
So, guys, let's talk straight. bone nut guitar It's one of those details that can change your life, or at least the sound of your six-string. For years, I played with plastic capos that did their job, sure, but without any real merit. Then, one day, I decided to take the leap. The first time I tried to replace it, I broke out in a cold sweat. I was afraid I'd make a mess, ruin the neck, or drill holes in the wood in the wrong place. But guess what? I did it. And if I did it, even though I have more plumber's tools than luthier's tools in my garage, you can do it too.This isn't a tutorial for professionals with CNC routers and precision jigs. This is for those like me who have a Dremel, a few files, and the desire to get their hands dirty. We're talking about how to give your guitar that extra touch, without sending it to the luthier and spending a fortune.
Why a bone nut? The science behind the sound (and playability)
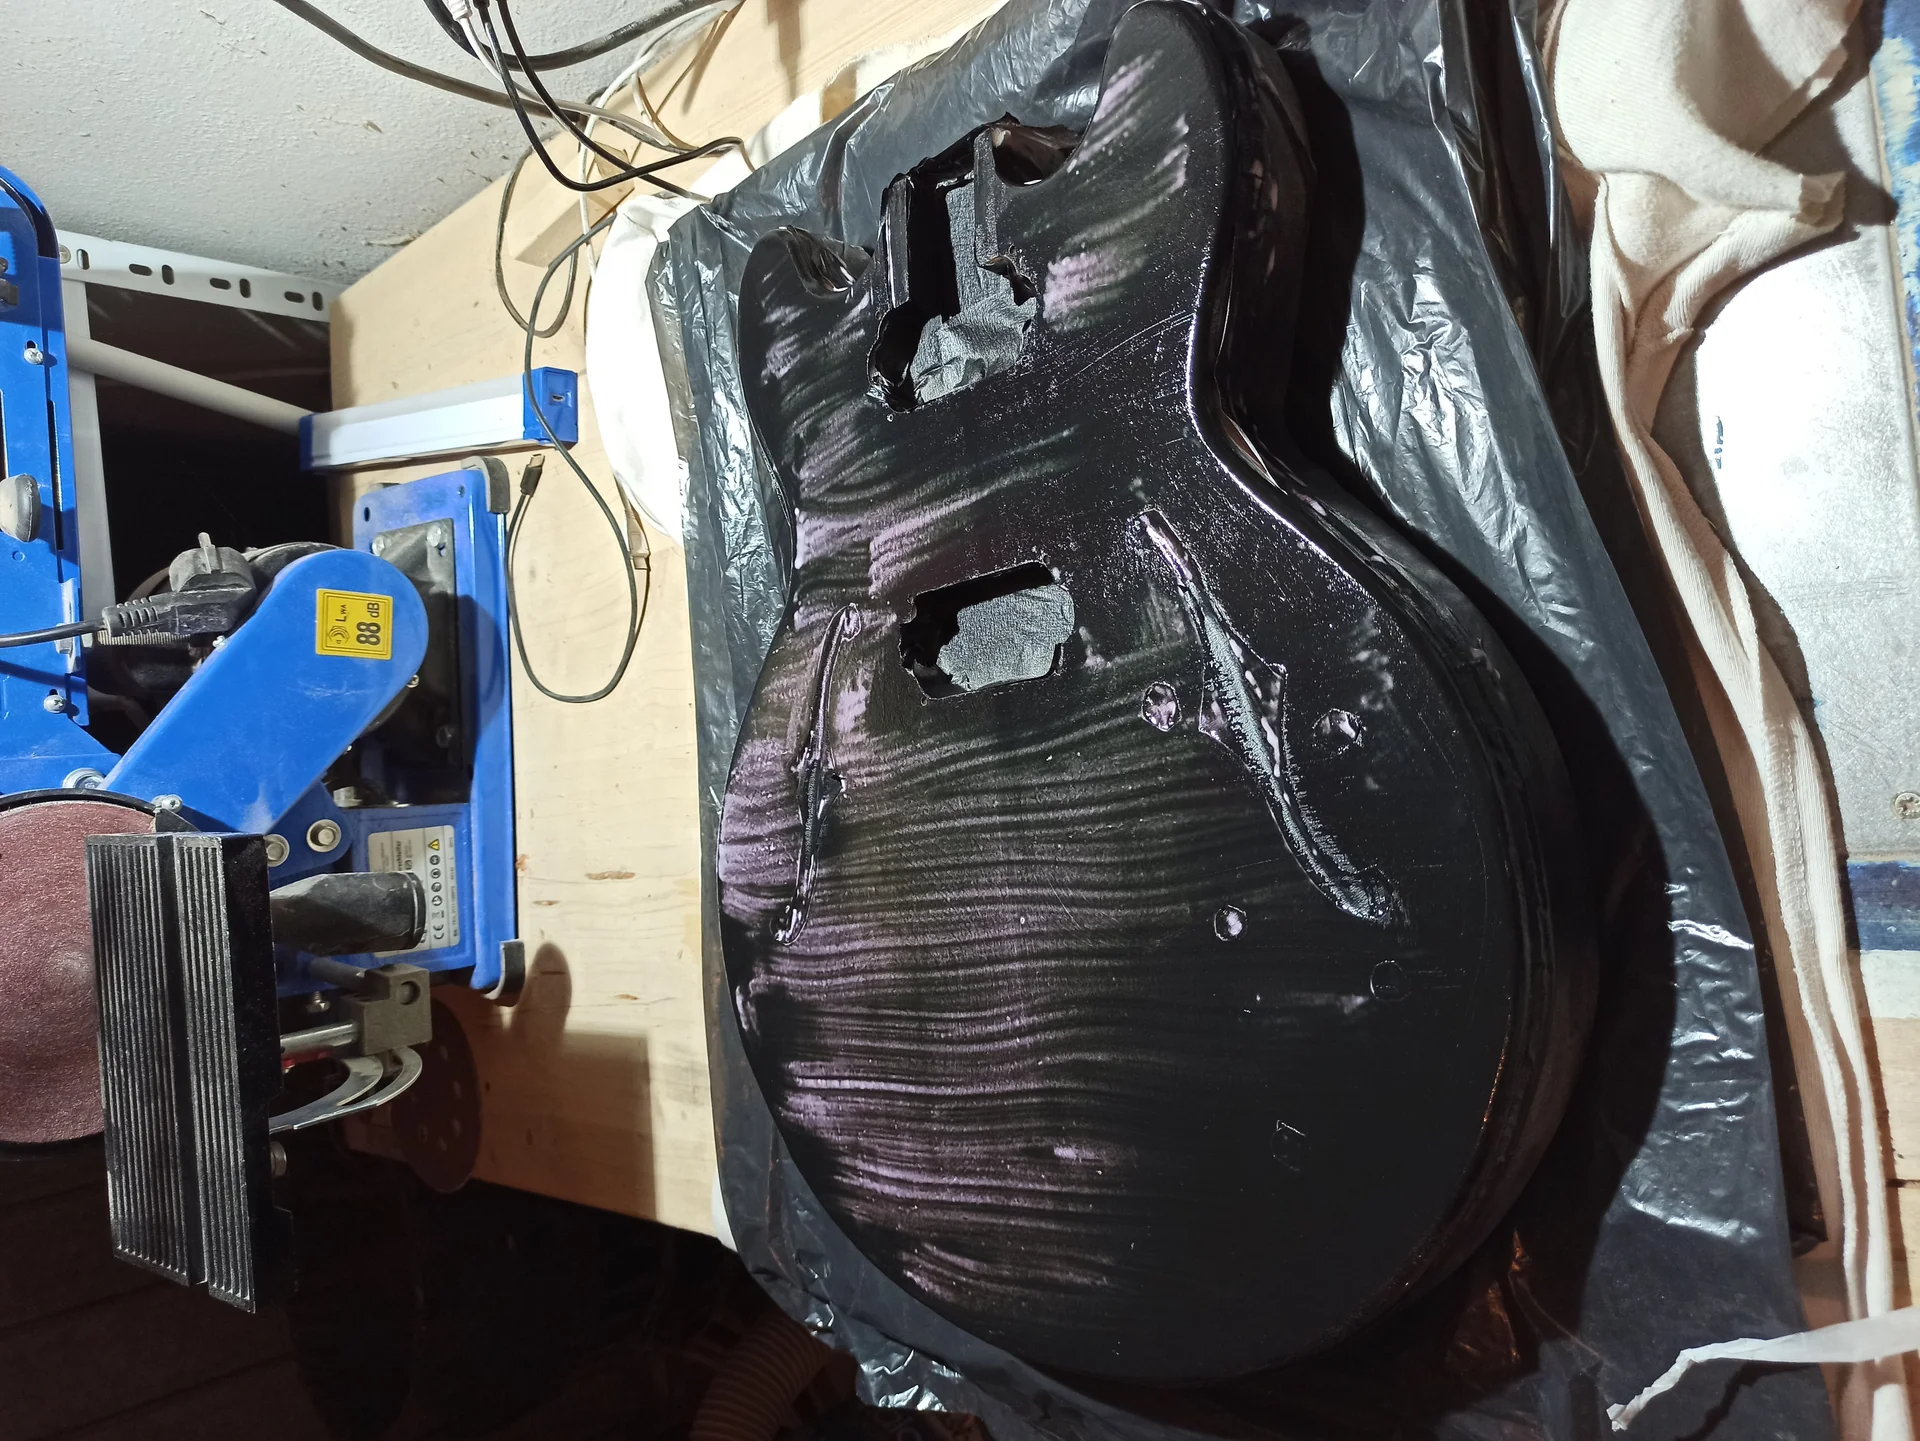
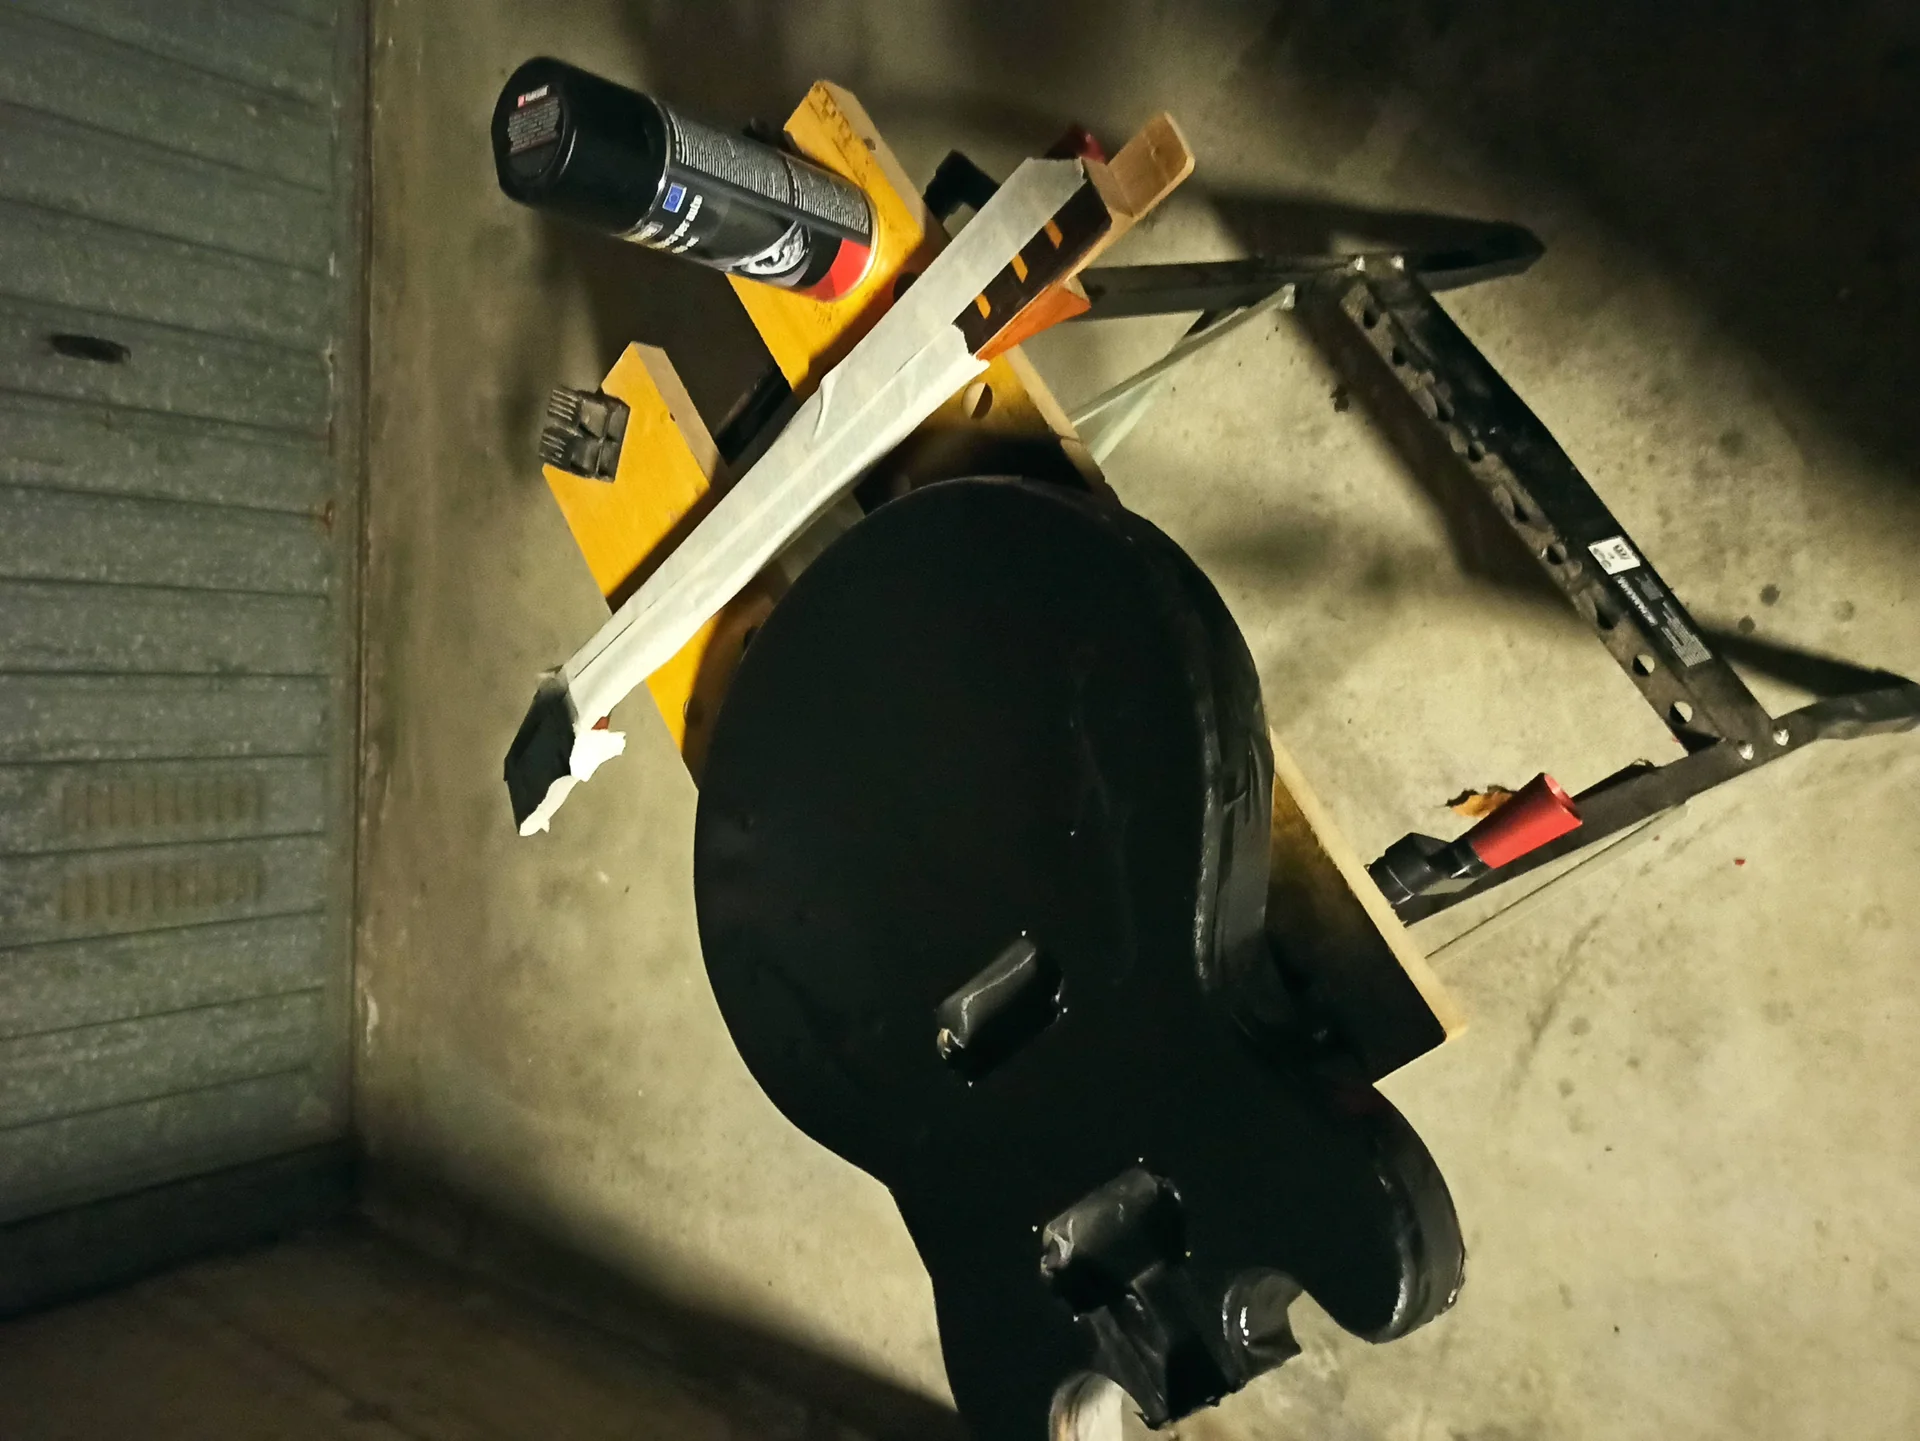
Okay, the theory is in place. Now let's get down to business. Before we dismantle everything, let's get the necessary equipment. You don't need a space lab, but you do need a basic set of tools.
Essential materials:
Advertising

Best Choice Products Beginner HSS Electric Guitar Kit w/Headphone Amp, Padded Gig-Bag, Headphones, Guitar Strap - Green Flametop/Black
See on Amazon

Glue: A drop of cyanoacrylate (Attack) or a quick-drying two-part epoxy glue. Don't overdo it; the nut must be removable in the future.
New strings: After all this work, it is a must to assemble a fresh set.
Essential tools (and some DIY alternatives):
n1. Rubber hammer or wooden mallet: To remove the old nut.n2. Small sharp chisel or sturdy utility knife: To cut off any glue residue and free the nut.n3. Digital or vernier caliper: This is essential for taking accurate measurements. Please don't guess. #4. Nut files: This is the sticking point for many. Professional kits are incredibly expensive. If you don't want to spend hundreds of euros, you can get by with:Soldering/Needle File Set: The small, thin ones, in various shapes. They're not ideal, but with patience they can get the job done.
Harmonic steel wires of different diameters: You can wrap fine sandpaper (400-600 grit) around them to create DIY files. It works, but requires a lot of skill.
Set of goldsmith's saws: If you have one, with thin blades and different sizes, you can use them to start the grooves.
Fine-grit flat file: To shape the nut.
Sandpaper: Various grits, from 220 to 1000/2000, for finishing.n5. Flat wooden block: To sand the nut evenly.n6. Soft pencil: To mark the positions of the strings.n7. Feeler gauges: Useful for measuring the height of the strings at the first frets. They're not mandatory, but they really help you get the job done accurately. 8. Steel ruler: To check flatness and line.n9. Paper tape: To protect the headstock and fingerboard.n10. Tweezers or fine-tipped pliers: To grasp small pieces or cut.n11. Soft cloth: To clean.n12. Bench or vise: To hold the handle in place while you work. Don't overtighten!
A quick note on files: I know the cost of professional capo files is a barrier for many. My first few times, I used a set of fretsaws and then widened the grooves with the strings themselves, rubbing them with a bit of abrasive compound. It's not the most elegant method, but it works. The key is that the grooves are smooth and the right width for the string they will accommodate. If you plan on making multiple capos, investing in an entry-level set of specialized files, like those from Music Nomad or a good Chinese set, isn't a bad idea.
Removing the old nut: calm and precision
This is the first real obstacle, and also the most frightening. The fear of ruining the neck finish or the fretboard is real. But with a little patience, it can be done.1. Loosen the strings: Don't remove them right away. Loosen them just enough to be able to move them to the sides of the handle.n2. Protect your fingerboard and headstock: Use masking tape, such as the kind used by auto body repairers, and carefully cover the area around the nut. This is essential to avoid scratches or chipping. 3. Cut the glue: Many capos are glued with just a drop of cyanoacrylate. Sometimes, however, the glue seeps into the paint. Take a sharp utility knife or a small chisel and carefully score along the edges of the capo, where it meets the neck and fingerboard. This breaks the paint seal and prevents it from peeling off along with the capo. Be careful not to go too deep; a couple of light strokes will suffice. 4. Remove the nut: Place a small piece of wood (like a dowel) on the side of the nut (the one facing the headstock, not the fingerboard) and tap gently with the rubber mallet. Don't use brute force. The nut should pop off with a couple of well-placed taps. If it doesn't budge, don't force it. Repeat step 3, perhaps with a little more firmness. Sometimes, a little heat (from a hair dryer, not a heat gun!) can help soften the glue, but be very careful not to damage the finish.
Once removed, clean the nut housing thoroughly. Remove any glue or dirt residue with a chisel or utility knife. The surface must be perfectly clean and flat to accommodate the new nut. bone element. Check with a ruler that there are no depressions or bumps. If necessary, sand lightly with fine sandpaper (400 grit) wrapped around a flat block.
Shaping the new bone nut: form is substance
Now that you have your raw piece of bone and the cleaned housing, it's time to give shape to the future jewel of your guitar.1. Measure and cut the length: Place the raw nut into the slot. Mark the exact length with a pencil. Leave a millimeter or two extra on each side, then trim the excess with a fine-bladed saw (such as a jigsaw or a hacksaw). 2. Rectify the base: This is crucial. The base of the nut must be perfectly flat and perpendicular to the sides, so it sits firmly in the housing. Place the nut on a flat wooden block covered with sandpaper (220 or 320 grit). Move the nut back and forth with even pressure, checking frequently with the caliper and ruler to ensure the base is straight and the height is uniform. Continue until it's perfect. 3. Adjust the initial height: Measure the height of the old nut. The new one will need to be slightly higher, as we'll be refinishing it. Start sanding the top of the nut (still on the wooden block with sandpaper) until it's about 1-2 mm higher than the old one. Don't go below this measurement! It's always easier to remove than to add. 4. Shape the top part: Many modern capos have a flat or slightly rounded top. Vintage-style capos, especially those for Fenders, may have a more rounded or beveled shape. Decide on the aesthetic you prefer. Using a fine-grit flat file, begin to shape them into the desired shape. I usually prefer a slight curve to avoid sharp edges and make the hand more comfortable near the nut. Check the thickness: The nut should fit into the slot without forcing it, but also without "juggling." If it's too thick, sand the sides with a file or sandpaper. If it's too tight, you either measured incorrectly or the slot is too wide. In that case, a drop of glue on the less snug side can help fill the gap, but a slightly snug fit is best.
A trick I learned the hard way: when sanding, especially the base, be careful not to create a concave or convex surface. This easily happens if you don't apply even pressure or if you only use one finger. Always use a hard block to hold the sandpaper or to push the nut onto the paper.
String spacing and groove carving: the heart of the work
This is the most delicate step. The grooves must not only be at the right height, but also properly spaced and angled.1. Install the strings (without the nut): Don't glue the nut yet. Place it in the slot. Install the strings, but don't secure them in the grooves. This will help you visualize the spacing. 2. Mark the spacing: There are several ways to do this.
“Eye” method with ruler: Measure the distance between the center of the first and sixth strings. Divide by 5. This is the approximate distance between one string and the next. Use a ruler and a sharp pencil to make small marks on the surface of the nut. Keep in mind that thicker (lower) strings seem to take up more space, so sometimes a slightly wider spacing is preferred for the higher strings and a slightly narrower spacing for the lower strings to balance the visual appearance.
“Nut gauge” method (if you have one): There are special gauges that allow you to mark the spacing very precisely, taking into account the different string widths. If you plan on doing a lot of work, it's a good investment.
“Pencil and string” method: If you have the old strings, install them and use them as a guide. Then, using a pencil, gently mark their positions on the new nut. This is a very practical method for replicating the existing spacing.
“Divider” method: If you have a divider (a compass with two points), you can set the distance between the outer chords and then divide it into 5 equal sections.
Personally, I often use a combination of the pencil-and-string method for general spacing and then adjust by eye (or with a caliper) to balance the aesthetics. The important thing is that the first and sixth strings are not too close to the edge of the neck, to prevent them from slipping off during bending. Always leave at least 3-4 mm from the edge. #3. Start carving the grooves: Initial depth: Using the appropriate files (or DIY tools), start by carving out shallow grooves. The goal is simply to create a groove where the string can rest without slipping. Don't go too deep!
Angle: The grooves should slope slightly toward the headstock. This helps hold the string in place and direct pressure toward the center of the nut.
Length: Each groove should be slightly wider than the string it will hold, but not too much. The string should move freely without friction, but without "dancing" sideways.n4. Check the height of the strings at the first frets: This is the critical moment.
Tune the strings.
Take a feeler gauge or, if you don't have one, a thin plectrum or a small piece of paper.
Press the sixth string to the third fret. Check the gap between the string and the first fret. There should be a small gap, enough to fit a 0.010"–0.012" (0.25–0.30mm) feeler gauge or a thin sheet of paper. If the string touches the first fret or if the gap is too large, you need to take action.
If the gap is too large, it means the groove is too shallow. Ouch. This is where you learn not to be too aggressive. In this case, you'll need to fill the groove with some bone dust and cyanoacrylate and start over. Or, buy a new nut.
If the gap is too large, it means the groove is too high. Okay, you can lower it.
5. Lower the grooves gradually: This is an iterative process. Carve a little, check, carve some more, check. Patience is the luthier's virtue.
For the low strings (E, A, D), the grooves should be slightly deeper, to compensate for their larger diameter.
For the high strings (G, B, E strings), the grooves will be shallower.
The goal is that when you press the string at the third fret, there is a minimal but noticeable gap between the string and the first fret.
A good tip I received (and am happy to pass on to you): use a pencil to blacken the bottoms of the grooves. When you file, the blackened area that disappears will give you a clear idea of where you're removing material.
For a more general approach to adjusting action and intonation, you can check out our guide on how to modify an electric guitar. The capo is a fundamental piece of that puzzle.
Finishing and polishing: the final touch
Once the grooves are the right depth and the spacing is correct, it's time to make your capo beautiful and functional.1. Round and smooth the edges: Using a flat file and then sandpaper (400-600 grit), gently round all the edges of the nut. There should be no sharp edges that could scratch your hand or get caught. The nut should blend harmoniously with the neck. 2. Polish the grooves: This step is often overlooked, but it's crucial for tuning stability. The grooves must be mirror-smooth. Take a small piece of very fine-grit sandpaper (1000, 1500, 2000) and run it along each groove, wrapped around a thin wire or plectrum. You can also use metal or car polishing compound on a piece of cotton. This will minimize friction, allowing the strings to slide freely. Polish the nut: Using increasingly finer grit sandpaper (up to 2000 or 3000 grit), then using a cloth and polishing compound, buff the entire nut until it shines. This isn't just for aesthetics, but also to seal the bone and make it more resistant to dirt and moisture.
Gluing and final test: the moment of truth
We're almost at the end. Your bone nut It is almost ready for its operational life.1. Clean well: Make sure the nut and housing are free of dust and sanding debris.n2. Paste: Place a tiny drop of glue (cyanoacrylate or epoxy) in the center of the slot. Don't overdo it! The nut should be held in place, not cemented. If you ever need to remove it, you'll be thankful you didn't use half a tube. 3. Position the capo: Insert the capo into the slot, pressing gently to make it adhere. Align it perfectly. Hold it down for a few seconds (or according to the glue instructions). 4. Re-string and tune: Install the new set of strings and tune the guitar.n5. Test the playability: Check the action at the first frets. Is it comfortable? Do the strings buzz?
Bend each string. Do you feel any friction? Does the string spring back into place easily?
Play all the open strings. Is the sound bright? Has the sustain increased?
If the strings buzz on the first frets, it means the grooves are too deep. If the action is too high, they're too high. Don't despair; it's normal to make adjustments. If the action is high, you can still lower the grooves a bit. If it's low, well, as I said before, there's little you can do except fill in or start over. But with the patience you've shown so far, I'm sure you've done a great job.
Common mistakes (that I've made too) and how to avoid them
Allow me to share a few pearls of wisdom (or rather, of “I-made-mistakes-and-learned-from-my-mistakes”).Removing too much material at once: This is mistake number one. It's always tempting to go too fast. Don't do it. Remove one hair at a time, check, then remove another hair. Especially when it comes to the depth of the grooves. Remember: adding is almost impossible, removing is always possible.
Do not protect the handle: When you're removing the old nut or working with files and sandpaper, a moment's distraction can cause a scratch on the fretboard or headstock. Masking tape is inexpensive and a lifesaver.
Don't polish the grooves: It may seem like an aesthetic detail, but it's not. Rough grooves are the main cause of tuning problems. Strings get stuck, don't slide well, and fall out of tune after bending.
Using the wrong glue or too much glue: The nut shouldn't be soldered to the neck. It should be held in place but easily removable for future maintenance or replacement. A drop of cyanoacrylate is more than sufficient.
* Ignore the angle of the grooves: The strings should exit the nut and run toward the tuners at a slight downward angle. If the grooves are straight or even uphill, the strings could pop out or cause tuning problems.
One more thing: don't be afraid to try a couple of things. The first time I made a bone capo, I bought two blanks. I ruined the first one, threw it away (a little angrily, I admit), and learned from my mistakes. The second one came out decent. The third, on another guitar, came out almost perfect. It's a learning process, and every mistake makes you better.
Final Thoughts: The Capo Is Just the Beginning
Mount a bone nut A handmade guitar is incredibly satisfying. Not only will you have improved the sound and playability of your guitar, but you'll also have learned a valuable skill. It's a step forward in your DIY lutherie journey.Remember that the nut is a component, but it's part of a larger system. String height, action, intonation, the guitar's overall setup... everything is connected. Once you have the nut perfect, you may also want to optimize the bridge, the pickup height, or even refret it.
That's the beauty of DIY: every little touch opens up a world of new possibilities and new knowledge. And your guitar, in the end, will truly be yours, shaped by your hands and your passion. All that's left to do is get to work. Strength and courage! And if your first attempt isn't perfect, remember that's how I started, too. Maybe with a little more luck, and a little less cursing. But the final satisfaction, that, is priceless.
See also
Download the Luthier Survival Kit
Free PDF with checklist, problem-cause table and project card template.
 English
  Italiano
Stuck on your build?
If you ran into the same problem or have a question, drop it in the comments. I read and reply to every one.
Write a comment