

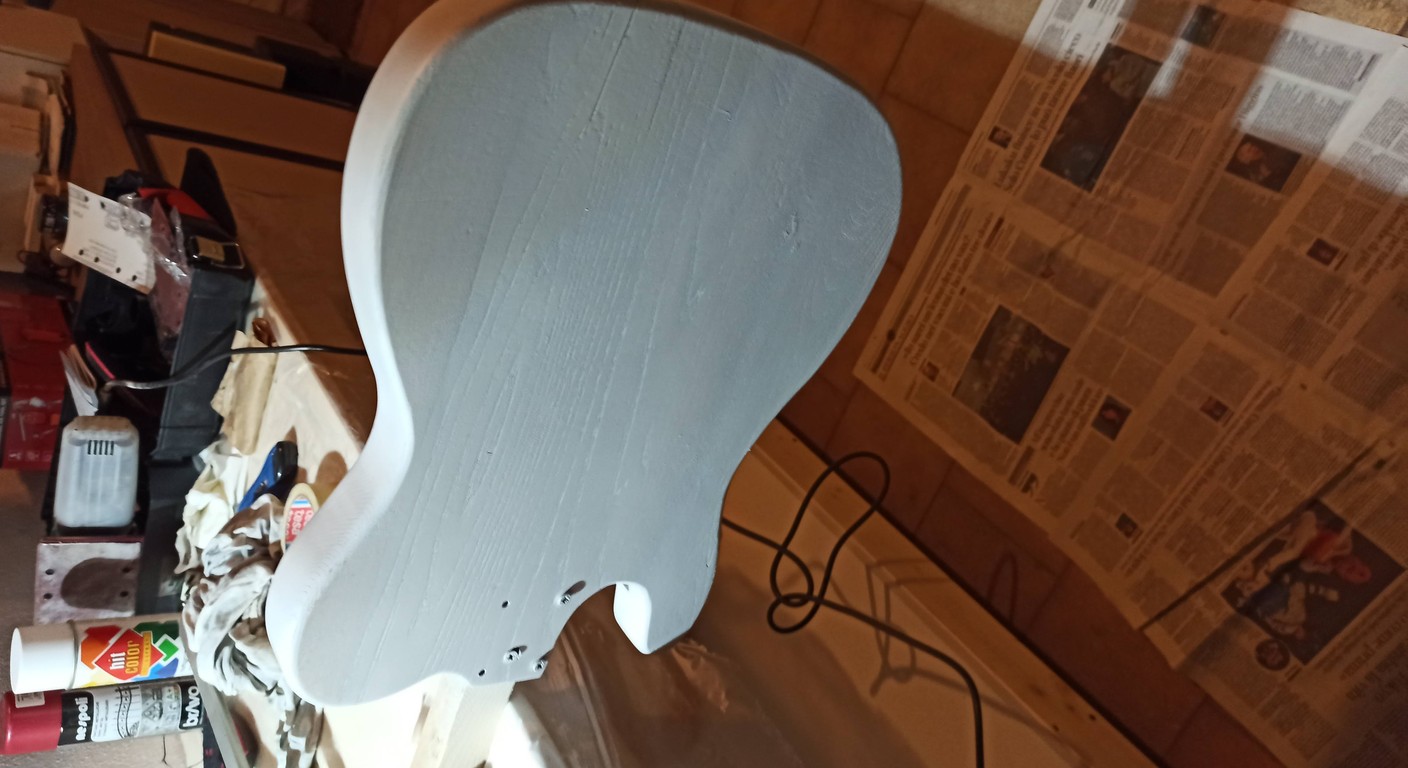
Broken electric guitar body? Fix it in 5 steps!
Have you ever taken your pencil case out of your guitar Your favorite body and discover a nasty crack on your body? Or maybe, while working on your latest DIY project, it slipped from your hand and the body suffered damage? I know how it feels. I still remember the first time it happened to me: a mahogany body I was about to finish fell from a ridiculous height, with a chip right on the edge that made me nervous just looking at it. I wanted to throw it out the window.But then I took a deep breath. I took charge of the situation, and I realized it wasn't the end of the world. In fact, it became an opportunity to learn, to dig even deeper, and to give a second life to what seemed like a hopeless piece of wood. If I could do it, with my garage tools and a few mistakes along the way, you can do it too.
There repairing the body of an electric guitar It's not a space-age surgery. It requires patience, a bit of dexterity, and the right tools, but above all, the will to never give up. This isn't a job that will make you a professional luthier, but it will give you the satisfaction of having saved your guitar with your own hands. And, let's face it, there's something special about a guitar with a history, even if that history includes a nasty fall. I won't deny that some breakages are more complicated than others. A superficial crack is one thing, a through-crack or a deep chip is another. But the basic principle is the same: glue, fill, sand, and refine. Let's look together at how to approach this type of repair, step by step, with a few tips I've learned the hard way.
1. Diagnosing the Damage and Preparing the Patient (the guitar, I mean!)
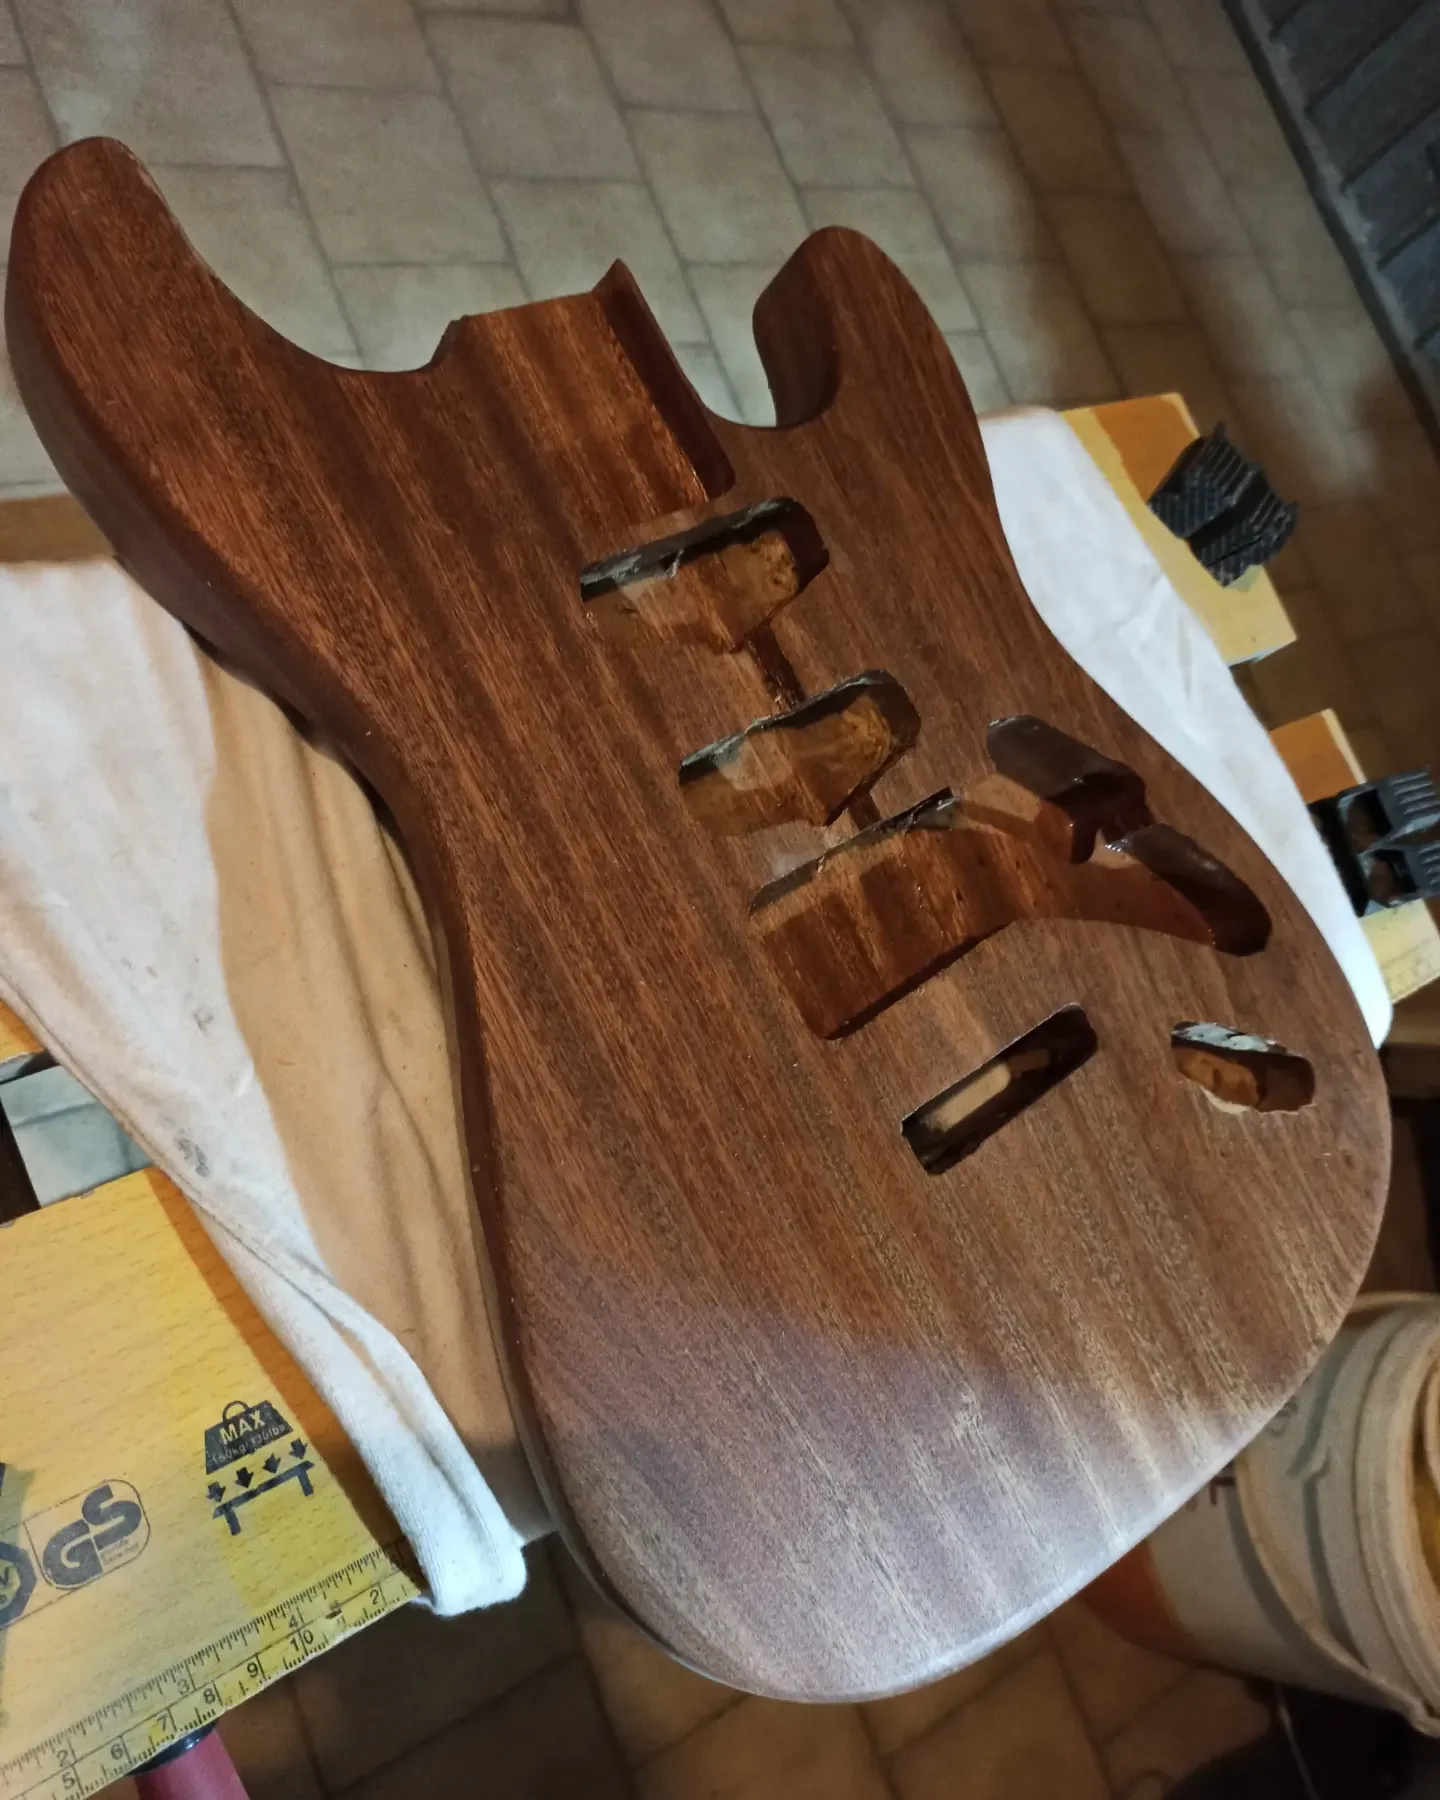
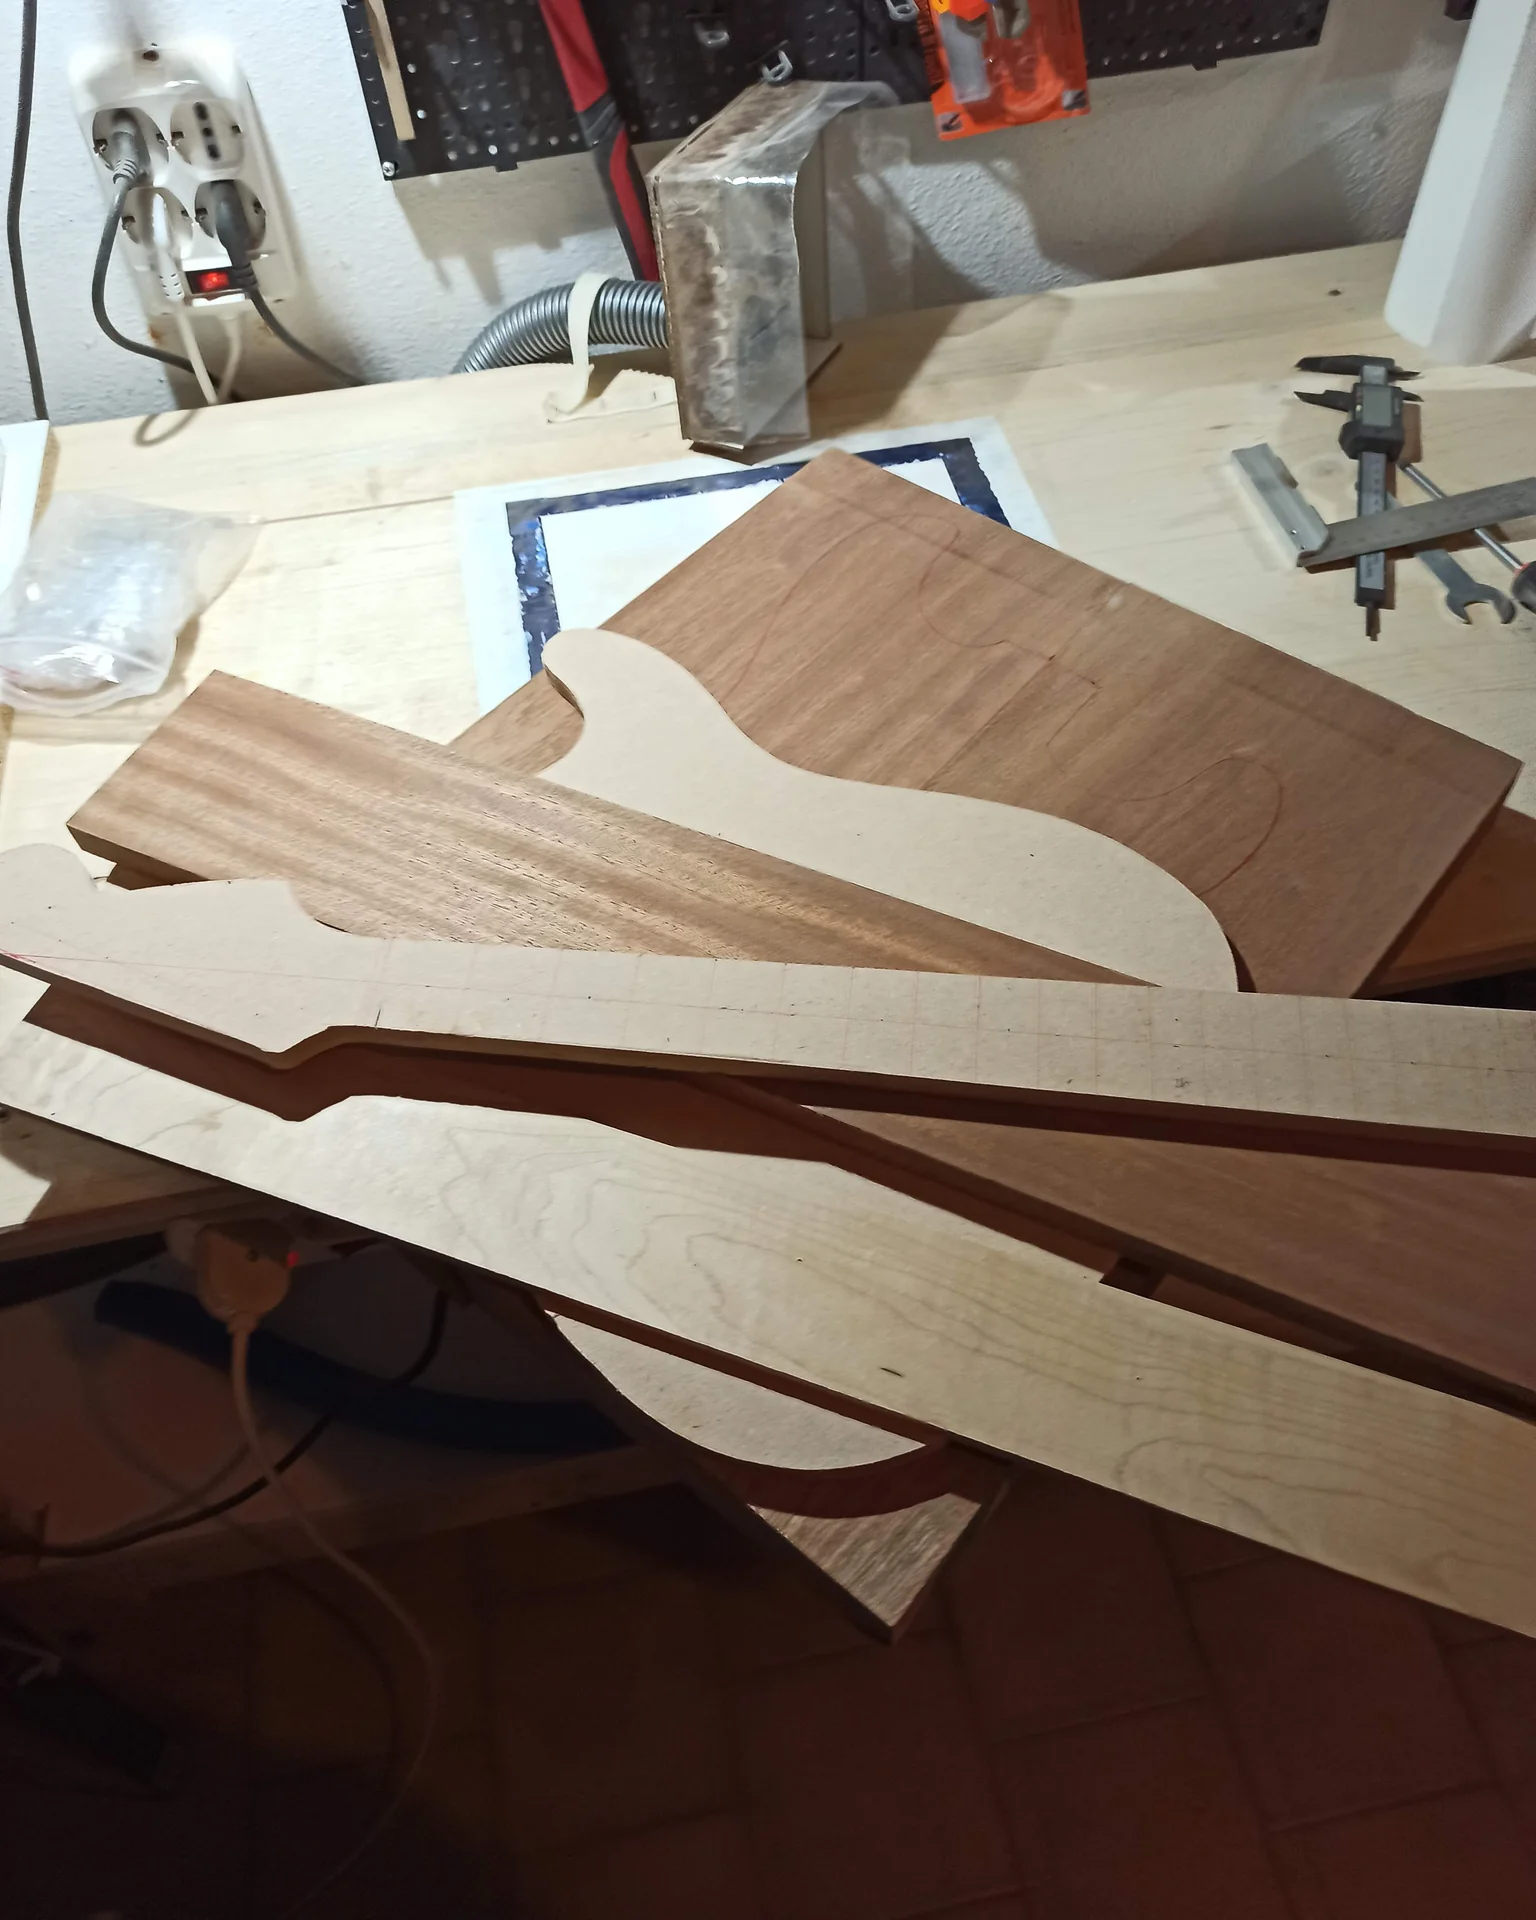
Common Damage Types
Surface cracks: Often they're only in the finish or the first layer of wood. They can be caused by minor impacts or temperature changes.

Chips: Pieces of wood breaking off the edge or surface, perhaps near a pickup or jack. These are typical of falls.
Through breaks: The body has actually split into two or more parts. This is the most serious case and requires structural intervention.
Routing Damage: If you've milled a cavity and got the wrong size, or if the wood has torn.
Carefully check the depth, extent, and any missing pieces. It's tempting to say "you can't see it anyway," but a well-done repair is also a matter of stability and future resonance. Never underestimate a crack; it could get worse.
Disassembly and Cleaning: The Importance of Starting Well
If the damage is on the body, the first thing to do is remove everything you don't need. I'm talking about the bridge, pickups, electronics, neck. Everything. Leave only the body bare. This will give you room to work and prevent you from damaging functioning components.When disassembling the handle, pay attention to the screws. Mark them with tape and a marker to see where they go. Don't overtighten them when reassembling, as you could damage the wood.
Once disassembled, clean the damaged area thoroughly. Dust, dirt, paint residue, or old glue can compromise the adhesion of the new glue. Use a brush, compressed air, or a cloth lightly moistened with isopropyl alcohol (but only if the finish isn't damaged; test in an inconspicuous area!). The goal is to have a clean, porous surface, ready to receive the glue.
If the crack is old, you may find some encrusted dirt. Sometimes a small scalpel or awl is needed to thoroughly clean the cracks. Do this gently, without further spreading the damage. Materials and Tools for Diagnosis and Preparation: Screwdrivers (Phillips, slotted, Allen)
Pliers (for potentiometers or cable lugs)
Paper tape (for labeling the pieces)
Small brush or compressed air Isopropyl alcohol (if needed)
Nitrile gloves (to avoid leaving fingerprints or dirt)
Magnifying glass or good lighting (to see the cracks well) Mimmo's Tip: Don't rush disassembly. Take photos as you go. They'll be invaluable during reassembly, especially for electrical connections. How many times have I reassembled everything only to realize a cable was in the wrong place! Photos are your insurance against my carelessness.
2. The Art of Gluing: Choosing the Right Glue and Stress-Free Clamping
This is the heart of the guitar body repair. Gluing is the crucial moment. If you make a mistake here, it's difficult to fix. My first attempt at gluing a broken headstock was a disaster: too much glue, poorly placed clamps, and the result was a sticky, crooked mess. I've learned that the quality of the glue and the precision of the clamping make all the difference.Which Glue Should You Use? Not All Glues Are the Same
There are several options, and the choice depends on the type of wood and the type of breakage. 1. Titebond Original Glue (Aliphatic Resin Glue): My favorite for wood. It's strong, dries fairly quickly, is easy to clean with a damp cloth when fresh, and best of all, when dry, it's harder than the wood itself. It's the standard glue used by many luthiers. It's excellent for clean, crisp breaks. You can find more information about its properties directly on the manufacturer's website, for example in the wood products section of Titebond.n2. Hot glue (Hide Glue): This is the traditional glue used by violin makers. It's reversible (it can dissolve with heat and humidity), which is a huge advantage if you ever need to reopen the glue. However, it's more difficult for hobbyists to use, requiring a certain amount of skill and a controlled heat source. I wouldn't recommend it for your first structural repair unless you're already experienced. Epoxy Glue: Excellent for filling cracks or gluing large gaps. It's very strong and fills gaps well. However, it's more difficult to clean and isn't reversible. Additionally, some epoxies can be too stiff to vibrate well with wood, affecting the sound. Use it sparingly and only when other options aren't enough.For most of the structural body repairs, Titebond Original is the most sensible choice.
The Bonding Process: Less is More and Pressure Makes the Difference
1. Prepare the area: Make sure the surfaces to be glued are clean and fit together perfectly. Do a dry run without glue to see how the pieces line up. 2. Apply the glue: Apply a thin layer of glue to both surfaces. Don't overdo it! Too much glue won't improve adhesion; in fact, it can make clamping and cleaning more difficult. A small brush or cotton swab can help you spread it evenly into the cracks. 3. Join the pieces: Align the pieces precisely. This is the critical moment. If the breakage is complex, you may need a second person to help. 4. Clamping (clamps): Here's the trick. Wood glue works best under pressure. Use C-clamps, bar clamps, or even heavy-duty tape (such as heavy-duty masking tape) to hold the pieces firmly together.Uniform pressure: Distribute the pressure evenly along the entire glue line. Use wooden blocks between the clamps and the body to avoid marking the wood.
Alignment: Make sure the pieces stay aligned as you tighten the clamps. Sometimes the glue lubricates the surfaces and the pieces can slip.
Clean off the excess: As soon as you tighten the clamps, excess glue will seep out of the cracks. Wipe it off immediately with a damp cloth. If you let it dry, it will be much more difficult to remove without damaging the wood or finish. Mimmo's Warning: Don't overtighten the clamps! Too much pressure can warp the wood and squeeze out all the glue, leaving a dry, weak bond. Tighten until you see a small bead of glue coming out evenly from the joint.
Leave the clamps in place for at least 12-24 hours. Although the glue may appear dry after a few hours, it takes longer to fully cure. Don't rush it. Now is the time to grab a coffee and do something else. Materials and Tools for Gluing: Wood glue (Titebond Original)
C-Clamps or Bar Clamps (different sizes)
Wooden blocks (to protect the body)
Wet cloths Brush or cotton swab
3. Reconstruction and Modeling: When Wood Comes Back to Life
After gluing, you'll have a solid, but probably imperfect, joint. There will be small cracks, unevenness, or missing pieces, especially if the breakage was complex or if there were chips. This phase is called sculpting: you need to return the body to its original state, or nearly so. It's a fundamental part of the repairing the body of an electric guitar for an aesthetic and functional result.Filling Cracks and Voids
If there are small cracks, you can use wood filler or wood filler. It's best to mix sanding dust from the same wood as the body with a little wood glue (Titebond) or epoxy glue. This will give you a filler that better matches the color of the original wood. Prepare the mixture: Gather some fine sawdust (if you've sanded the body in the past, save some of the dust—it's gold!) and mix it with the glue until you get a thick paste.n2. Apply the filler: Using a small spatula or your finger (with a glove!), apply the compound into the cracks or holes. Press firmly to ensure it penetrates thoroughly. 3. Let it dry: Patience is a must here too. Let it dry completely, following the manufacturer's instructions for drying time.For larger holes or missing pieces, you may need to glue a wooden "patch." Find a piece of wood of the same type and thickness, shape it precisely to fill the gap, and glue it as described in the previous section. This is more difficult and requires good skill with a chisel and files.
Sanding and Shaping: The Path to Perfection
Once the filler or patch is completely dry and solid, it's time to sand. This is the step that transforms a rough work into something harmonious. 1. Start with coarse grain: If there are large unevenness, start with 80 or 100-grit sandpaper. Use a sanding block to keep the surface flat and even. The goal is to remove excess material and bring everything to the same level. 2. Increasing grains: Gradually move to finer grits: 120, 180, 220, 320, up to 400 or 600. Each pass removes the scratches left by the previous grit.Check under grazing light: To see scratches and defects clearly, look at the surface under a raking light. The defects will be much more obvious.
Change direction: Every so often, change the direction of your sanding. This helps you see if you've removed all the scratches from the previous grain. 3. Contour shaping: If the break was on the edge of the body, you may need to reshape the profile. Use wood files or sandpaper wrapped around a piece of pipe to recreate the original curves. Go slowly; removing wood is easy, but adding it is not. Mimmo's Tip: When sanding, don't rush. And above all, don't focus solely on the repair spot. Extend the sanding to the surrounding areas to smooth out the work and avoid "steps." Sometimes, to do a good job, you have to... modify lightly scuff a part of the body to make it look intentional, not a repair. Materials and Tools for Reconstruction: Wood filler or wood dust + glue Spatula Sandpaper (assorted grits from 80 to 600)
Sanding block Wood files (if needed)
Gloves and dust mask (wood dust is bad for your lungs!)
4. The Finish: The Final Touch to Hide Every Trace
You've glued, filled, sanded. Now the structure is solid and the shape is back. But the eye wants its part. The finish is what will make your electric guitar body repair invisible or almost invisible. This is the most delicate part and the one that requires the most patience.Post-Repair Finishing Options
The choice of finish depends on two main factors: the type of original finish on the guitar and your goal (invisible restoration or a “relic” or custom look). 1. Retouching the original finish: If you want to keep the existing finish and hide the repair, you should use the same type of paint.Nitrocellulose: If your guitar has a nitro finish (typical of many vintage Gibsons and Fenders), you'll need to use nitrocellulose varnish. It's difficult for a beginner to apply because it requires several thin coats and good ventilation, but it has the advantage of "melting" and bonding well with the existing finish, making the transitions nearly invisible.
Polyurethane/Polyester: Modern finishes are often made of polyurethane or polyester. They're more durable and easier to apply, but they don't chemically bond to the existing finish like nitrocellulose. This means it'll be more difficult to blend the repair without leaving a visible line. 2. Refine the entire body: If the repair is extensive or you want to give your guitar a new look, you might consider stripping and refinishing the entire body. This is a huge job, but it gives you the freedom to choose any color or finish. It's a great opportunity to give your instrument a personal touch.
Finish Application Process (for touch-ups)
Let's assume you want to touch up the existing finish. 1. Isolate the area: Using quality masking tape (fine masking tape, not painter's tape!), cover the areas of the body you don't want to paint.n2. Apply thin coats: Whether you use spray cans or a spray gun, the imperative is the same: thin coats. It's better to apply 10 thin coats than two thick coats. Thick coats run, bubble, and take forever to dry. Drying times: Allow sufficient drying time between coats. For nitro, 15-30 minutes may be sufficient. For polyurethane, several hours may be necessary. Sanding between coats: After 2-3 coats, you can lightly sand with very fine sandpaper (600-800 grit) to level the surface and improve adhesion for the next coat. Be careful not to sand too much and damage the wood! 5. Final polishing: Once all the coats have been applied and after a “cure” period (which can vary from a week to a month, depending on the type of paint, because the finish must harden completely), it is time for polishing.Wet sanding: Start with very fine sandpaper (1000, 1500, 2000, 2500) wet with water and a drop of soap. This removes imperfections and orange peel.
Abrasive paste: Use a fine abrasive compound to remove micro-scratches from sanding.
Polishing paste: Finish with a polishing compound to add shine. You can use a soft cloth by hand or a polishing machine with a soft pad at low speed. Mimmo's Warning: Finishing is where many people give up. It's a painstakingly patient job. If you don't have a clean and well-ventilated area, you risk getting dust and hair embedded in the paint. And don't breathe in paint fumes without a proper mask! Your health is more important than a perfect finish. Finishing Materials and Tools: Varnish (nitrocellulose, polyurethane, etc.)
Spray cans or spray gun Precision masking tape Sandpaper (grits 600 to 2500)
Sanding block Soft cloths Abrasive and polishing pastes Gas mask and gloves
5. Reassembly and Testing: The Sound of Victory
You've made it through the hard part. Now it's time to put the pieces back together and hear how your "reborn" guitar sounds. This step is the reward for all the work you've done on the guitar body repair.Reassembling the Components
Retrace your steps (and photos!) of the disassembly. 1. Handle: Insert the handle into its pocket. Carefully screw in the screws, alternating and tightening gradually. Don't overtighten, as you may strip the wood or the screws. Feel for resistance. 2. Bridge and Hardware: Assemble the bridge, tuners, strap buttons, and all the hardware. Make sure every screw is in place and everything is secure. 3. Electronics: This is the most delicate part. Reconnect the pickups, potentiometers, switch, and jack. If you took photos, they'll be a lifesaver. Check every solder connection. If in doubt, consult a wiring diagram for your guitar. Remember, a cold solder can cause a lot of problems and unwanted noise. Pick-up: Adjust the pickup height. Start with a standard height and then adjust to your liking.Strings and Setup: The Moment of Truth
Put on new strings. Tune it. And then, the moment you've been waiting for: plug it into the amplifier. 1. Electronic Test: Check that all pickups are working, that the volume and tone pots work properly, and that the switch switches pickups smoothly. Listen for any hum or buzzing. If there is any, there's likely a grounding problem or a faulty solder joint. 2. Action and Intonation: Once the guitar is playing electronically, you need to do a complete setup. Adjust the action (string height), intonation (check each string by playing at the 12th fret and the octave), and pickup height. If you've removed the neck, you may also need to check the truss rod. Do a quick spin to see if the neck is straight. 3. Playability: Play the guitar. Try out different chords, riffs, and scales. Listen to how it responds. Is there any weird vibration? Fret buzz? Pay attention to every detail. Mimmo's Tip: Don't be discouraged if it doesn't sound perfect the first time. Setup is an art in itself, and requires time and practice. The important thing is that the structural repair is solid and that the guitar is playable again. Small adjustments should be made slowly. Materials and Tools for Reassembly and Testing: Screwdriver Allen keys (for the bridge or truss rod)Soldering iron and solder (if you've unsoldered something)
New strings Tuners Ruler for measuring the actionn* Caliper (for measuring the height of the pickups)
Final Thoughts: Not Just Wood and Glue
Have you seen? It seems like a long and complicated journey, but every step is manageable. repairing the body of an electric guitar It's not just a technical job, it's also an experience. It teaches you patience, precision, and gives you a deep understanding of how your instrument is built.When I repaired that chip on the mahogany body, I didn't get a perfect display result. If you look closely, against the light, you can still see a small line. But that line is my signature. It's proof that I put my hands in the mix, that I made mistakes, and that I learned. And every time I pick up that guitar, I feel a different connection with it. It's no longer just an instrument, but a part of my story, with its scars and its new life.
So, if your body has suffered damage, don't give up. Take your time, get the right tools, and follow these steps. You might discover a passion you didn't know you had, and in the end, you'll have a guitar that sounds great and will tell you a unique story—your own. After all, that's the spirit of DIY, right? Creating something your own, with your own hands, even when faced with a problem.
See also
- Guitar setup by yourself: solve the problems.
- Does your guitar rattle? Electric refracting!
- Electric Guitar Repair: 4 Faults You Can Fix
Download the Luthier Survival Kit
Free PDF with checklist, problem-cause table and project card template.
 English
  Italiano
Stuck on your build?
If you ran into the same problem or have a question, drop it in the comments. I read and reply to every one.
Write a comment