

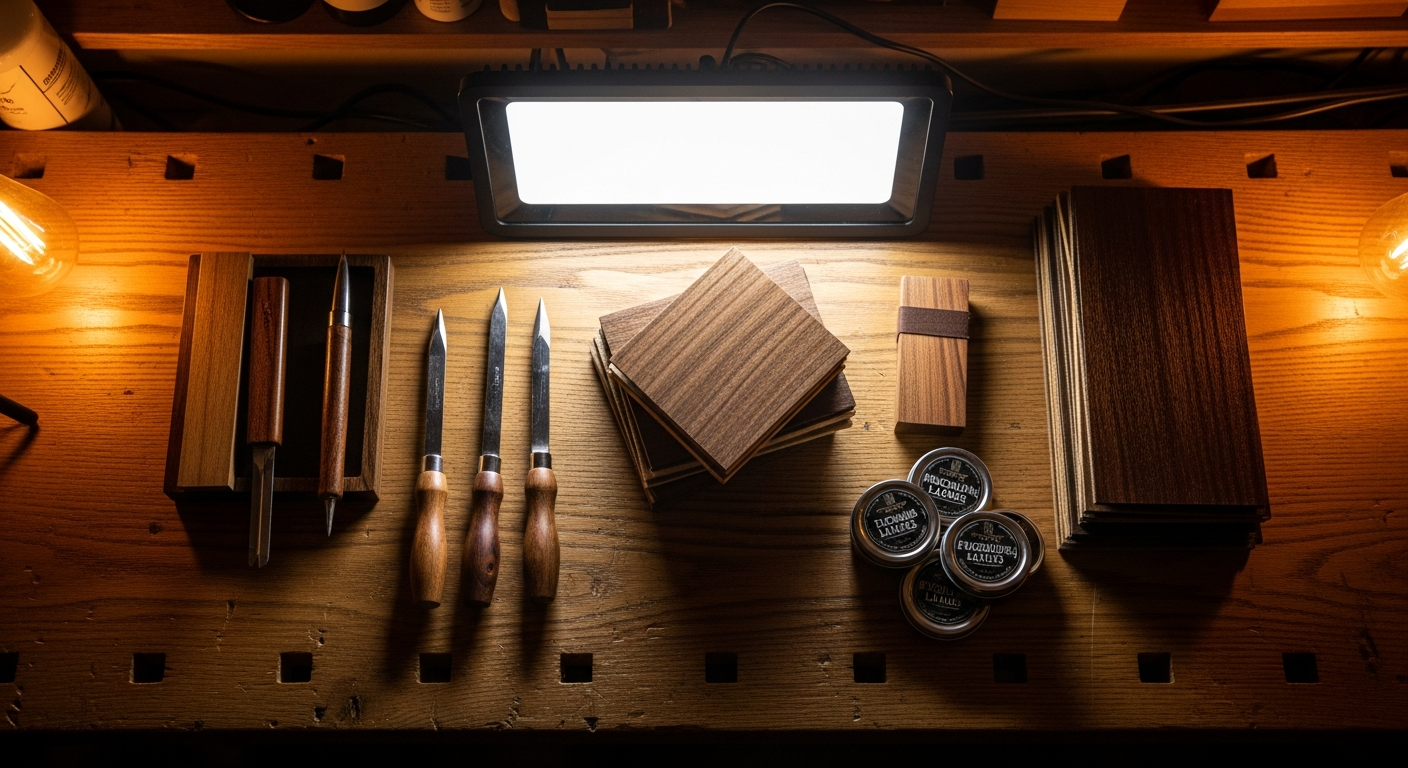
Polyurethane guitar finish: resistance and performance
I remember the first time I tried to paint a guitar. It was an ash body, lightweight, with a nice grain that I wanted to highlight. I'd read about everything, from nitro to polyester, and in the end, as a good hobbyist with a limited budget and a garage as a workshop, I opted for polyurethane. A disaster, obviously. Sagging, dust, a surface that felt like orange peel to the touch. But, as I always say, you learn from your mistakes. And after a few ruined bodies and many hours spent sanding and redoing, I realized that the polyurethane guitar finish It's not just a matter of spraying paint, but of patience, method and understanding What you are using.If you've ever dreamed of that shiny, durable surface, perhaps after watching a few videos of professional luthiers, and then been faced with the reality of DIY, you're in the right place. I'm not a professional, and I don't have pressurized paint booths.
It's polymerization ovens. I have my garage, a compressor like the ones you find at DIY, and a great desire to figure out how to make things work. And if I could do it, you can too.
Polyurethane, or as we often call it, "poly," is a fantastic material for those of us who build at home. It's sturdy, resistant to impacts and liquids, and with the right products and a little technique, it gives you results that are not at all out of place. Sure, it won't have the "mojo" of nitro that ages with the guitar, but I assure you that its practicality and durability are invaluable for an instrument you'll use often, or perhaps one you want to modify in the future without too much worry, as I also explain in the article on how to modify a guitar.
Why Polyurethane? The Benefits for DIYers
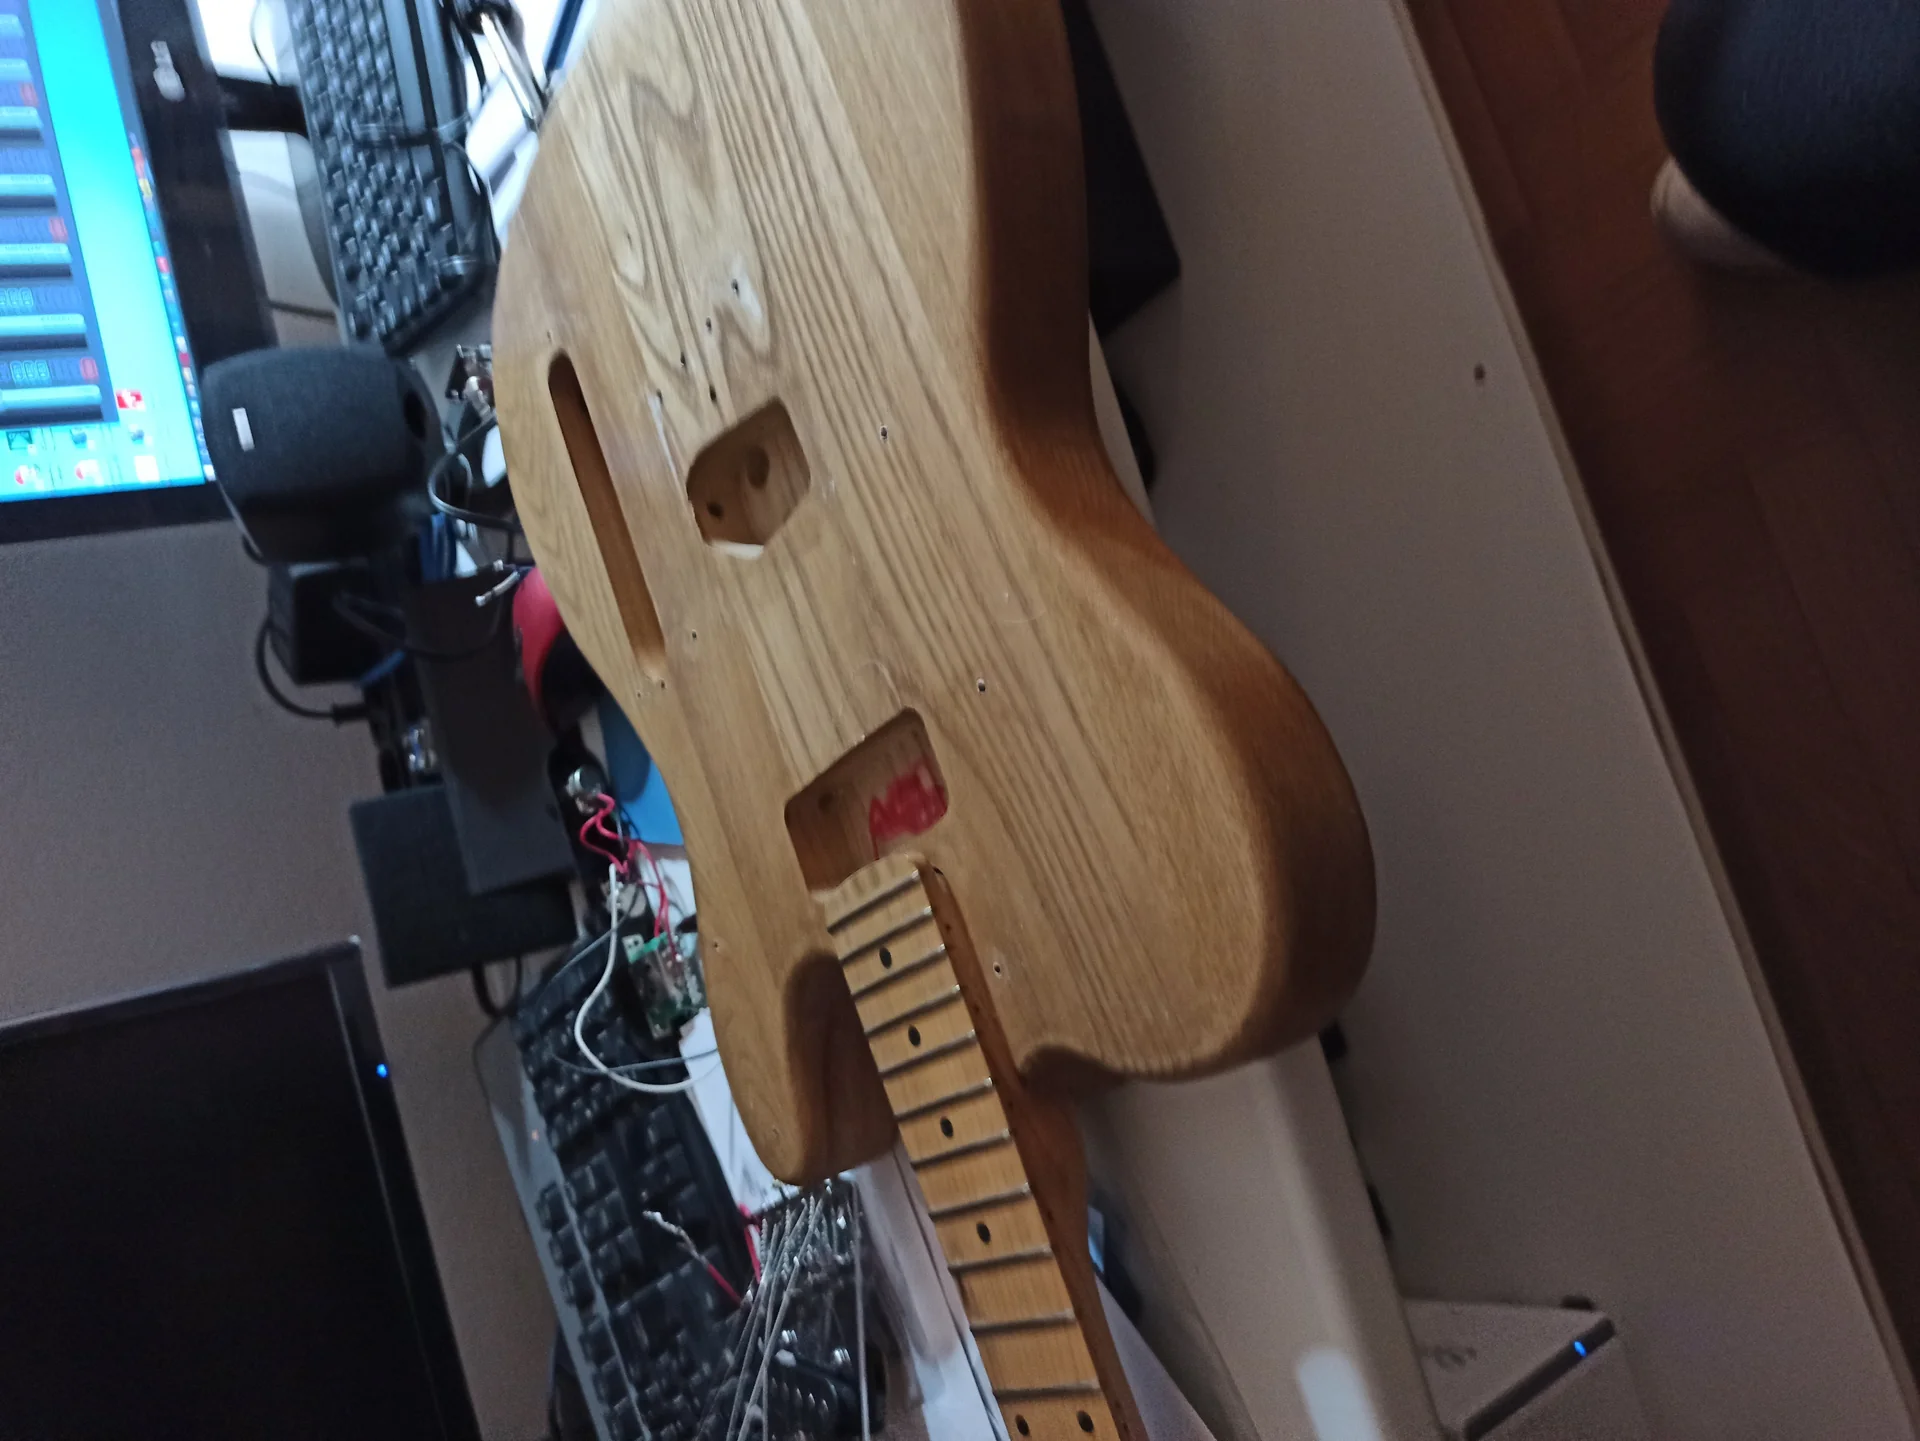
Okay, you have your body or neck, maybe mahogany, ash, alder. Beautiful, but rough. The first mistake people make, and I've fallen for it several times, is thinking you can skip some steps in the preparation. The truth is that the 90% of the final result of a polyurethane finish It depends on how you prepare the wood. If the base isn't perfect, any varnish, even the most expensive, will reveal every flaw, every scratch, every imperfection.
Let's start with sanding. It's the most tedious and repetitive work, but also the most important. There's no escape. You must have patience. ### The Sanding Sequence (and why you shouldn't cheat) 1. Grain 80-100: If the wood is very rough or has obvious imperfections (glue, deep plane marks), start here. Work with a flat sanding block to ensure you don't create any depressions. Don't skip steps! 2. Grain 120-150: Start by removing the previous grain marks. Continue with block no. 3. Grain 180-220: This is the final grain for most woods. Make sure there are no visible signs of the coarser grains. At this point, the wood should be smooth to the touch.n4. Optional: Grit 320-400: For very fine woods or if you want a truly flawless surface before applying the primer. Don't go overboard, as a surface that's too shiny can prevent the primer from adhering properly. The “wetting” trick: After sanding with 220 grit (or 180 if you're done), lightly wet the wood with a damp cloth. You'll see the wood fibers stand up. Let it dry completely, then sand again with the same grit (220 or 180). This will help you achieve a smooth surface even after applying primer and varnish. I learned this after seeing the grain raising under the first coat of primer, which makes you swear because you have to start over. The Pain Point: Rushing. The temptation to go from 80 to 220 grit straight away is strong. Don't do it. Every scratch from the coarser grit that isn't removed by the next grit will be visible under the polyurethane coating. And there, the only solution is to sand everything down and start over. ### Pore Filling (Grain Filling)
If you're working with open-pore woods like mahogany, ash, or rosewood, you need to fill the pores. Otherwise, the finish will have an orange peel surface, or worse, you'll end up with a lot of tiny holes that ruin the aesthetics and durability of the work. Types of fillers: There are water-based fillers (easier to use and clean), oil-based ones (more traditional, requiring longer drying times), and even epoxy ones (very hard, but more complex to apply). For us, water-based ones are often the best choice.
Application: Spread the filler with a plastic spatula or an old piece of credit card, pushing it well into the pores. Work in small sections. Remove the excess across the grain of the wood before it dries completely.
Drying and sanding: Let it dry completely (times vary, read the manufacturer's instructions!). Then sand with 320-400 grit until the wood appears smooth and the filler is visible only in the pores. It may be necessary to apply multiple coats. I had to do three coats on a mahogany body once, and each time I thought “will this never end?!”. ### The Base Coat (Sealer)
After the final sanding and grain filling (if necessary), it's time for the primer, or "sanding sealer." This layer has several fundamental purposes: Sealing the wood: It prevents the polyurethane treatment final to be absorbed unevenly by the wood.
Creating an even base: It provides a uniform surface on which the paint will adhere better.
Revealing Flaws: Once applied and sanded, it shows you any scratches or imperfections you may have missed.
Increase membership: Many primers are formulated to improve the adhesion of subsequent paint. Types of fund: You can use a primer specifically designed for polyurethane, or, in some cases, a light coat of shellac. Personally, I prefer a good sanding sealer compatible with the polyurethane I'll be using.
Application: Apply 2-3 thin coats, following the manufacturer's instructions for drying times.
Sanding the bottom: After each coat has dried, lightly sand with 320-400 grit sandpaper. The goal is to make the surface smooth and matte, not to remove the primer. Be gentle.
Remember: good prep work is key. Don't rush. Every minute spent here will save you hours of frustration later.
Applying Polyurethane: Step by Step (and How Not to Make a Mess)
Advertising
USA/Les Paul Standard 50s Tobacco Burst [4.14kg/2022] [Actual Image/Undisplayed Item] Gibson Les Paul Standard Electric Guitar [S/ 221520380]
See on Amazon

First of all, let's talk about the types of polyurethane. Single-component polyurethanes: These are the easiest to use. You can find them in spray cans (ideal for small parts or for those without a compressor) or in jars for brush/roller application. They are water- or solvent-based. Water-based paints are less toxic, easier to clean, but sometimes less harsh. Solvent-based paints are more durable but require more ventilation and protection.
Two-component polyurethanes (2K): These are composed of a base and a catalyst that chemically react to create an extremely hard and durable finish. They are more complex to use because you need to mix them in the right ratio and have a limited pot life. They require spray painting equipment (HVLP is ideal) and a mask with specific filters. For maximum durability, they are the best choice, but for garage builders, they can be a challenge.
For this article, we focus on the most common and accessible application for DIY: spray cans or a small HVLP system with solvent-based single-component polyurethane (which is a good compromise between resistance and ease of use) or two-component if you feel adventurous. ### The Work Environment: Enemy Number One, Dust! Don't have a spray booth? Neither do I. But you can do a lot to reduce dust. 1. Clean: Sweep and vacuum the garage. Don't paint immediately after sanding. 2. Humidify: Lightly wet the floor with water. This will help the dust settle into the air.n3. Ventilation: Open a window and use a fan to create airflow, but don't direct it directly onto the guitar (it would bring dust). Always wear a vapor mask. Don't jeopardize your health. 4. Temperature and humidity: Try to work in an environment with stable temperature and humidity, as recommended by the paint manufacturer. Too cold or too humid can compromise drying and paint quality. polyurethane lacquer. ### The Application Procedure (without making a mess) 1. Prepare the guitar: Hang it so you can walk around it and reach all surfaces. Use a stable support, perhaps with a wire passing through the holes in the neck or bridge. 2. Clean again: Before each coat of paint, clean the surface with an antistatic cloth (tack rag) or a microfiber cloth soaked in a specific degreaser (e.g., isopropyl alcohol or polyurethane thinner, if compatible). Avoid leaving fingerprints. 3. Apply thin coats: This is the most important tip. It's better to apply 10 thin coats than two thick coats. Thin coats dry faster, reduce the risk of runs, and allow for a more uniform finish.
Spray: Hold the can/gun at a constant distance (e.g., 20-30 cm) and move your arm smoothly and steadily, slightly overlapping each stroke. Start and finish spraying outside the piece.
Brush/Pad: If you use a brush-on polyurethane, make sure it's good quality. Apply the paint evenly, using long strokes, and try not to go over the same area too many times to avoid marks. 4. Drying times between coats: Read the manufacturer's instructions carefully. For single-component polyurethanes, 2-4 hours is usually sufficient. For 2K polyurethanes, even less. Don't rush! If you paint over a layer that isn't completely dry, you risk wrinkles and poor adhesion. Sanding between coats: After 2-3 coats (or when the surface is fairly even), sand lightly with 400-600 grit. The goal is to smooth out any imperfections (dust, small orange peels) and create a foundation for the next coat. You don't need to remove the paint, just dull it. Always clean thoroughly after sanding.
Pain Point: Sand too much or too little. If you sand too much, you'll get to the wood. If you sand too little, defects will accumulate. Be gentle and check the surface against the light.6. How many hands? There is no fixed number, but generally 6-10 hands of polyurethane protective layer They're a good starting point. The goal is to achieve a thickness sufficient to protect the wood and allow for a perfect polish, without weighing down the tool too much.n7. Final treatment: Once all the coats are applied, comes the hardest part: waiting. Polyurethane, while drying quickly to the touch, needs time to fully cure and reach its maximum hardness. This can take anywhere from a week to a month, depending on the type of polyurethane, temperature, and humidity. Don't touch the guitar, don't sand, don't polish. Just leave it there, hanging, to do its job. I ruined a nearly perfect finish by rushing to polish it too soon. Don't make my mistake!
Remember, the guitar painting Using polyurethane is a process that rewards patience and meticulousness. Every step, from application to curing time, is crucial for a final result that will make you say, "It was worth it!".
The Finish: Polishing and care for a boutique effect
You waited. You resisted the temptation to touch, sand, polish. Your polyurethane coating is finally fully cured. Now comes the rewarding part, the one that transforms a dull and somewhat rough surface into a deep, brilliant mirror. This is the time for buffing, and here too, patience is your best friend. ### Wet SandingThis phase is crucial for smoothing out all minor surface imperfections (dust, residual orange peel) and preparing it for buffing. 1. Materials: You will need wet/dry sandpaper, a flexible sanding block, and a bucket of water with a little soap (or a spray bottle with soap and water).n2. Sequence of grains: Grain 800-1000: Start with a medium grit. The goal is to remove the most obvious defects and create a uniformly matte surface. Keep the paper and the surface moist at all times. Work in steady, circular or straight motions. Be gentle on edges and corners, where it's easier to break through the finish.
Grain 1200-1500: Continue to remove any traces of the previous grain. The surface should begin to become more uniform and less scratched.
Grit 2000: At this point, the surface should be smooth to the touch and have a uniform satin appearance.
Grain 2500-3000 (or even 4000): If you want an extreme level of gloss, you can go up to these grits. Each pass makes micro-scratches less and less visible, making subsequent polishing easier.n3. The control: After each pass, clean the surface thoroughly and inspect it against the light. You should no longer see any signs of the previous grain. If you do, go back to the previous grain and start again. Pain Point: Burning the finish. Sanding too long in one spot, especially with coarser grits, can generate heat and thin the finish too much. polyurethane treatment, leading you to break through it. Be consistent in your movements and always keep the surface well lubricated with water. ### Buffing
Once the surface is dull and uniform thanks to wet sanding, it's time to make it shine. 1. Materials: Abrasive pastes (compounds): You'll need two to three compounds with different grit sizes: a coarse (cutting compound), a medium (polishing compound), and a fine (swirl remover or glazing compound). Brands like Meguiar's, 3M, or lutherie-specific compounds (e.g., StewMac) are excellent.
Polishing Pads: If you have a rotary polisher or orbital polisher, you'll need foam pads of varying hardness (often color-coded: yellow for cutting, black for buffing, blue for finishing). If you're working by hand, use clean microfiber cloths.
Microfiber cloths: To clean residues.n2. Procedure (with polisher): Cutting: Apply a small amount of coarse sanding compound to the pad (usually the yellow one) or directly to the surface. Work in small sections (e.g., 30 x 30 cm) with the polisher at low speed (800-1200 RPM for a rotary polisher, medium for an orbital polisher). Move the machine steadily, overlapping the passes. The goal is to remove the finer sanding marks and begin building a shine. Wipe off any residue with a clean cloth.
Polishing: Change the pad (usually black) and use the medium paste. Increase the speed slightly (1200-1800 RPM). This step refines the surface and increases the gloss.
Finishing (Glazing/Swirl removal): Using a soft pad (usually blue) and the finest compound, buff at a slightly higher speed (1500-2000 RPM). This eliminates any micro-swirls (circular marks) left by previous compounds and brings the finish to maximum gloss.n3. Procedure (by hand): It's more laborious and time-consuming, but it's doable. Apply a small amount of paste to a microfiber cloth and rub in firm, circular or straight motions, for small areas. Use different cloths for each paste. Pressure is important, but avoid overheating the surface. Final inspection: After each polishing step, clean the surface thoroughly and inspect it under strong light (an LED flashlight is ideal). Look for swirl marks, unpolished areas, or burn marks. If you find any flaws, you may need to go back and use the previous compound. The result: A mirror finish, deep, reflecting its surroundings. The durability of polyurethane combined with this shine will give you a guitar that not only sounds good, but is also beautiful to look at and touch.
To learn more about polishing techniques, especially for specific products, I recommend checking out StewMac's guides, which are a valuable resource for us hobbyists: StewMac – How to Buff a Guitar Finish. There you'll find even more detailed videos and tips.
Common Mistakes and Advice from Those Who've Been There
As I said at the beginning, my experience with the polyurethane guitar finish is riddled with errors. And every error has been a lesson. I want to share with you the “classic” pitfalls, to save you some headaches and, above all, some wasted hours of work. ### 1. Haste, the number one enemynnThis is the biggest. “Dries to the touch in 2 hours, I can sand!” No, you can't. Or rather, you can, but you risk ruining everything. Full curing takes time, a lot of time. If you don't wait long enough, the finish will still be soft. When sanding, the paper will clog, you'll pull off pieces of paint, you'll create depressions. When buffing, you'll just make a mess and never get the desired shine, or worse, you'll create “burn-throughs” because the finish doesn't yet have its full hardness. My advice: If the manufacturer says “full cure in 30 days”, take that seriously. Hang it up and forget about it. Or work on another project in the meantime. I know it's difficult, but it's the only way not to ruin hours of work. ### 2. Inadequate Surface PreparationnnWe've talked about sanding and grain filling. If you skip a step, if you don't remove all scratches from coarser grits, if you don't fill the pores properly, you'll see everything. And once the paint is on, there's no way to hide it. My advice: Every time you think you've finished sanding, clean the wood and look at it against the light from different angles. If you see any marks, don't move on. Go back with the previous grit and redo it. It's tedious, but necessary. ### 3. Paint layers too thicknn”The more I put on, the more resistant it is, right?” Wrong. Layers that are too thick not only increase the risk of drips, but also take much longer to dry, making the finish softer and less durable in the long run. Furthermore, they can lead to “cracking” or “lifting” phenomena between layers. My advice: Think of a “mist” of paint. Each pass must be a thin veil. It's better to do 10-12 thin coats than 3 thick coats. ### 4. Not cleaning adequately between coatsnnDust is everywhere. Even in the cleanest garage. If you don't clean the surface with a tack rag before each coat, you'll end up painting over the dust. And you'll see all those black dots, especially on glossy finishes. My advice: Invest in a good tack rag. Gently wipe it over the surface just before spraying. And change the air in the garage between coats, perhaps by wetting the floor a little to settle the dust. ### 5. Ignoring safetynnPaints, especially solvent-based and two-component ones, release toxic fumes. Breathing them is dangerous for your health. My advice: Always use a respirator mask with organic vapor filters (not a simple dust mask!). Work in a well-ventilated area. Gloves and protective eyewear are a must. Your health is worth more than any finish. ### 6. Not testing the paintnnEvery paint is different. Every wood reacts differently. Don't assume that your polyurethane will behave exactly like the one in the tutorial you watched. My advice: If you have a scrap piece of the same wood, do some tests. Apply a few coats, see how it dries, how it reacts to sanding. This will give you confidence and help you understand the material before applying it to your precious body. ### 7. Non-ideal temperatures and humiditynnPainting in an environment that is too cold, too hot, or too humid can cause a lot of polyurethane finishing problems. From poor adhesion, to eternal drying times, to dull or bubbly finishes. My advice: Always check the manufacturer's specifications for ideal environmental conditions. Try to adhere to them as closely as possible. Sometimes, it's better to wait for the right day than to ruin a job.Understanding these points and learning from your mistakes will make you a better hobby luthier. polyurethane finish It's a great choice for your DIY guitar, but it requires respect for the process. Don't give up at the first slump, don't surrender at the first crack. Every time you make a mistake, you learn something. And in the end, that guitar you play with pride will also bear the story of all your hard work and victories, even those against dust and haste.
See also
Download the Luthier Survival Kit
Free PDF with checklist, problem-cause table and project card template.
 English
  Italiano
Stuck on your build?
If you ran into the same problem or have a question, drop it in the comments. I read and reply to every one.
Write a comment