

Electric Guitar Bridge Intonation: Solve in 3 Steps
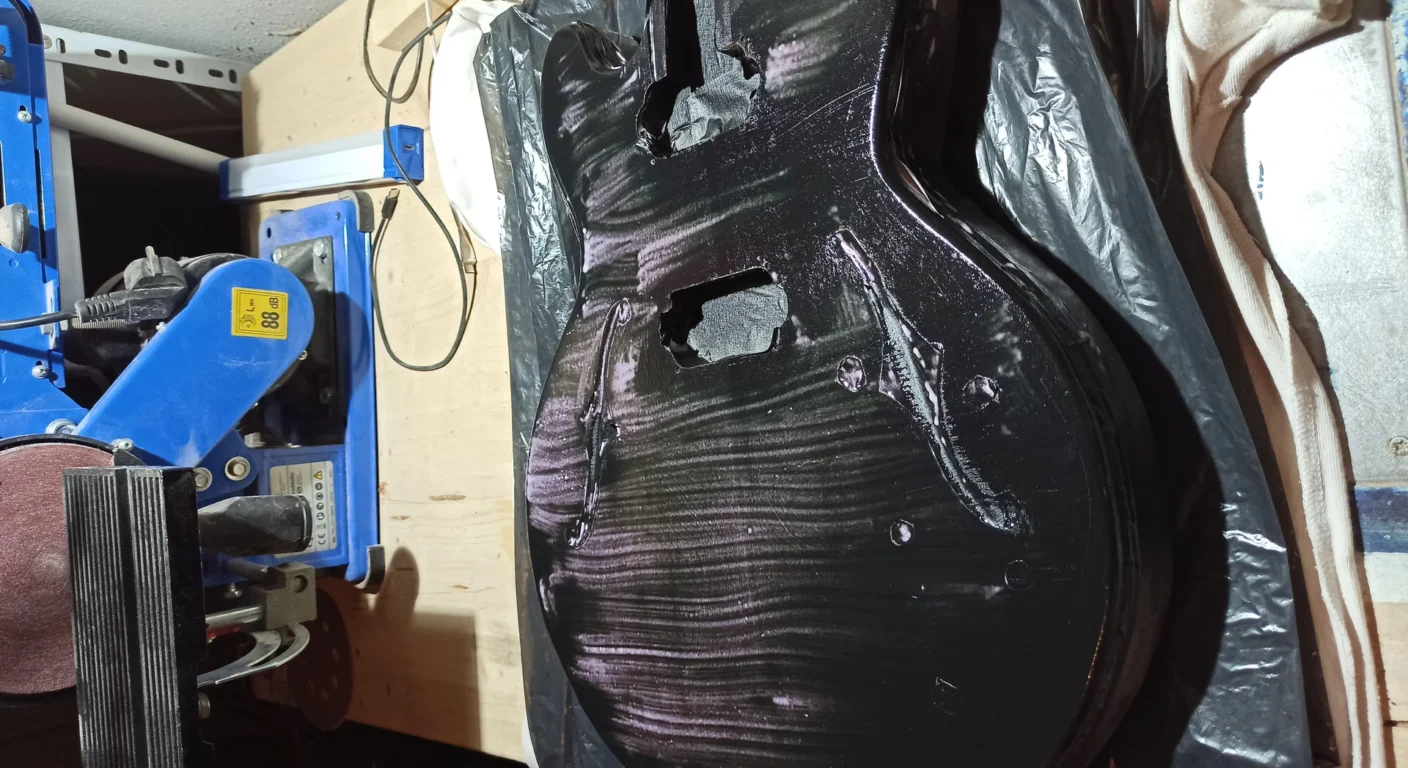
You've just finished assembling your latest guitar project. You've chosen the body, the neck, the pickups, you've soldered everything together with almost surgical precision (or at least, you tried). You turn on the amp, plug in the jack, and... the open strings sound wonderful. Then you try a chord at the seventh fret and it feels like you've thrown the entire musical universe off balance. Everything sounds crooked, completely out of tune.
Welcome to the club! You know that feeling well, don't you? You've just tuned your guitar, the tuner's needles are steady on green, everything seems perfect. Then you start playing a G chord on the third fret, and it sounds awful. An A chord on the fifth, even worse. It seems like your guitar is always slightly out of tune, even if you've tuned it to the millimeter. It's not a problem with your ear (or not only), but with electric guitar bridge tuning. It's one of those pains that makes you think "I've done it all wrong", but instead it's just the last mile to get an instrument that sounds really good.
I remember my first Strato assembled in the garage. It sounded like an orchestra of fighting cats just above the fifth fret. It took me a while to realize that I wasn't deaf, but the guitar was 'wrong' in its final configuration. The first times I ventured into building and modifying an electric guitar, intonation seemed like a kind of black magic to me, a ritual that only professional luthiers could perform. I spent hours randomly turning screws, retuning, going crazy, convinced that the problem was with my technique or, worse, that I had irreparably ruined the neck. Instead, it was just a matter of method and a little patience.
This is no small problem, on the contrary. A poorly tuned guitar not only sounds bad, but it can demotivate anyone, especially a hobbyist who's just learning. It makes you doubt your work, makes you believe you're not up to par. But I assure you, that's not the case. correcting the intonation of an electric guitar It is one of the most important setup operations and, with the right guidance, it is absolutely within the reach of anyone with a minimum of manual skills and the desire to get their hands dirty.
Today I'm walking you through a 3-step process to fix the’intonation of your electric guitar. You don't need to be a professional luthier, but a bit of patience and the desire to understand Why You do something a certain way. If I could do it, with my hobbyist tools and my share of mistakes, you can do it too.
What Is Intonation and Why It's Crucial to Your Guitar

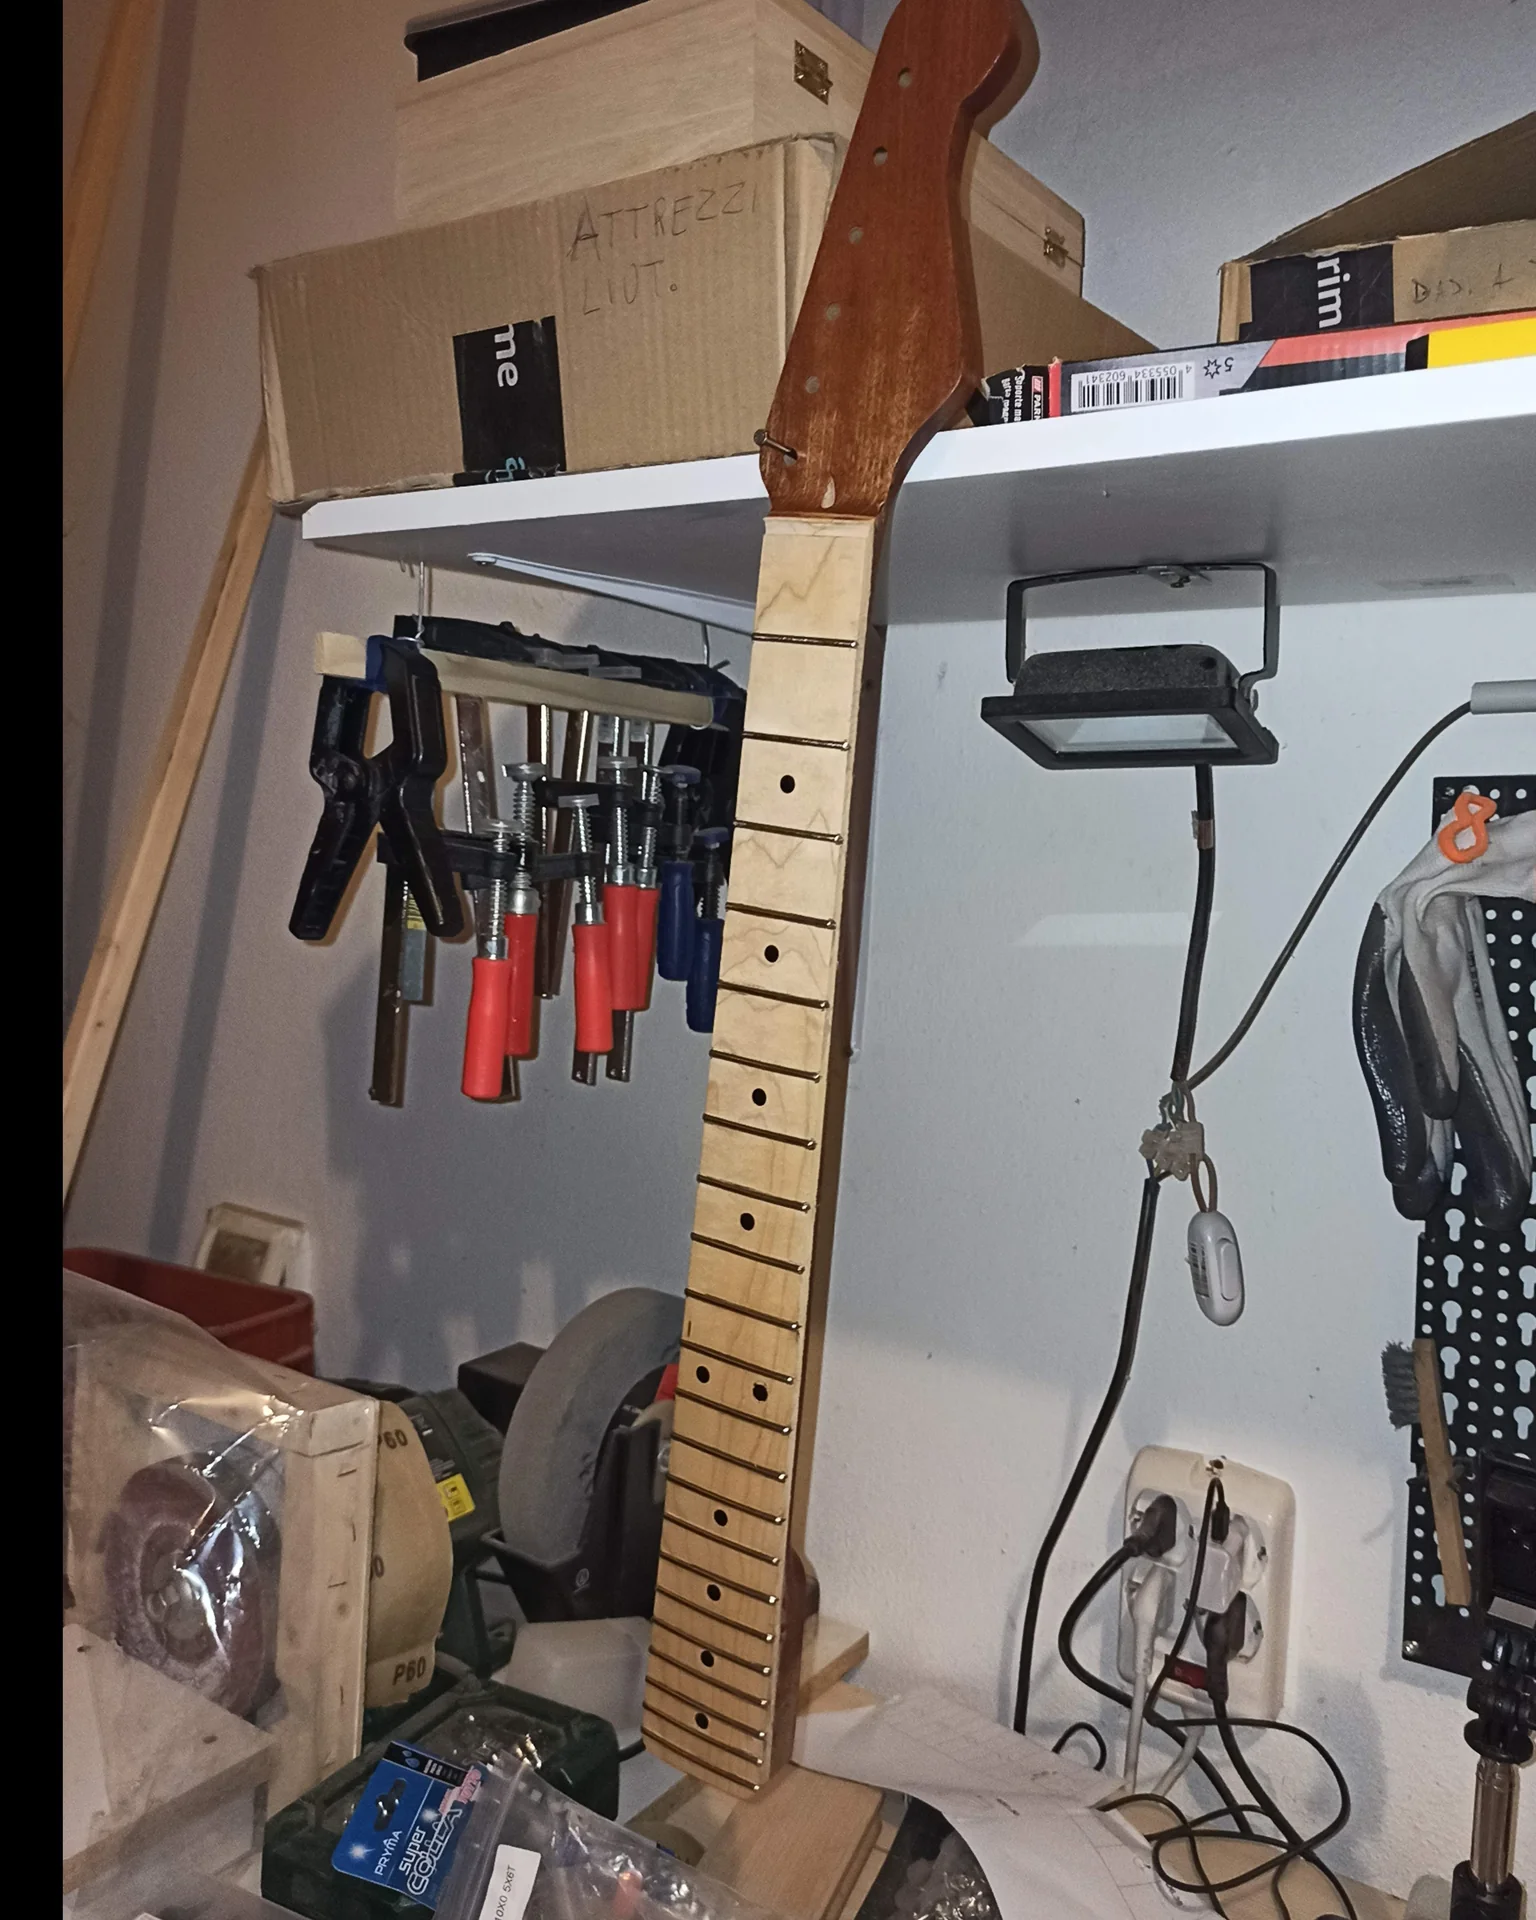
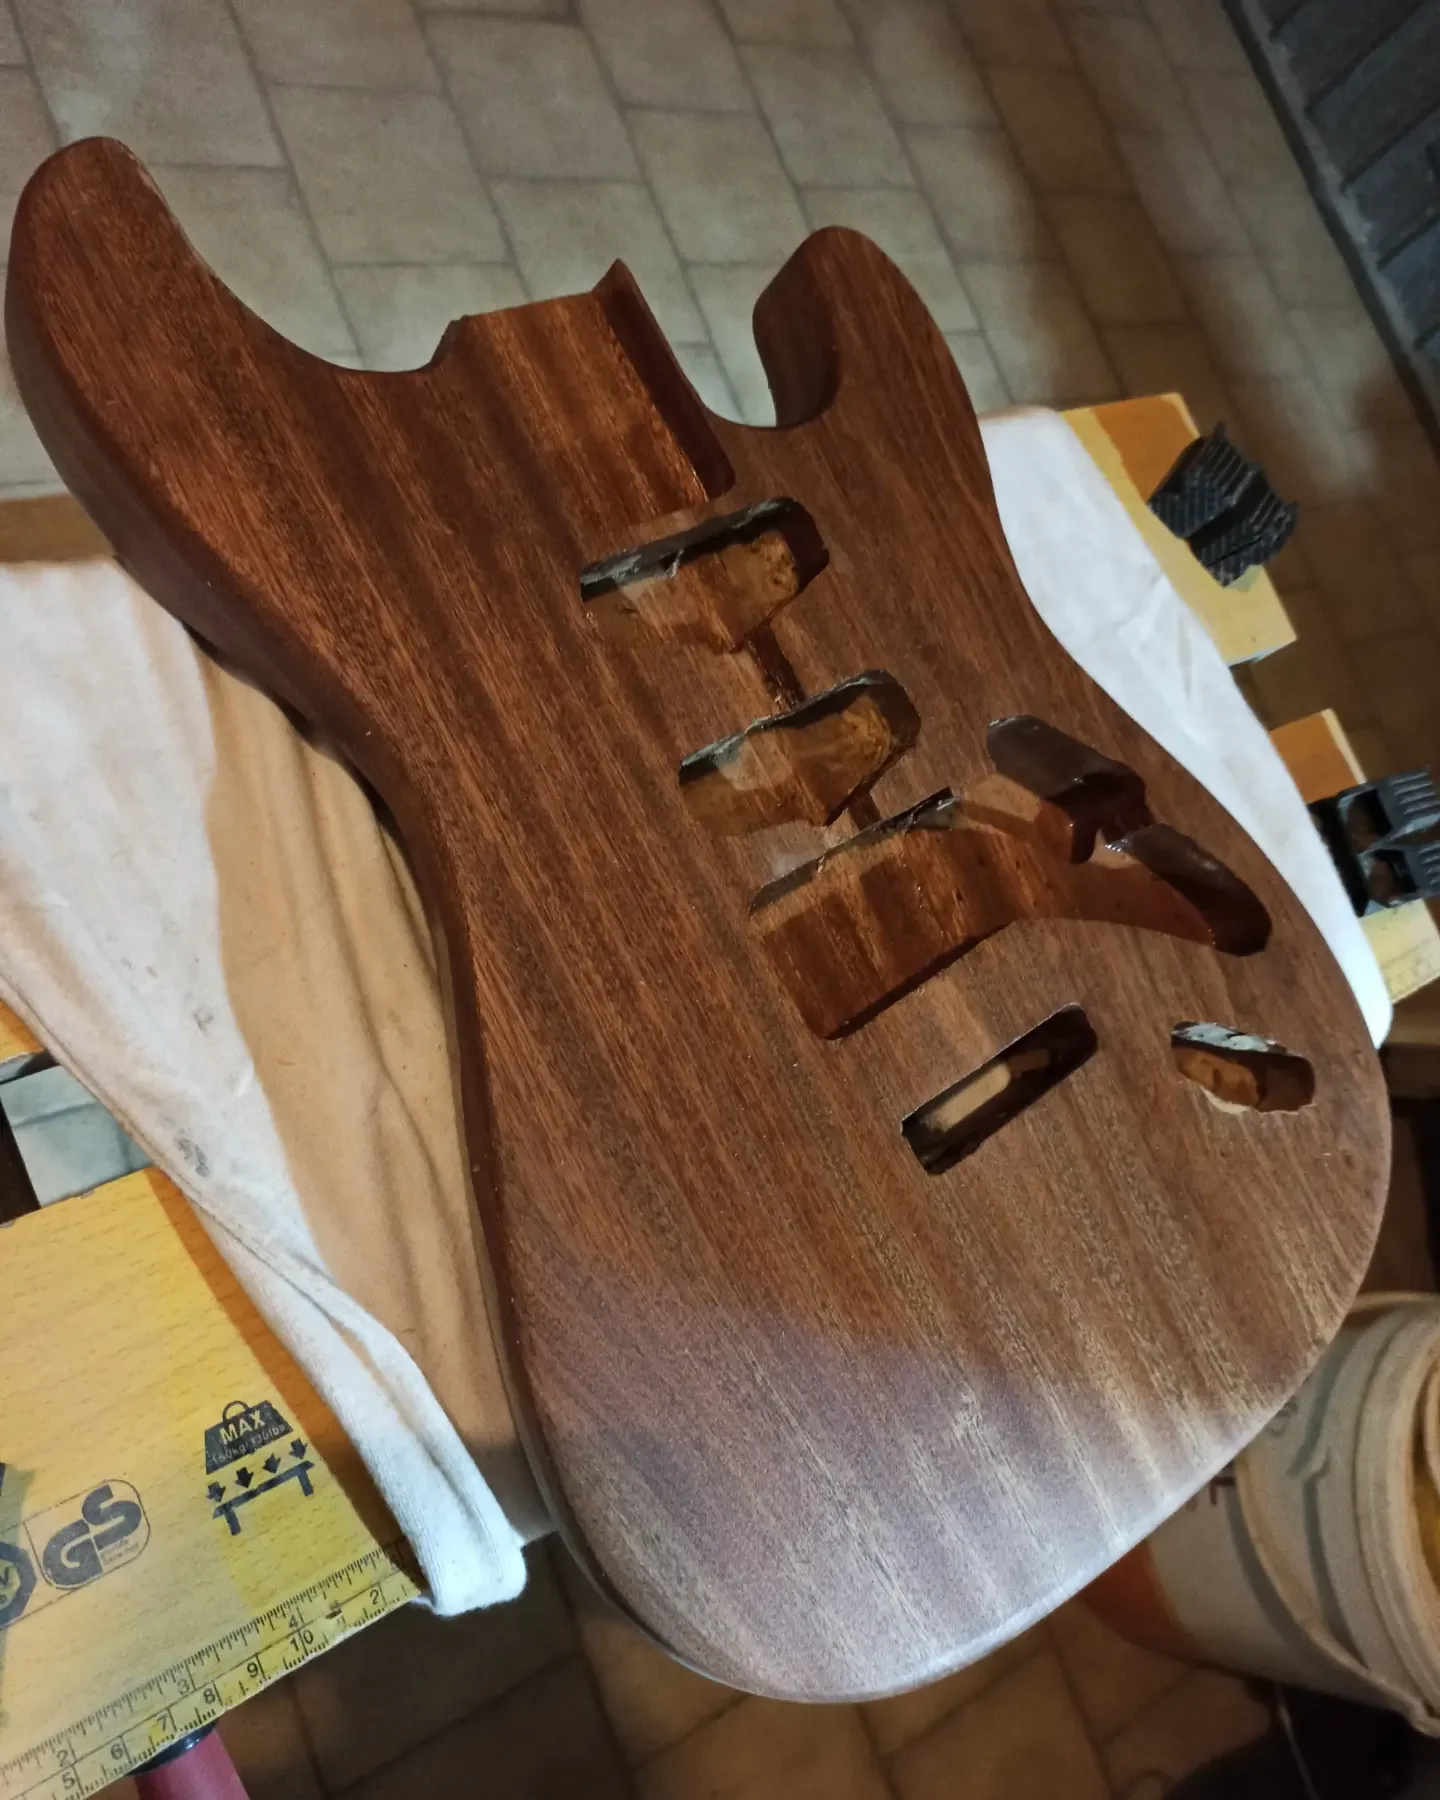
Intonation is the ability of an instrument to play the same note in different positions on the fretboard with precision. In practice, if your low E string sounds perfectly in tune when played open, but when you fret it at the 12th fret (which should be an E an octave higher) it sounds out of tune, then your guitar is not intonated. This problem manifests with chords that sound 'muddy' or 'out of phase' and solos that lose brilliance and precision as you go up the neck. Good intonation is essential for having an instrument that plays well and allows you to express your music to the fullest, without out-of-tune notes that ruin the experience.
Immagina di suonare un assolo in cui devi fare un bending al 15° tasto. Se la tua chitarra è intonata, il bending salirà in modo pulito verso la nota desiderata. Se non lo è, il bending potrebbe finire un po’ troppo alto o troppo basso, rovinando la melodia. Lo stesso vale per gli accordi: le singole note che compongono un accordo devono essere in perfetta relazione tra loro. Se una sola nota è leggermente fuori tono, l’intero accordo suona “sporco” e poco piacevole all’orecchio. Questo è particolarmente vero per gli accordi più complessi o per quelli suonati nelle posizioni più alte della tastiera.
La causa principale di una chitarra non intonata è la relazione tra la lunghezza vibrante della corda (la “lunghezza in scala”) e la sua tensione. La lunghezza in scala è la distanza tra il capotasto e il ponte. Quando premi una corda su un tasto, stai effettivamente accorciando la sua lunghezza vibrante, creando una nota più alta. Teoricamente, premendo una corda al 12° tasto, dovresti ottenere una nota esattamente un’ottava sopra quella suonata a vuoto, perché stai dimezzando la lunghezza vibrante della corda. Se le sellette del ponte non sono posizionate correttamente per compensare le caratteristiche fisiche di ogni singola corda (spessore, materiale, tensione), questa relazione matematica non sarà perfetta.
Ogni corda ha una sua “lunghezza effettiva” che deve essere leggermente diversa dalle altre per compensare queste differenze. È qui che entra in gioco la regolazione dei ponticelli del ponte. Il ponte della tua chitarra elettrica, che sia un Tune-o-matic, un tremolo tipo Stratocaster o un Floyd Rose, ha delle sellette individuali per ogni corda. Queste sellette sono generalmente regolabili avanti e indietro lungo la lunghezza in scala dello strumento. Spostando una selletta più avanti (verso il body) si accorcia la lunghezza vibrante della corda, alzando l’intonazione. Spostandola più indietro (verso il manico) si allunga la lunghezza vibrante, abbassando l’intonazione.
Perché è così importante per chi costruisce o modifica la propria chitarra? Perché ti permette di ottenere uno strumento che suona “giusto” in ogni situazione. Che tu stia suonando accordi aperti, power chords sul primo fret, o assoli complessi nelle ottave più alte, una chitarra ben intonata ti darà chiarezza, pulizia e un suono che non ti farà dubitare del tuo lavoro. È un passaggio che eleva il tuo progetto da una “bella chitarra che suona così così” a uno strumento performante e affidabile. E, diciamocelo, è una delle operazioni di setup più gratificanti da fare da soli.
The Essential Tools (Nothing Exotic!)

To address the’bridge tuning operation You don't need a fancy workshop. All you need are a few tools you probably already have lying around, or that you can find for a few euros. The idea is to be practical, not to spend a fortune.
Here's the shopping list:
- Precision Tuner: Questo è il tuo migliore amico. Un accordatore a clip va benissimo per iniziare, ma se hai un accordatore a pedale o un’app sul cellulare con una buona risoluzione (che mostri i cent), è ancora meglio. La precisione qui è fondamentale. Non useremo l’orecchio assoluto, ma la tecnologia! Cerca un accordatore che ti dia una lettura entro 1-2 cent di errore. Quelli che indicano solo “flat”, “sharp” o “in tune” sono troppo grossolani per questo lavoro.
- Screwdriver (Cross-head or Slotted): Dipende dal tipo di viti che regolano le sellette sul tuo ponte. Assicurati che la punta sia della misura giusta. Non usare un cacciavite troppo piccolo o troppo grande, perché rovineresti la testa della vite. E credimi, rovinare una vite sul ponte è una delle cose più fastidiose che possano capitare. Ti tocca smontare tutto e cercare un ricambio. Ho visto colleghi “hobbisti” usare pinze o coltelli quando il cacciavite non era della misura giusta. Non fatelo! Procuratevi un set di cacciaviti di precisione.
- Allen Key (Hex): Alcuni ponti, specialmente quelli con sistema Floyd Rose o alcuni tremoli a due pivot, potrebbero avere viti di bloccaggio o regolazione che richiedono una chiave a brugola. Controlla il tuo ponte prima di iniziare. Le misure più comuni sono 1.5mm, 2mm e 2.5mm. Anche qui, un set di chiavi a brugola di buona qualità è un investimento che vale la pena.
- Plectrum: Per pizzicare le corde in modo consistente. Non è un attrezzo, ma un accessorio indispensabile. Cerca di usare sempre lo stesso plettro e la stessa forza per pizzicare la corda, per avere letture più stabili sull’accordatore.
- Soft Cloth: To rest your guitar and clean any fingerprints or debris. Keeping your instrument clean is always a good habit.
- Opzionale: Un piccolo blocco di legno o un pezzo di plastica dura: A volte, soprattutto con ponti che hanno sellette molto piccole, può essere utile usare un piccolo oggetto rigido per spingere delicatamente la corda sul tasto, garantendo un contatto netto e preciso.
Visto? Niente di esotico. Non devi comprare strumenti da liuteria super specializzati. L’importante è che quello che hai sia in buone condizioni e ti permetta di lavorare con precisione. Ho fatto la mia prima intonazione con un accordatore a clip da 10 euro e un cacciavite preso dalla cassetta degli attrezzi di mio padre. Non era l’ideale, ma ha funzionato. L’importante è capire il principio dietro ogni strumento.
Preparation: The Fertile Ground for Perfect Intonation
Before we start working on the bridge screws, we need to make sure the guitar is in perfect condition. Skipping these steps is the most common mistake I see, and I guarantee it will waste a lot of time and give you a headache.’bridge tuning It's the final piece of a well-made setup.
Here's what you need to do to prepare the tool:
- New (or Nearly New) Strings: Non ha senso intonare una chitarra con corde vecchie, ossidate o usurate. Le corde vecchie non vibrano in modo uniforme e non tengono bene l’accordatura, rendendo l’operazione di intonazione imprecisa e frustrante. Se non le hai cambiate da un po’, mettine un set nuovo. È un piccolo investimento che fa una grande differenza. Se stai usando corde con un trattamento speciale (es. coated), assicurati che siano ancora in buone condizioni. Le corde vecchie tendono a “sedersi” e a perdere la loro capacità di mantenere l’intonazione, soprattutto dopo qualche bending o assolo spinto.
- Action and Relief of the Handle Set: This is FUNDAMENTAL. The’intonation It depends on the tension of the strings and their height on the fingerboard (action), and these are influenced by the relief (or curvature) of the neck. If the neck is too concave or convex, or if the strings are too high or too low, intonation will always be a compromise. Before intoning, make sure that the truss rod and action are adjusted correctly. Se non lo fai, stai inseguendo i fantasmi e dovrai rifare tutto da capo. Un manico con un relief eccessivo o troppo piatto influenzerà la “mordenza” della nota sui tasti, alterando l’intonazione. Un’action troppo bassa potrebbe causare “fretting out” (la corda che tocca il tasto successivo) in modo inaspettato, e un’action troppo alta renderà i bending più difficili e potrebbe influenzare l’intonazione.
- Stable Tuning: Tune the guitar and then... tighten the strings a little. Don't be afraid to pull them up slightly, as if you were bending them a bit. This helps the strings settle on the bridge and nut. Repeat the tuning a couple of times. The strings need to be stable for optimal playing. bridge adjustment. Questo passaggio è cruciale perché le corde nuove, o anche quelle vecchie che sono state smosse, possono “stirarsi” leggermente nei primi momenti dopo essere state accordate. Tirarle un po’ simula questo stiramento, permettendoti di arrivare a un’accordatura più stabile fin dall’inizio.
- Comfortable Working Position: Non cercare di intonare la chitarra sulla coscia mentre guardi la televisione. Appoggiala su un banco stabile, magari con un panno morbido sotto per non graffiarla. Devi essere comodo e avere una buona visuale sull’accordatore e sul ponte. Questo lavoro richiede attenzione e un po’ di tempo. Se sei scomodo, tenderai a fare errori o a sbrigarti troppo. Una sedia comoda, un tavolo d’appoggio solido e una buona illuminazione fanno la differenza.
- Ultimate String Set: Tune your guitar with the set of strings you intend to use regularly. If you go from a .009 gauge to a .011 gauge, the tension and flexibility of the strings will change, and you'll need to retune. Any significant change in gauge requires a new tuning. intonation adjustment. Anche cambiare marca o tipo di corda può avere un impatto minimo ma percepibile. Per un setup di precisione, è sempre meglio usare la muta di corde definitiva fin dall’inizio.
Does this seem like a lot of steps? Maybe. But I assure you, it's much quicker and less frustrating to do these preparations once, rather than trying to tune a guitar "at random" and then having to start from scratch because you realize the action was too high or the strings were old. Patience at this stage will reward you with a job well done and lasting.
The 3 Steps to Adjusting the Intonation of Your Guitar Bridge
Now that the guitar is ready, we can finally start working on the bridge. This is the heart of the process. How to adjust the intonation of an electric guitar bridge. I will guide you step by step, rope by rope.
Step 1: Tune Your Guitar (and Double-Check)
This is the starting point, it seems trivial but it is the foundation of all the work.
- Tune each string as precisely as possible. Use your tuner and make sure each string is perfectly in pitch when played open.
- Pluck the open string and observe the reading on the tuner. It should be at the zero point, in the center.
- Don't take anything for granted. Anche se hai accordato un minuto prima, ricontrolla. La tensione delle corde può cambiare leggermente anche solo muovendo la chitarra o agendo sulle altre corde. Questo è soprattutto vero se hai un ponte con tremolo, dove l’equilibrio tra le molle del tremolo e la tensione delle corde è cruciale.
Questo primo passo è la tua “linea di base”. Senza un’accordatura perfetta a vuoto, qualsiasi regolazione successiva sarà inutile. Se l’accordatore ti mostra che una corda è leggermente stonata a vuoto, non puoi basare la tua intonazione sul 12° tasto, perché già parti da un presupposto sbagliato. Correggi prima l’accordatura a vuoto.
Step 2: Checking the Octave (and Understanding What It Means)
Here we get to the heart of the matter intonation adjustment. We need to compare the open note with the same note played an octave higher, that is, at the 12th fret.
- Choose a rope (I recommend starting with the sixth string, the low E, and proceeding towards the first).
- Pluck the open string and check that the tuner is still at zero.
- Now, gently press the string at the 12th fret. Don't press too hard, otherwise you might alter the note. Pluck the string at the 12th fret.
- Compare the tuner reading. The note at the 12th fret should be the same as the open string, and the tuner should read zero.
Now, the crucial part: what to do if it's not zero?
- If the note at the 12th fret is sharp, means that the string is too short. The bridge (saddle) of that string is too far forward, towards the neck. You must stretch the rope. To do this, turn the bridge adjustment screw counterclockwise per spostare la selletta indietro, lontano dal manico. Questo aumenta la lunghezza vibrante della corda.
- If the note at the 12th fret is flat, means the string is too long. The bridge is too far back. You need to shorten the rope. To do this, turn the bridge adjustment screw clockwise per spostare la selletta in avanti, verso il manico. Questo diminuisce la lunghezza vibrante della corda.
A tip from someone who's been there: non girare la vite con foga. Fai piccoli aggiustamenti. Un quarto di giro, a volte anche meno, può fare una grande differenza. Ricorda che la vite avanza o arretra il ponticello in modo graduale. Se sei troppo brusco, potresti superare il punto giusto e dover tornare indietro. Se la nota è molto lontana dallo zero, potresti dover fare più giri, ma sempre in piccoli incrementi.
Una volta che hai identificato la direzione in cui devi muovere la selletta, fai una piccola rotazione (diciamo un ottavo o un quarto di giro), poi vai al passo successivo. Non cercare di “indovinare” la posizione giusta in una sola mossa. È un processo iterativo.
Step 3: Refine and Repeat (Patience is the Virtue of DIY Luthiers)
This is where patience pays off. You won't get it perfect on your first try.
- After adjusting the bridge, IMMEDIATELY RETUNE the open string. Questo è l’errore numero uno che vedo fare! Spostare il ponticello cambia la tensione della corda, quindi l’accordatura a vuoto non sarà più perfetta. Se non riaccordi, stai regolando in modo impreciso. Questo ciclo “regola-riaccorda-controlla” è la chiave del successo.
- Repeat the comparison: pluck the open string, then at the 12th fret, and check the tuner.
- Continue this cycle of “adjust-retune-check” finché l’accordatore non mostra la stessa nota (o una differenza minima, tipo un cent) sia per la corda a vuoto che per quella al 12° tasto. Per noi comuni mortali, un cent di differenza è perfettamente accettabile. Non impazzire per lo zero assoluto. L’obiettivo è rendere le differenze impercettibili all’orecchio, non raggiungere una precisione da orologio atomico.
- Proceed string by string. Una volta finita una corda, passa alla successiva. Non saltare tra le corde, fai una alla volta. Questo ti permette di concentrarti su ogni singola regolazione senza creare confusione.
- Beware of floating bridges: Se hai un ponte tipo Floyd Rose o un tremolo a due pivot, il cambio di tensione su una corda può influenzare leggermente l’accordatura e l’intonazione delle altre. Potresti dover fare un secondo giro su tutte le corde per affinare ulteriormente. È un po’ più laborioso, ma il principio è lo stesso. Con un Floyd Rose, potresti anche dover regolare la tensione delle molle del tremolo per mantenere il ponte parallelo al body, il che influisce sull’accordatura. In quel caso, l’intonazione diventa un processo ancora più ciclico: accorda, controlla intonazione, regola sellette, riaccorda, verifica tremolo, regola molle, riaccorda… e così via.
Quando hai finito con tutte le sei corde, fai un test generale. Suona alcuni accordi in diverse posizioni della tastiera. Dovresti sentire un netto miglioramento. Se qualcosa non ti convince, non aver paura di ricominciare da capo su quella corda specifica. A volte, soprattutto sui ponti regolabili in altezza, una selletta potrebbe essere impostata in modo da creare un angolo strano con la corda, o una vite potrebbe essere leggermente allentata. Controlla che tutto sia stabile.
For further insight into guitar setup and maintenance techniques, a great resource is StewMac's guide: StewMac – How to Set Up a Guitar. There you'll find details on everything from action to truss rod, which integrate seamlessly with intonation.
Common Mistakes and Advice from Those Who've Been There
As I said at the beginning, I'm here to tell you about my experience, and my experience includes a lot of mistakes. I don't want you to make them too. Here's a summary of the most common "pitfalls" and how to avoid them when you're trying to adjust the intonation of your guitar bridge:
- Do not retune the open string after each adjustment: Te l’ho già detto, ma lo ripeto perché è l’errore più frequente. Ogni volta che sposti un ponticello, la tensione della corda cambia. Se non riaccordi, stai confrontando mele con pere. Non essere pigro, riaccorda! È il passaggio che separa chi ottiene un risultato decente da chi si lamenta che “non funziona”.
- Making too big adjustments: Non devi girare la vite per mezzo giro. Inizia con un quarto di giro, poi un ottavo, poi ancora meno. Piccoli passi ti portano alla precisione. I grandi salti ti fanno solo perdere la bussola e ti costringono a ricominciare. La sensibilità è la chiave.
- Don't check the neck relief and action first: Se il manico è un arco o le corde sono a mezz’aria, l’intonazione non potrà mai essere perfetta. È come cercare di costruire una casa su fondamenta instabili. Fai il setup completo prima di intonare. Punto. Se hai dubbi su come fare, cerca guide specifiche per il setup del manico e dell’action.
- Old or worn strings: Le corde sono la “voce” della tua chitarra. Se sono stanche, ossidate, o con segni di usura, non vibreranno correttamente. Non essere taccagno sulle corde, un set nuovo costa poco e ti salva da un sacco di frustrazione. Le corde con un trattamento speciale (come le Elixir) possono durare più a lungo, ma anche quelle alla fine cedono.
- Inaccurate tuner: Un accordatore da due soldi ti darà un’intonazione da due soldi. Non serve l’accordatore da studio da centinaia di euro, ma uno che mostri i cent di differenza è un minimo sindacale. Le app sul cellulare spesso vanno benissimo, a patto che siano calibrate e abbiano una buona risoluzione.
- Worn or uneven frets: Questo è un problema più avanzato, ma se i tuoi tasti sono molto consumati in certi punti (magari hai un “buco” sul terzo tasto del Mi cantino), l’intonazione ne risentirà. Quella è un’altra storia, per un livellamento della tastiera. Per ora, assicurati che i tuoi tasti siano in condizioni decenti. Un tasto usurato potrebbe non “bloccare” la corda nel punto giusto, causandone un’intonazione leggermente alterata.
- Forgetting to lock the saddles (if present): Alcuni ponti, una volta intonati, hanno delle piccole viti per bloccare i ponticelli in posizione. Se il tuo ponte le ha, stringile delicatamente dopo aver finito l’intonazione di ogni corda. Altrimenti, con le vibrazioni, i ponticelli potrebbero spostarsi e tutto il lavoro andrebbe a farsi benedire. Sui ponti tipo Gibson, queste viti servono anche per regolare l’altezza delle sellette, quindi attenzione a non stringerle troppo da alterare l’altezza iniziale.
- Ignorare la lunghezza in scala: Ogni chitarra ha una sua lunghezza in scala fissa (es. 24.75″ per Gibson, 25.5″ per Fender). Questa lunghezza è un dato di fatto e influenza come le sellette dovranno essere posizionate. Se stai costruendo una chitarra da zero, assicurati che la lunghezza in scala sia corretta prima di montare il ponte.
- Non avere pazienza: Questo è forse l’errore più grande di tutti. L’intonazione richiede tempo e metodo. Se ti senti frustrato, fai una pausa. Torna dopo un’ora o il giorno dopo. Spesso, un po’ di riposo ti aiuta a vedere le cose con più chiarezza e a non fare errori dettati dalla fretta.
Remember that the’perfect intonation è un ideale. Anche le chitarre più costose hanno leggere imperfezioni. L’obiettivo è raggiungere un compromesso eccellente che renda lo strumento piacevole da suonare e che suoni bene in ogni posizione. Non puntare all’impossibile, ma al miglioramento tangibile. Un piccolo aggiustamento può fare una differenza enorme nella percezione generale dello strumento.
Your Sound, Your Satisfaction
Getting your hands on your own guitar, understanding its mechanisms and improving it with your own hands is one of the greatest satisfactions for a hobbyist.’electric guitar bridge tuning It's one of those steps that, once learned, will make you feel like you're truly in control of your instrument.
It takes patience, yes, and maybe a few attempts. The first time I did it, it took me a whole afternoon, between mistakes, restarts, and curses. But when I finally heard the guitar play harmoniously across the entire fretboard, the satisfaction was priceless. It was my sound, a sound I had 'built' myself, not just assembled. Don't expect absolute perfection on the first try. But you'll feel a clear improvement immediately. And you will have done it, with your own hands, in your garage. This is the true magic of DIY.
Now you have all the information to tackle the adjusting the bridge intonation. Don't be afraid to give it a try. Your guitar (and your ears) will thank you!
FAQ sull’Intonazione della Chitarra Elettrica
D: Devo fare l’intonazione ogni volta che cambio le corde?
R: Non necessariamente ogni singola volta, ma è una buona pratica farlo, specialmente se usi corde di marca o calibro diverso. Se cambi solo un set di corde dello stesso tipo e calibro, l’intonazione potrebbe rimanere abbastanza vicina all’originale, ma un controllo e un piccolo aggiustamento non fanno mai male.
D: La mia chitarra ha un ponte fisso (es. Tune-o-matic). È più facile intonarla?
R: Generalmente sì. I ponti fissi offrono meno variabili rispetto ai ponti flottanti o ai tremoli a due pivot. Ogni selletta è più indipendente dalle altre, semplificando il processo di regolazione corda per corda. Tuttavia, il principio base rimane esattamente lo stesso.
Download the Luthier Survival Kit
Free PDF with checklist, problem-cause table and project card template.
 English
  Italiano
Stuck on your build?
If you ran into the same problem or have a question, drop it in the comments. I read and reply to every one.
Write a comment