

What electronic components for your guitar?
I still remember my first soldering job on a guitar. It was a disaster. The wire was badly stripped, the solder was cold like a ball of chewing gum, and a buzzing sound almost drowned out the sound of the strings. I thought, "Mimmo, why did you do that?" Instead, I did it again. And again. And finally, it played. Oh, and how it played!
Well, the electronics of an electric guitar may seem like a minefield, something for engineers with thick glasses and white lab coats. But I assure you, that's not the case. You don't have to be an electronics guru to put together a circuit that works, and sounds good too. You just have to understand what each piece does, why it's there, and what "tricks" can save you from a lot of headaches.
If I could do it, having learned to solder by watching YouTube tutorials and burning my fingers a couple of times, you can too. This article is a bit like the shopping list I wish I had at the beginning, with tips on which components electronics for electric guitar choose and why.
We talk pickups, potentiometers, capacitors, switches, and everything else you need to give your instrument its soul. No abstract theory, just what you need to know to get your hands dirty and make your next creation sound great.
Pickups: The Voice of Your Instrument
.biafax-photo-grid { display: grid !important; gap: 12px; margin: 24px 0; }
.biafax-photo-grid-3v { grid-template-columns: repeat(3, 1fr) !important; }
.biafax-photo-grid-2h { grid-template-columns: repeat(2, 1fr) !important; }
.biafax-photo-grid a { display: block; overflow: hidden; border-radius: 6px; line-height: 0; }
.biafax-photo-grid img { width: 100%; height: 100%; object-fit: cover; aspect ratio: 4 / 3; transition: transform 0.3s ease; }
.biafax-photo-grid a:hover img { transform: scale(1.03); }
.biafax-photo-grid br { display: none; }
.biafax-photo-grid-caption { text-align: center; font-style: italic; color: #555; margin: -12px 0 24px; }
.biafax-lightbox-overlay { position: fixed; inset: 0; background: rgba(0,0,0,0.92); display: flex; align-items: center; justify-content: center; z-index: 99999; cursor: zoom-out; }
.biafax-lightbox-overlay img { max-width: 92vw; max-height: 92vh; object-fit: contain; border-radius: 4px; }
@media (max-width: 768px) {
.biafax-photo-grid-3v { grid-template-columns: 1fr !important; }
.biafax-photo-grid-2h { grid-template-columns: 1fr !important; }
}
(function() {
if (window.biafaxGridLightbox) return;
window.biafaxGridLightbox = true;
document.addEventListener(‘click’, function(e) {
var a = e.target.closest(‘a[data-lightbox]’);
if (!a) return;
e.preventDefault();
var overlay = document.createElement(‘div’);
overlay.className = 'biafax-lightbox-overlay';
overlay.innerHTML = '‘‘';
document.body.appendChild(overlay);
overlay.addEventListener(‘click’, function() { overlay.remove(); });
document.addEventListener(‘keydown’, function handler(ev) {
if (ev.key === 'Escape') { overlay.remove(); document.removeEventListener('keydown', handler); }
});
});
})();
In this gallery: installation, pickups, potentiometers, wiring and body.
.biafax-photo-grid { display: grid !important; gap: 12px; margin: 24px 0; }
.biafax-photo-grid-3v { grid-template-columns: repeat(3, 1fr) !important; }
.biafax-photo-grid-2h { grid-template-columns: repeat(2, 1fr) !important; }
.biafax-photo-grid a { display: block; overflow: hidden; border-radius: 6px; line-height: 0; }
.biafax-photo-grid img { width: 100%; height: 100%; object-fit: cover; aspect ratio: 4 / 3; transition: transform 0.3s ease; }
.biafax-photo-grid a:hover img { transform: scale(1.03); }
.biafax-photo-grid br { display: none; }
.biafax-photo-grid-caption { text-align: center; font-style: italic; color: #555; margin: -12px 0 24px; }
.biafax-lightbox-overlay { position: fixed; inset: 0; background: rgba(0,0,0,0.92); display: flex; align-items: center; justify-content: center; z-index: 99999; cursor: zoom-out; }
.biafax-lightbox-overlay img { max-width: 92vw; max-height: 92vh; object-fit: contain; border-radius: 4px; }
@media (max-width: 768px) {
.biafax-photo-grid-3v { grid-template-columns: 1fr !important; }
.biafax-photo-grid-2h { grid-template-columns: 1fr !important; }
}
(function() {
if (window.biafaxGridLightbox) return;
window.biafaxGridLightbox = true;
document.addEventListener(‘click’, function(e) {
var a = e.target.closest(‘a[data-lightbox]’);
if (!a) return;
e.preventDefault();
var overlay = document.createElement(‘div’);
overlay.className = 'biafax-lightbox-overlay';
overlay.innerHTML = '‘‘';
document.body.appendChild(overlay);
overlay.addEventListener(‘click’, function() { overlay.remove(); });
document.addEventListener(‘keydown’, function handler(ev) {
if (ev.key === 'Escape') { overlay.remove(); document.removeEventListener('keydown', handler); }
});
});
})();
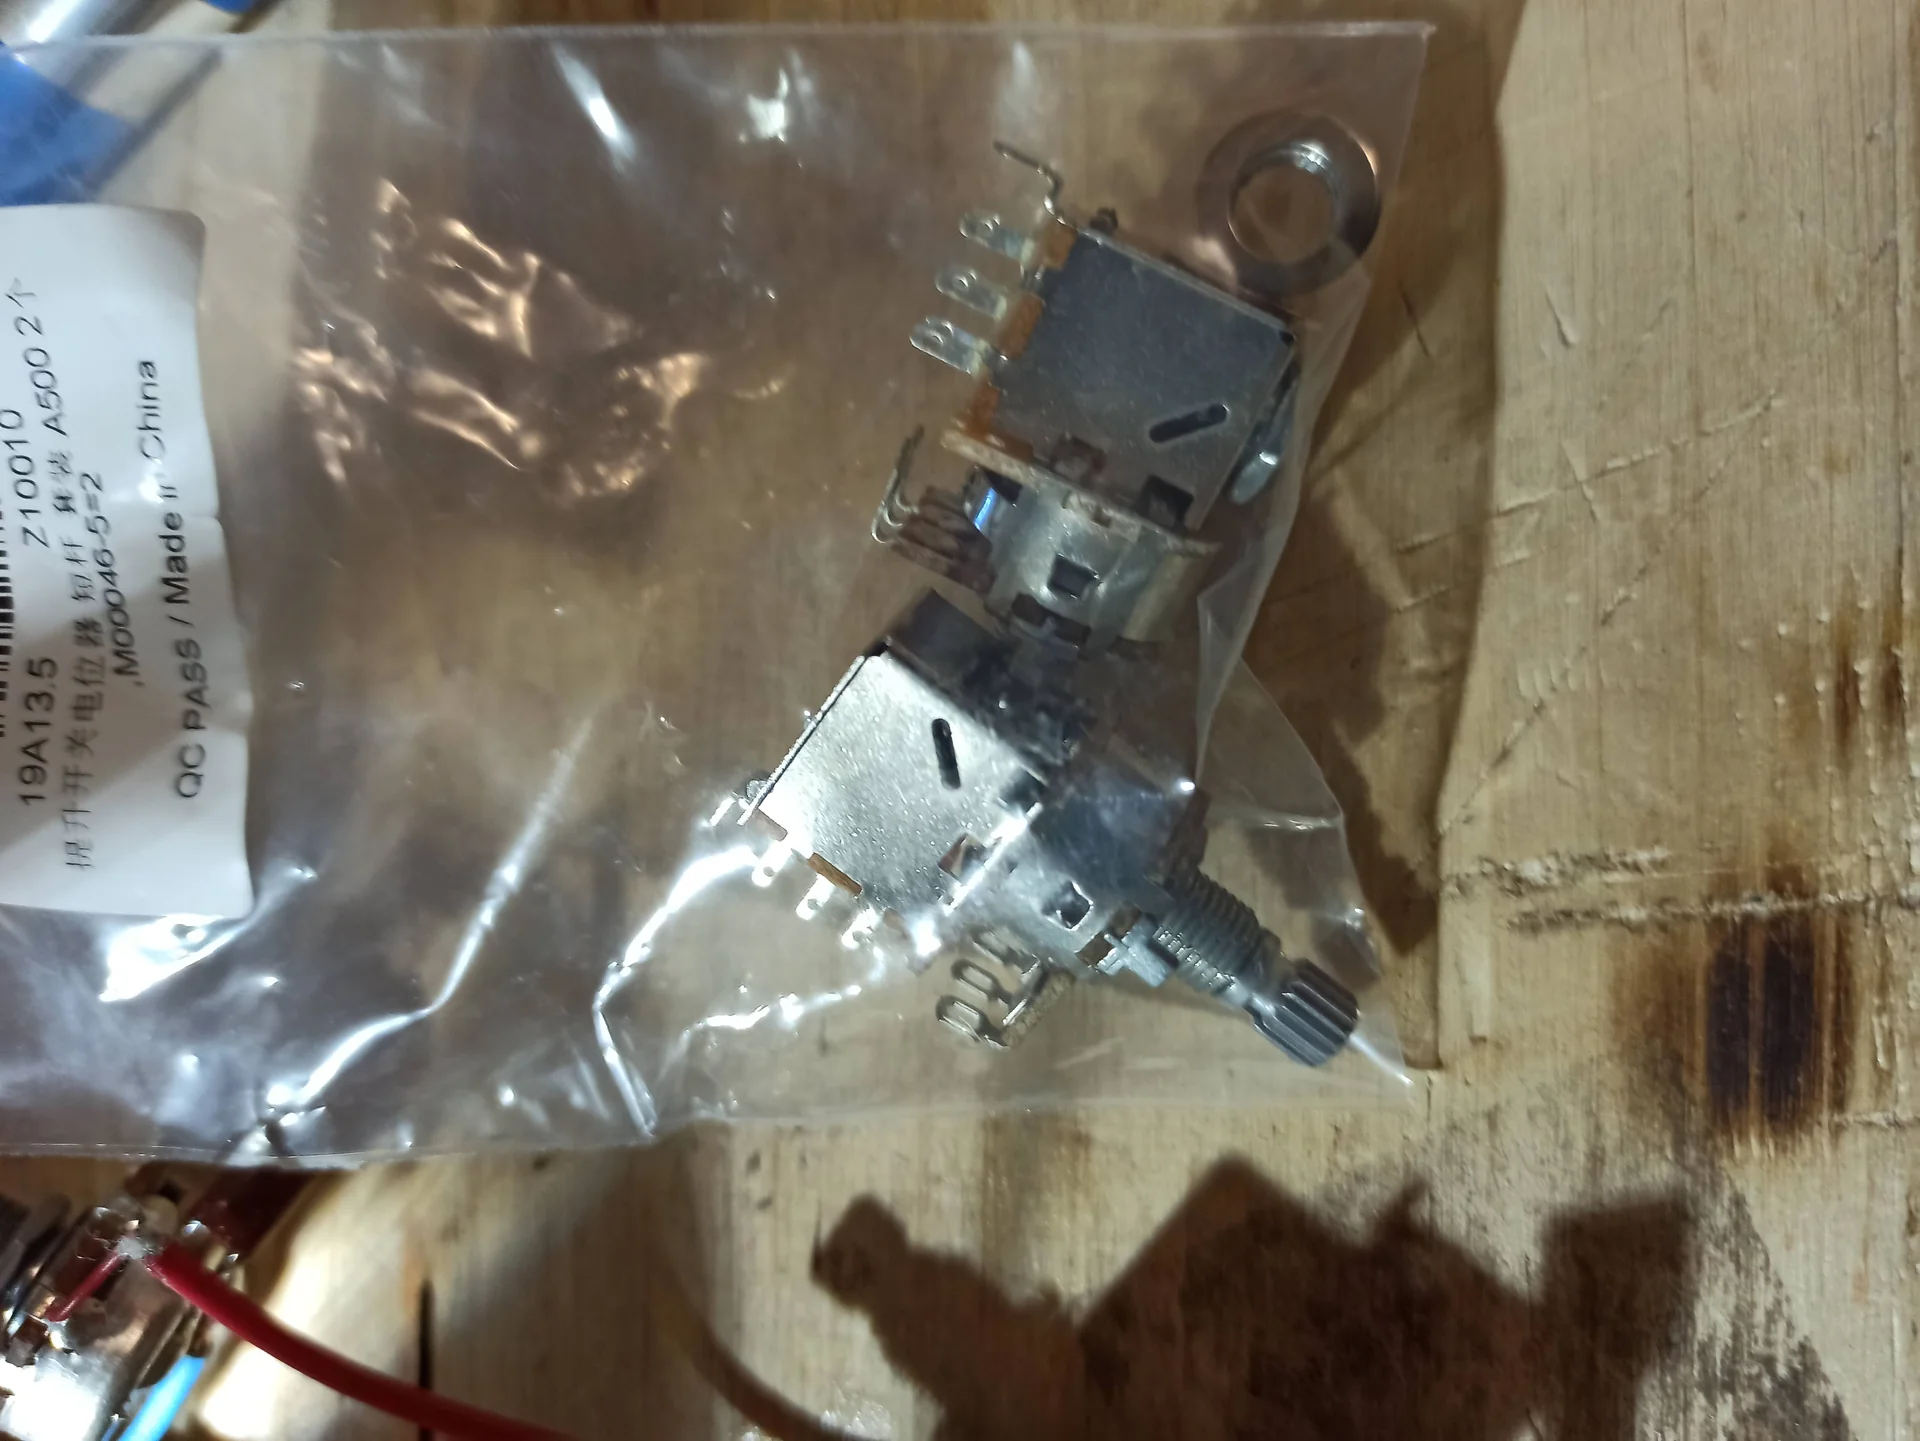
Once the signal comes out of the pickups, it needs to be controlled. And that's where potentiometers come in, those little cylinders with a rotating shaft that allow us to adjust the volume and tone of our guitar. They seem simple, but they hide some pitfalls if you don't know what to look for.
Resistance Values: 250kΩ, 500kΩ… and more
The most important characteristic of a potentiometer is its resistance value, measured in Ohms (Ω). The most common ones for guitar are:
250kΩ: Typically used with single-coil pickups. They have the effect of slightly "cutting" the high frequencies, making the sound less harsh and smoother, a desirable characteristic for single-coil pickups, which tend to be brighter.
500kΩ: The standard choice for humbucker pickups. They allow for a wider range of high frequencies than 250kΩ, keeping the humbucker sound bright and defined. Using them with single coils can make them too loud and thin.
1MΩ: Less common, sometimes used to give an even brighter sound or for low output pickups that benefit from less load on the signal.
Why these values? Without going into too much electronics textbook detail, a potentiometer acts as a passive low-pass filter, affecting the circuit's impedance. A higher value (e.g., 500kΩ) has less of an effect on the signal, allowing more high frequencies to pass. A lower value (e.g., 250kΩ) "drains" more high frequencies to ground, making the sound warmer.
Common mistake: At first, I used 500kΩ everywhere because I thought, "The more, the better." The result? The single coils sounded shrill and dull. I've learned that the combination is key. Always check your pickups' specifications; they often recommend the ideal value.
Taper: Audio (Logarithmic) vs. Linear
This is another thing that drove me crazy the first few times. There are two main types of "taper" (the resistance variation curve):
Audio Taper (Logarithmic, acronym A): These potentiometers are designed for volume control. The human ear perceives volume logarithmically, not linearly. Therefore, an audio taper potentiometer increases the volume gradually at the beginning of the rotation, then accelerates towards the end, giving a feeling of smooth and natural progression. If you use a linear potentiometer for volume, it will seem as if all the volume is concentrated in the first few degrees of rotation, and then almost nothing at all for the rest.
Linear Taper (Linear, acronym B): The resistance varies uniformly throughout the rotation. They are often used for tone controls, where a linear variation in the cutoff frequencies may be more intuitive for some, or for applications where a "logarithmic" progression is not desired.
Practical advice: For volume, always use Audio Taper (A). For tone, you can use either A or B, depending on your preference. Many people also prefer A for tone for a more gradual change. Experiment and see what you like best!
Size & Type: Full-Size, Mini, Push/Pull
Full-Size: Standard potentiometers are larger and more robust. Often preferred for their durability and solid feel.
Mini: Smaller, useful when cavity space is limited, such as in some hollow-body guitars or designs with many controls. They can be a little less durable than full-size models.
Push/Pull: These are genius! They're potentiometers with a switch built into the shaft. By pulling or pushing the shaft, you activate or deactivate a function. They're perfect for adding options like coil-splitting (turning a humbucker into a single coil), phase reversal, or activating special circuits, without having to drill additional holes in the body. I've often used them to add more versatility to my instruments, and they're a must-have for anyone who wants to more advanced modifications without distorting the aesthetics.
When shopping, also check the spindle diameter (usually 6mm or 6.35mm, or imperial measurements like 1/4″) and length, to make sure the knobs you choose will fit and that the spindle protrudes far enough from the top of the guitar.
Capacitors: The Secret of Tone
If potentiometers are the signal flow controllers, capacitors are the "filters" that shape your sound, especially when using tone controls. They're those little components that look like candy or bullets, and they're responsible for how "dark" or "bright" your sound can become.
The Role in the Tone Circuit
A capacitor in a guitar's tone circuit functions as a low-pass filter. What does this mean? It allows lower frequencies to pass, while "cutting" or diverting higher frequencies to ground as you turn the tone pot. The higher the capacitor's value, the lower the frequencies it cuts, making the sound darker.
Common Values and Their Effect
Guitar capacitor values are measured in microfarads (µF) or nanofarads (
F). The most common are:
0.022µF (or 22nF): The standard setting for humbuckers. It offers a good balance between bright sound and the ability to darken it enough to achieve warm, jazzy sounds without making it too muddy.
0.047µF (or 47nF): The most common value for single coils. Since single coils are inherently brighter, a higher value capacitor allows for a wider range of high frequencies to be cut, resulting in more effective tone control and a darker sound when needed.
0.1µF (or 100nF): A very high value, which drastically darkens the sound, almost like turning off the pickup. Sometimes used on special guitars or for specific effects, but it's not common for a "standard" tone control.
Personal experience: I tried putting a 0.1µF on a guitar out of curiosity. When I turned the tone all the way down, the sound became an indistinguishable "woooomp." Useful if you want an almost fixed-wah effect, but for a traditional tone control, more sensible values are better.
Types of Capacitors: Mojo or Science?
Here we enter somewhat thorny territory, where science mixes with "mojo" (that magical, intangible something). There are several types of capacitors:
Ceramics: Small, affordable, and functional. They get the job done. Many demonize them, but they're more than adequate for beginners.
Polyester (Mylar): A step up from ceramics. They're stable, reliable, and affordable. They're an excellent choice for most DIY builds.
Polypropylene: Even more precise and stable, often considered to be of superior quality.
Paper-in-Oil (PIO): These are the capacitors that generate the most discussion. They are made of paper immersed in oil, enclosed in a metal case. Some swear they produce a more "vintage" sound, soft and musical when the tone is lowered. They are more expensive and bulky.
My verdict, as a hobbyist: I've tried ceramic, polyester, and PIO. Honestly, in my garage, with a studio amp and a good ear, the differences between a good polyester and a PIO are extremely Thin, almost imperceptible unless you're nitpicking or have a top-notch system. The "mojo" is there, if you want it, but it's not the first thing you should spend a fortune on. The most important thing is the value (0.022µF, 0.047µF), not so much the exotic material.
Tip: Start with a good polyester capacitor of the right value for your pickups. They're inexpensive, work great, and allow you to focus on other parts of the project. If you want to take things further and experiment with more advanced modifications, the world is vast.
Switches and Jacks: Solid Connections
Having perfect pickups and pots isn't much use if the signal can't flow freely and exit the guitar. Switches and jacks are the "gatekeepers" and "bridges" of your circuit, and their quality is often underestimated.
Switch: Sound Selectors
The switches are used to select which pickup (or combination of pickups) is active. There are different types, depending on the type of guitar and the versatility you want to achieve:
Toggle Switch: Typical of Gibson Les Pauls, SGs. Usually three-way (neck, both sides, bridge). Sturdy and reliable, they have a nice "click" when you move them. Make sure you get a good-quality model; cheaper ones can have contact problems after a short time.
Blade Switch (blade): The classic Fender Stratocaster and Telecaster.
3-way: For Telecaster (neck, both, bridge).
5-way: For Stratocasters (neck, neck+middle, middle, middle+bridge, bridge). This is the most versatile for single coils.
Here, too, quality matters. A poor switch can introduce noise or signal interruptions.
Mini Toggle Switch: Small toggle switches, often used to add extra features in tight spaces, such as coil splitting, phase switching, or to activate a built-in booster. They're discreet and powerful for modifications.
Push/Push or Push/Pull: We talked about them for potentiometers, but they're switches in their own right. Extremely useful for adding versatility without drilling holes in the body.
Pain Point: Soldering switches can be a bit tricky, with so many pins close together. Take your time, use a clean, thin soldering iron tip, and don't overdo it with the solder to avoid short circuits. I burned a couple of switches in a rush; I assure you, it's not worth it.
Jack Output: The Sound Output
The output jack is where you plug in the cable going to the amplifier. It may seem like a trivial component, but it's crucial for signal quality and longevity.
Mono Jack (TS – Tip/Sleeve): The most common. It has two contacts: one for the signal (tip) and one for ground (sleeve). It is suitable for the vast majority of passive guitars.
Stereo Jack (TRS – Tip/Ring/Sleeve): It has three contacts. It is mainly used with guitars equipped with active pickups, where the "Ring" contact serves to disconnect the battery when the cable is not inserted, prolonging its life. Sometimes used for stereo or special configurations.
Quality pays: A cheap jack can cause hum, signal interruptions, or simply break after a few plugs. Invest a few extra dollars for a good-quality jack (Switchcraft is a classic, or a sturdy equivalent). The metal is thicker, the contacts are more solid, and it will save you a lot of future headaches. I've had guitars stop playing because of a bad jack, and that's not a good way to end a gig (or a garage jam!).
Advise: For specific and detailed wiring diagrams, the site of Seymour Duncan It's a goldmine. You'll find practically every imaginable configuration there, with clear, easy-to-follow instructions.
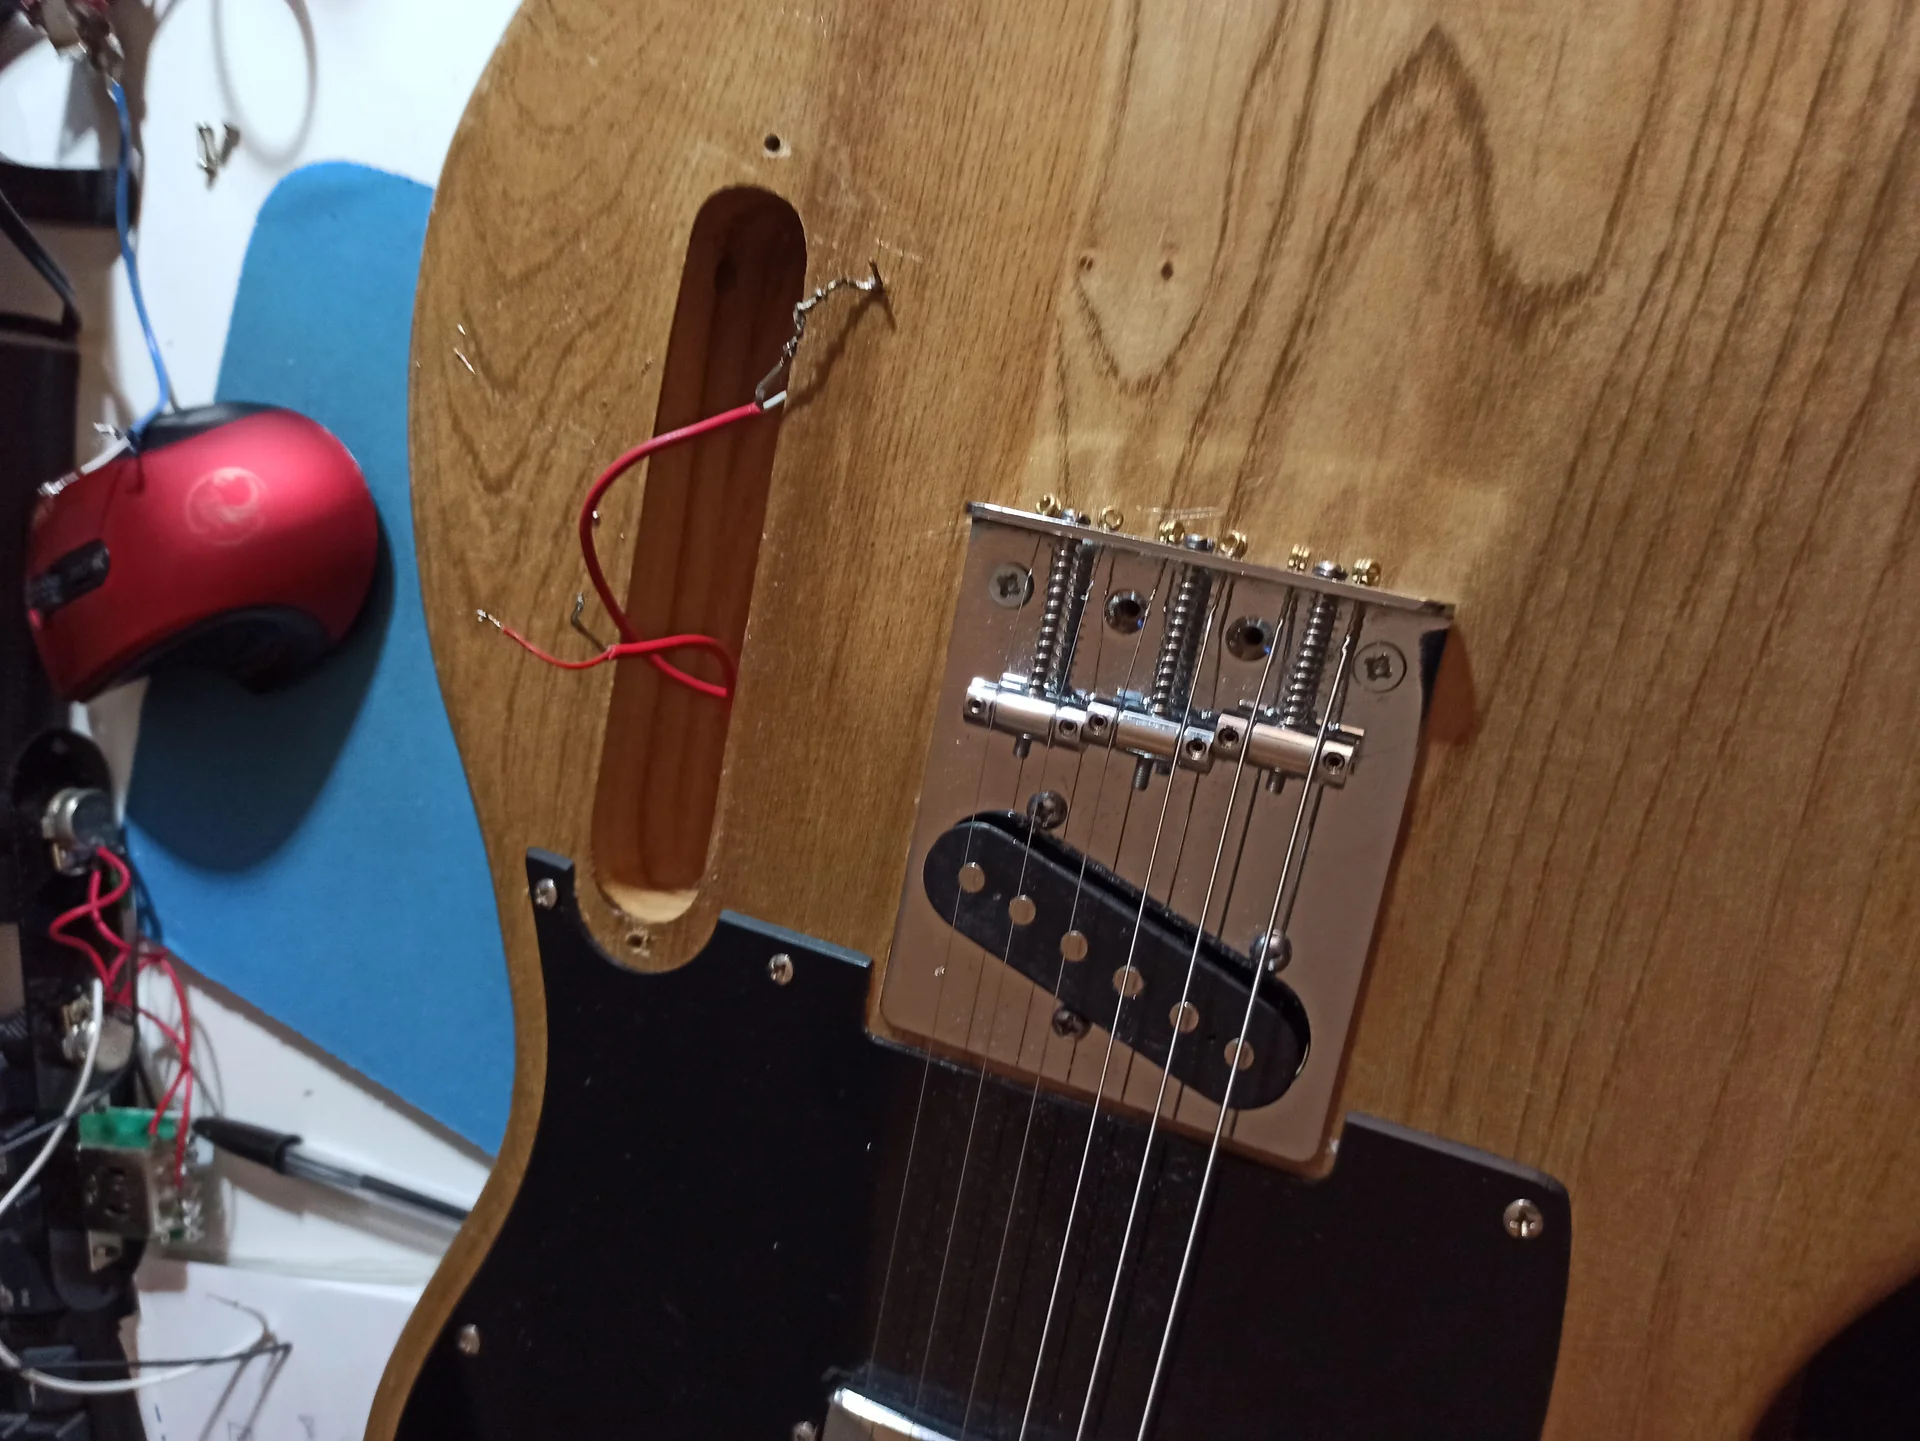
Wiring and Shielding: The Details That Matter
We've chosen the components, but now we need to connect them. And it's not just a matter of "building a bridge." How you wire and shield your guitar can make the difference between a clean, powerful sound and a festival of hum and buzz. These are the details I tended to overlook at first, but I've learned the hard way how crucial they are.
Wiring: Wires and Paths
Thread Type: For most internal connections on a guitar, you use wire from 22 AWG (American Wire Gauge). It's a good compromise between flexibility and robustness. You can use:
Solid Core: A single, rigid conductor. Excellent for short, fixed runs, but can break if bent repeatedly.
Stranded (stranded): Made of many thin, twisted wires. It's more flexible and resistant to vibration and movement, making it the best choice for most connections inside the guitar, especially those that are prone to movement (like the wires leading to the jack or switches).
Insulation: PVC: The most common, economical and functional type.
Cloth Wire (cloth thread): A vintage classic. The insulation is fabric, which makes it very easy to work with (just push it back to expose the conductor without stripping) and gives it an old-school aesthetic. It's a little more expensive, but I love it for my vintage-style builds.
Grounding (Messa a Terra): This is crucial for reducing noise. All metal components (bridge, strings, potentiometers, shielding) must be connected to a common ground.
Star Grounding: Ideally, you should connect all the ground wires to a single central point, like a star. This minimizes ground loops that can cause hum.
Daisy Chain: Most common and often sufficient. The ground wires are connected sequentially from one component to the next. The important thing is that they all ultimately connect to the ground terminal of the output jack.
Common mistake: The first guitar I wired was a hum fest. I'd done the grounds haphazardly, without much care. I've learned that ground isn't optional: it's gold. Take the time to make clean solder joints and solid ground connections.
Shielding: A Wall Against Noise
Shielding is your best friend against hum and electromagnetic interference (EMI) that can be picked up by pickups and internal wiring. Think of your guitar like a radio: without shielding, it picks up everything.
Why it's important: Single-coil hum, buzzing noises, and whistling when you're near a computer or power supply are all signs of insufficient or no shielding. Creating a "Faraday cage" inside the guitar's cavity helps block this interference.
Shielding Methods: Copper Foil: My favorite. It's a copper foil adhesive that you can apply to all the internal walls of the cavities (pickups, controls, jacks). Make sure each piece overlaps slightly and that there is electrical continuity. Then, you need to connect this shield to the circuit's ground.
Conductive Paint (Shielding Paint): A graphite or copper-based paint that you can spray or brush onto the inside of the cavities. It's easier to apply in difficult corners, but can sometimes be less effective than copper foil if not applied in sufficient layers or if the conductivity isn't perfect. Again, the paint must be grounded.
* Aluminum Foil: A cheaper alternative to copper, but less effective and more difficult to solder (mechanical soldering or conductive tape is required to connect the pieces).
Step-by-step process for copper shielding:1. Clean the inside walls of the cavity thoroughly. 2. Cut strips of copper foil and apply them, covering all surfaces. 3. Make sure each strip overlaps the previous one by at least 5-10mm to ensure electrical continuity. 4. Use a multimeter to check the continuity between all the shielded walls and the bottom of the cavity. 5. Make a small hole in the foil and solder a ground wire that you will connect to the main ground point of the circuit (for example, to the back of a potentiometer).
Advise: Don't skip shielding! It's a bit of a tedious job, but it's one of the most important steps to having a quiet, professional-sounding guitar. I've spent hours fixing hums on guitars that seemed perfect but weren't shielded. Better safe than sorry.
Your Project Comes to Life
We have reached the end of this overview of the electronic components for your guitar. I hope one thing is clear to you: there is nothing esoteric, nothing that can't be learned with a little patience and a willingness to get your hands dirty.
Remember, your first attempts may not be perfect. My first soldering was horrible, my first shielding was insufficient, and I chose the wrong potentiometers a couple of times. But every mistake was a lesson. I learned what to look for, what to avoid, and most of all, that the pleasure of hearing the sound coming from something you've built with your own hands is priceless.
You don't have to be an electronics engineer to make a killer-sounding guitar. You just have to be curious, practical, and not afraid to make mistakes and redo them. Take these tips, choose your components, and get to work. The sound you have in mind awaits you. And when you hear it play, you'll know that every single solder, every wire cut, every piece of copper glued together was worth it.
Come on, what are you waiting for? The soldering iron is already hot!