


Want to Build a Double Neck Guitar? 3 Mistakes You Should Avoid
So, you've decided to jump into the fray. Your head is spinning, the idea has been buzzing around in your head for a while: a double neck guitar. A monster, a statement, a piece of rock history to hold in your hands. I understand, I've been there too. That iconic shape, the versatility of having a 6-string and a 12-string, or maybe two different tunings, all in one instrument. You already feel a bit like Jimmy Page, don't you?When I started my garage adventure, the idea of putting together a double-neck seemed like the pinnacle of DIY lutherie. An ambitious project, sure, but I thought, "After all, it's two guitars put together, right?" Well, that was my first, unwitting, misjudgment. It's not just "two guitars put together." It's a whole other beast.
There construction of a double-neck guitar It's an undertaking that requires patience, precision, and a good deal of planning. It's not for beginners, but if you've already worked on some projects, done your first setup, maybe assembled a kit, or made some substantial modifications (like change pickups to a Strat), then you have the basics. The point is that here, every mistake is magnified. Every incorrect millimeter, every approximate calculation, can turn your dream into a nightmare of wood and metal.
I've seen several double-neck designs fall by the wayside, or worse, become nearly unplayable instruments. Not because the people who made them were incompetent, but because there are some traps that are very easy to fall into, especially when you're just going off the cuff. I want to tell you about the three most common mistakes I've noticed (and, yes, I've fallen into, at least partially) when approaching the making a double-neck. If you avoid these, you've already done half the work.nn
1. Ergonomics and Weight: Don't Underestimate the Elephant in the Room
nn nnnnnn
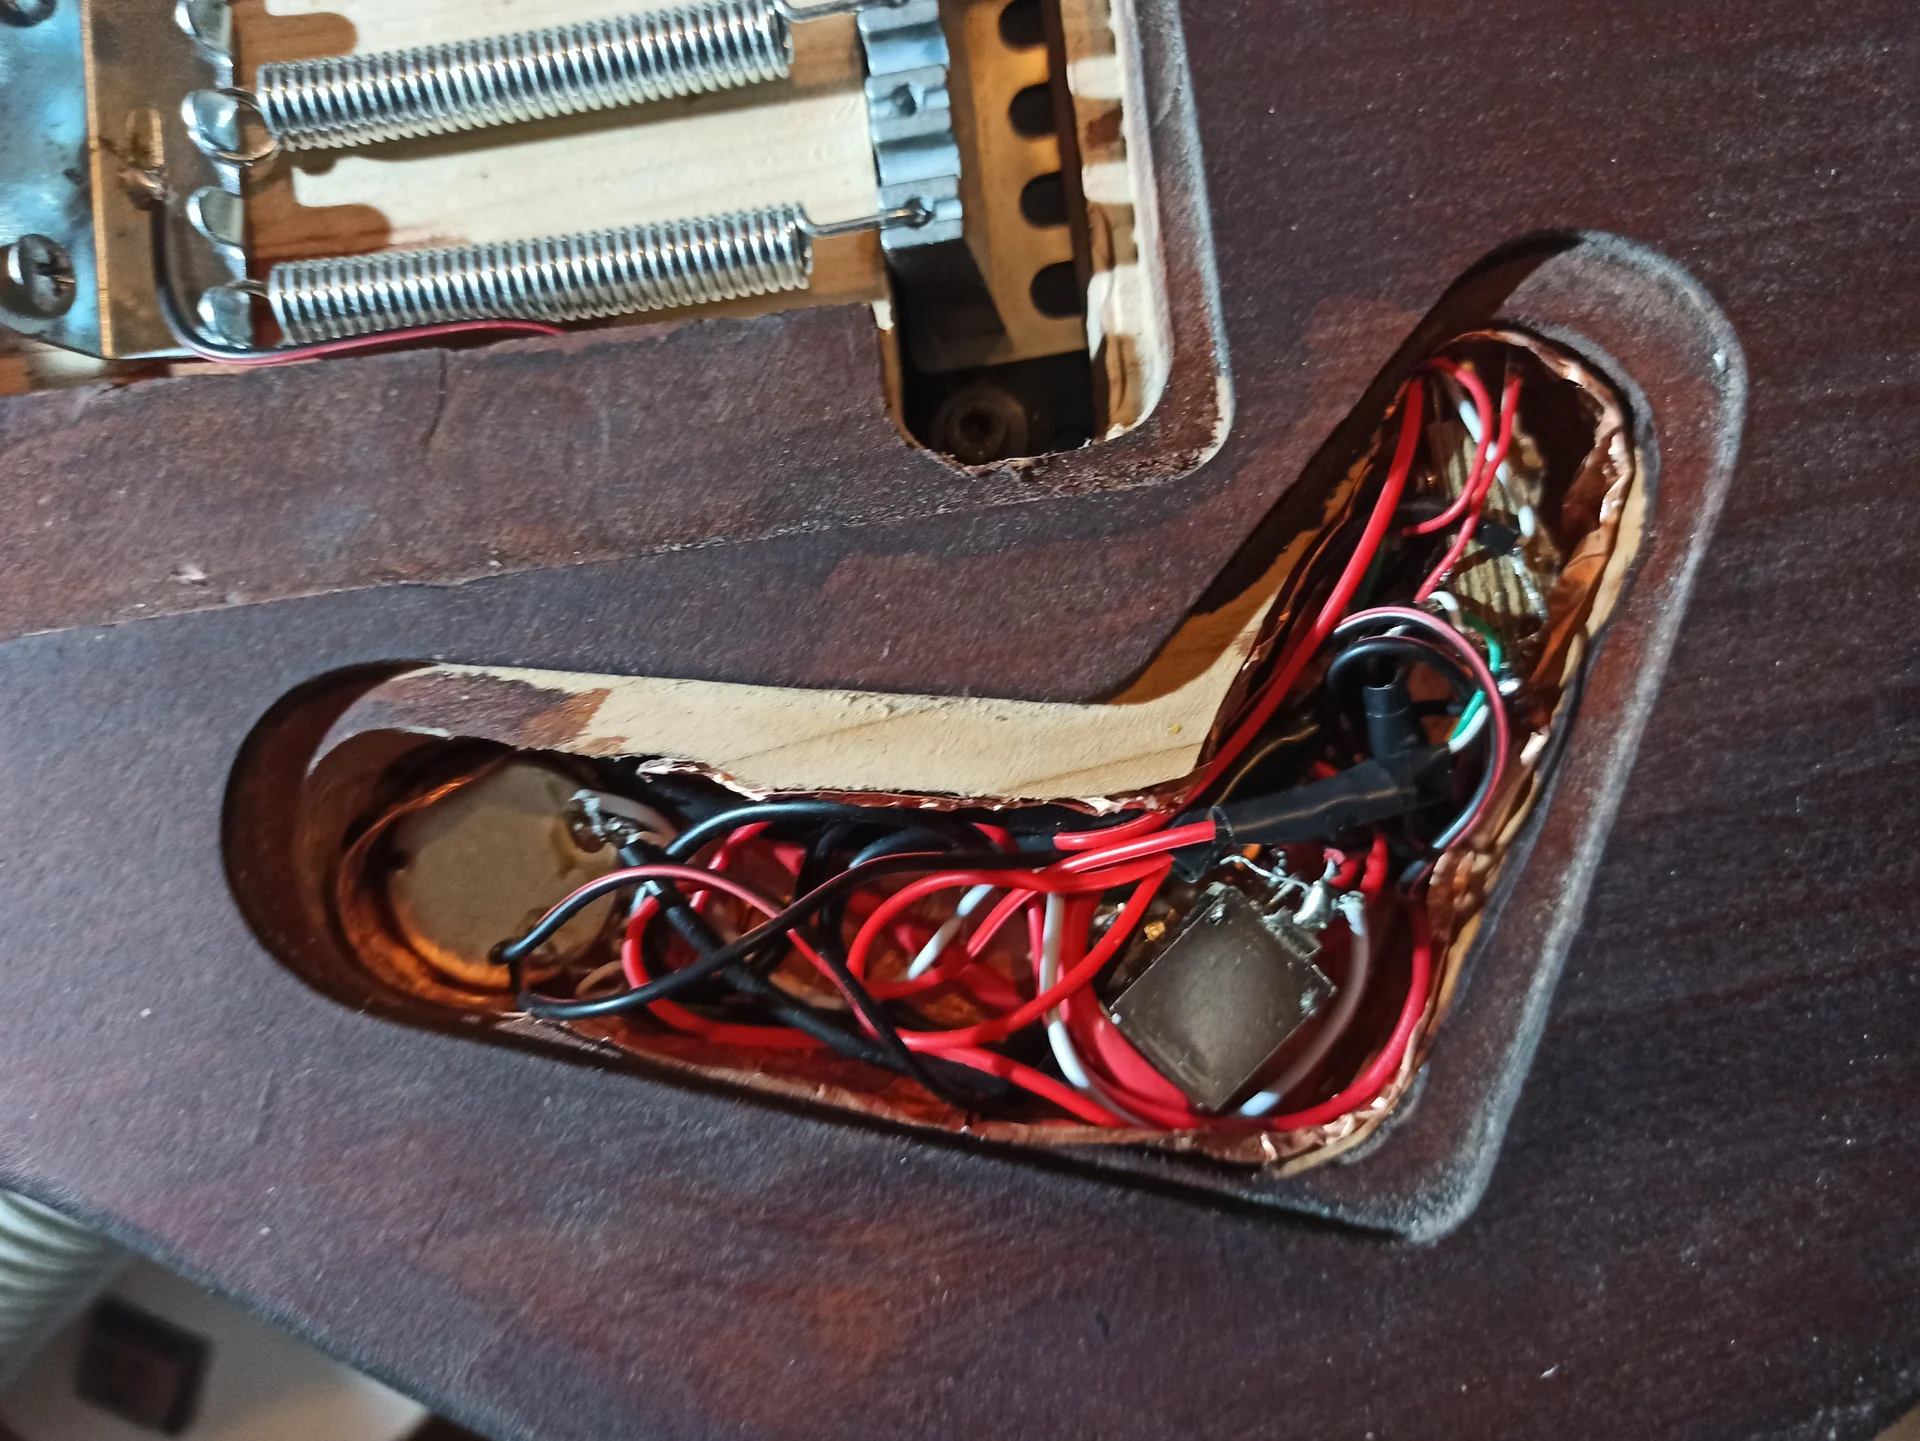
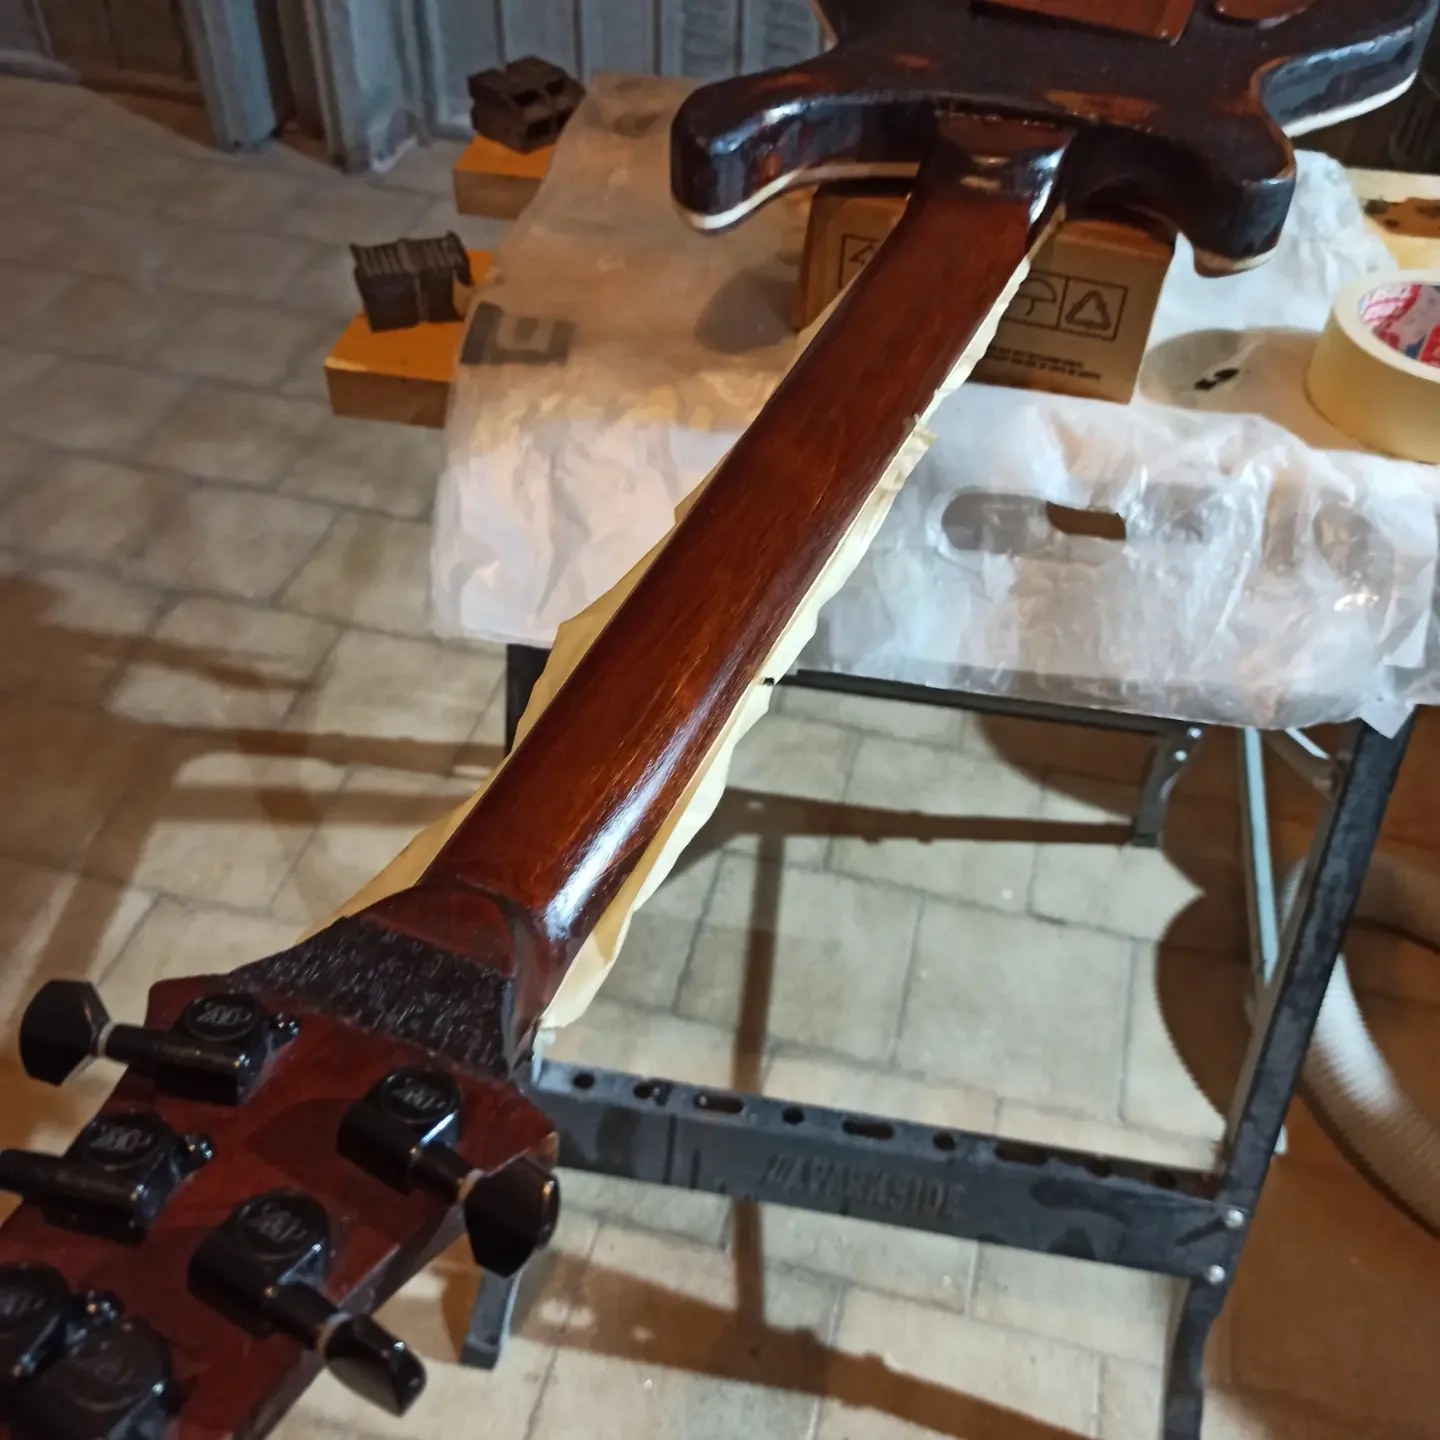
This is, without a doubt, the first obstacle that comes your way when you start thinking about a project. assembling a double-necked instrument. The initial excitement makes you think only of how beautiful it will be, of how many sounds you can make. Then you put it on the scale and try it standing... and you understand.
A normal guitar weighs between 3 and 4 kilos. A double-neck? It can easily reach 6, 7, even 8 kilos. The Gibson EDS-1275, the original, Page's one to be clear, is not famous for being a feather. And we're talking about an instrument made with selected woods and a studied design. Yours, made in the garage, with woods that might not be the best for lightness, risks becoming a boulder.nn
Mimmo's Mistake: "But yes, a one-piece bodysuit is more solid!"“
nnnn
nWhen I faced my first attempt at building a double neck guitar, I was convinced that a unique and massive body was the best solution for stability. I chose beautiful thick mahogany, just to be sure. The result? An instrument that weighed like a combo amplifier. Standing, after two songs, I felt my shoulder screaming for revenge. It wasn't just heavy, it was also unbalanced. The 12-string neck, longer and with more tuners, tended to tip downwards. It was a continuous effort to keep it in position.nnThe Pain Point: The fear of a fragile or resonant instrument pushes you to oversize, to use heavy woods or overly thick bodies. The result is an unplayable, uncomfortable instrument that will make you lose the desire to use it. And at that point, what's the point of having built it?nnWhy it's a mistake and how to avoid it:
Weight and balance are critical for playability. No matter how beautiful it is or how well it sounds, if it breaks your back or forces you to struggle for every chord, it will end up hanging on the wall.nn1. Materials Planning: Light woods: This is the starting point. For the body, consider woods like poplar, alder, or basswood. They're lightweight, resonant, and easy to work. If you really want the mahogany look, consider a mahogany body with a thin maple top, or a lighter mahogany.Body thickness: Don't go beyond what's necessary. A thickness of 40-45 mm is already sufficient for resonance and stability. Every additional millimeter is extra weight.
Handles: Again, be careful. A 12-string neck is inherently heavier than a 6-string. Consider maple necks with pau ferro or maple fingerboards, which are generally lighter than rosewood.
Hardware: Lightweight tuners, aluminum bridges (if compatible with your design) can make a difference. Every gram counts.nn2. Design and Balance: Body horns (horns): Design the upper body horns so they're long enough to balance the weight of the necks. If they're too short, the guitar will tend to "head dive," meaning the neck will fall downward. This is a common mistake that makes the instrument frustrating to play while standing.
Position of the strap buttons: Experiment with the placement of the shoulder strap attachments. It may seem like a small detail, but it can shift the center of gravity and significantly improve balance. Don't be afraid to drill a few test holes in less visible areas or on an MDF template before drilling the final body.
Contouring: Chamfering the body's edges, creating a belly cut (the bevel on the back that rests against the stomach) and an arm rest (the bevel on the front where the arm rests) not only improves comfort but also reduces some weight.nn3. Hollow body or Semi-hollow: If you're brave and skilled, a semi-hollow (with tonal chambers) or even a hollow body can dramatically reduce weight. However, it requires greater construction complexity and attention to structural stability. This is a step forward, but if weight is your priority, it's an option worth exploring.
Remember that tone chambers also influence resonance and sustain. It's not just a matter of weight.nnA practical tip: Before cutting the final wood, create a body template in MDF or plywood. Temporarily attach the necks (even just with clamps) and simulate the weight by adding weights where the pickups and hardware will go. Try to “wear” it with a strap. It will give you a much clearer idea of the balance and final weight. I assure you, this small step will save you from great frustrations.nn
2. The Spine: Neglecting the Structural Stability of Joints
Advertising

Cradle Cube Guitar Neck Rest & Support for Guitars (MN206) | Five Neck-Rest Angles Support Acoustic, Electric and Bass Guitars During Setup, Repair and String Changes.
See on Amazon

Mimmo's Mistake: "Two neck pockets? I'll make a single groove, easier!"“
I remember my second attempt at making a double-neck guitar. To simplify things, instead of creating two separate neck pockets, I thought of making a wider groove where both necks would fit. The idea was that, this way, I would have a larger contact surface and therefore more stability. Brilliant, huh?Wrong.
The problem is that, no matter how precise you are, it's almost impossible to get a perfect contact surface on such a wide groove, for two different necks. Tolerances add up. The result was that, even though I had used nice long screws to fix the necks, there was always a slight play. One neck was perfectly aligned, the other had a slight twist or a different height. And this, for intonation and sustain, is a disaster. Not to mention that the resonance suffered a lot.nnThe Pain Point: The complexity of perfectly aligning two necks and creating robust joints can lead to “creative” solutions that, in reality, compromise the instrument's stability and playability. The fear of making mistakes in milling or gluing leads to compromises that don't pay off.nn
Why it's a mistake and how to avoid it:
Neck-to-body joints are the heart of vibration transmission. They must be impeccable.nn1. Two Separate and Precise Neck Pockets: The golden rule: Treat each neck as if it were a single guitar. This means two separate neck pockets, milled with the utmost precision. Each neck pocket should be as narrow as possible, leaving just enough room for the neck, with no lateral play.Measurements: Measure your neck (heel width, thickness) and use a precision template to mill the pocket. The depth must be sufficient to ensure the correct angle of the neck relative to the bridge.
Alignment: This is the most delicate step. Before final milling, draw the center lines for both necks. Use a long ruler and a set square to ensure the necks are perfectly parallel to each other and aligned with the bridges. A single millimeter error here can cause one of the necks to be crooked relative to the strings.
Milling technique: Use a router with a straight bit and a template. Make gradual passes, don't try to dig everything out at once. The cleanliness of the cut is essential for perfect contact surfaces.nn2. Junction Selection: Bolt-on (screwed): This is the most common choice and, for the hobbyist, the simplest and most forgivable. If you get the angle or height wrong, you can add shims or remake the pocket. Use four screws per neck, well anchored in the body. Pre-drill the holes in the neck heel and in the body with the right bit to avoid cracks and ensure a firm grip.
Set-neck (glued): If you're experienced with precise gluing, a set neck offers exceptional sustain. However, it requires surgical precision when carving the mortise and tenon. Once glued, there's no going back. If you choose this route, make sure you have all the clamps, guides, and templates you need for a perfect glue fit and even pressure.
Neck-through (neck-through): The most complex solution, but also the most stable and with maximum sustain. The neck is a single piece that runs through the entire body. The body is formed by two “wings” glued to the sides of the central neck. This design eliminates the body-neck joint and distributes the weight more evenly. However, working on a neck-through design is much more demanding and requires specific tools for profiling.nn3. Truss Rod Anchoring: With two necks, you have two truss rods. Make sure they're easily accessible for adjustment. Wood has a real tendency to move with humidity and string tension, and you'll need to adjust both necks independently.
If possible, choose dual-action truss rods. They offer a greater range of adjustment and are easier to manage.nnAn extra tip: When working on the joints, use plenty of light and take your time. Measure three times, cut once. Then measure again. And don't be afraid to test on scrap pieces before attaching the final body. The difference between a decent joint and an excellent one lies in obsessive precision.
If you plan to set up with tune-o-matic bridges, remember that the neck angle is crucial for string height. A good starting point is a 2-3 degree angle for the neck relative to the body plane, but it depends on the bridges you will use.nn
3. The Beast Brain: Overcomplicating the Wiring
You've got your body, the necks are securely in place, and the woods are the right ones. Now comes the part many dread: the electronics. With two necks, two sets of pickups, the temptation to do some "outlandish" wiring is very strong. "I'll put a selector switch for each neck, a kill switch, a coil splitter, a phase switch, and maybe a built-in preamp for the 12-string neck!".I'll stop you right there. Don't do it.nn
Mimmo's Mistake: "More options, more music!?"“
My first building a double neck guitar I wired it as if it were driving a Shuttle. I wanted every possible option: a 3-way switch for the 6-string neck, a 5-way switch for the 12-string (with split and series/parallel), a master switch to switch between necks, and then volume and tone controls for each neck.The result? A tangle of wires that looked like a giant spider's web. Not only was it a mess to solder everything and fit it into the cavity, but once finished, every time I had to change the sound, I almost had to stop and think about which switch to move. It was more of a puzzle than a musical instrument. And, of course, with so many components, there was a background noise that I never managed to eliminate completely.nnThe Pain Point: The fear of limiting sonic possibilities and the desire for maximum versatility lead to implementing overly complex wiring schemes, which end up generating noise, confusion, and maintenance difficulties.nn
Why it's a mistake and how to avoid it:
Simplicity is key, especially with such a large project. Think about what you need. Truly on stage or in the studio.nn1. Define Your Real Needs: Do you want a master switch to switch between necks? Or two separate outputs, each for its own amp? Most double-necks use a single output and a three-way switch (neck 1, neck 2, both).How many volume and tone controls do you need? One per neck is the most common solution. A master volume and master tone is even simpler, but it limits versatility somewhat.
Do you need split coils, phase switches, or other electronic mods? If so, limit yourself to one or two per neck, and consider whether they are Really essential for the sound you're looking for.
Separate outputs vs. Single output: If you want to send the 6-string to one amp and the 12-string to another (as Page did), you'll need two output jacks and wiring to manage this. It's more complex, but offers greater flexibility. If you only want one output, you'll need to use a 3-way selector (neck A, neck B, both) or a more elaborate system.nn2. Simplified (and Tested) Wiring Diagram: Start with the classic: For a 6-string neck, a classic 3- or 5-way switch with volume and tone is more than sufficient. For a 12-string, less aggressive pickups and similar wiring are often used.
General Selector: The heart of the system is the selector switch that allows you to switch between the two handles. A three-way toggle switch is the most common: handle A, handle B, or both. Make sure it's of good quality to avoid noise and interruptions.
Cavity routing: Plan a cavity large enough to accommodate all the potentiometers, switches, and tangle of wires, but not so large as to compromise the stability of the body. Shield it well with conductive paint or copper/aluminum foil to reduce noise.
Quality components: Don't skimp on potentiometers, capacitors, and jacks. They are relatively inexpensive components, but their quality directly affects sound and reliability. A jack that makes false contact or a noisy potentiometer will ruin your experience.nn3. Plan the Control Layout: With two necks, body space is at a premium. Think about a logical, easy-to-use layout. Perhaps place the 6-string neck controls closer together, and the 12-string ones a little further apart.
Draw the layout on paper or a template before drilling the body. Simulate the action of playing and changing controls. It may seem trivial, but it will help you understand if the layout is ergonomic.nn4. Shielding and Grounding: With such a complex project, the risk of noise and hum is very high. Proper shielding of all cavities (pickups and controls) is essential. Use conductive paint or copper/aluminum foil.
Make sure all metal components are well grounded. A good common ground point is essential.nnA tip from Mimmo: Before soldering everything into the body, test the wiring on a breadboard or piece of plywood. Connect the pickups, potentiometers, selector switches, and jack. You can use a small battery-powered amp or a multimeter to check for continuity and function. This will allow you to pinpoint errors and problems before having to disassemble everything from the body.
An’excellent resource for wiring diagrams is the Seymour Duncan or DiMarzio page, which often offer diagrams for complex configurations. You can take inspiration from there and simplify.nn
Beyond the Mistakes: The Charm of a Unique Creation
Build a double neck guitar It's no walk in the park. I've told you before and I'll say it again: it's a feat, a challenge. But that's precisely what makes it so rewarding. Every time you pick it up, every time you play that first chord, you know it's the fruit of your work, your mistakes, and your perseverance.If you avoid these three main mistakes—underestimating weight and ergonomics, neglecting joint stability, and overcomplicating wiring—you're already on the right track. The rest is a combination of patience, attention to detail, and a willingness to learn along the way.
Remember, you don't need a CNC mill or a professional luthier's workshop. I made it in my garage, with a few basic tools, a lot of dust, and a few swear words. I made mistakes, I redid them, I learned. And if I could do it, with my own tools, you can do it too.
The most important thing is to enjoy the process. Every step, from cutting the wood to the first solder, to the moment you hear the sound coming out of the amplifier. That's the true magic of DIY. And when you have your own... double-neck guitar, unique in its kind, you will understand that every effort was worth it.nDon't be afraid to tackle such a project. The community is full of resources. There are forums, video tutorials and, of course, articles like this one that try to give you a hand. The important thing is not to start blindly. Study, plan, and then, calmly and decisively, get your hands on the tools. Your two-headed monster awaits you.nn
nnnn
See also
nnDownload the Luthier Survival Kit
Free PDF with checklist, problem-cause table and project card template.
 English
  Italiano
Stuck on your build?
If you ran into the same problem or have a question, drop it in the comments. I read and reply to every one.
Write a comment